Preventing Dust and Debris Buildup: Cleaning Your Studio Gear
Implementing proper cleaning routines is essential, but what are the most effective methods to prevent this issue from plaguing your gear? Let’s explore practical strategies and tools for maintaining a pristine studio environment and ensuring your equipment functions at its best for years to come.
We are supported by our audience. When you purchase through links on our site, we may earn an affiliate commission, at no extra cost for you. Learn more.
Importance of Regular Equipment Cleaning
Regularly cleaning your studio gear is essential for maintaining peak performance and prolonging its lifespan. Neglecting equipment cleaning can lead to dust accumulation, which not only impacts sound quality but also poses a risk to the internal components of your gear. Dust and debris that build up over time can interfere with the proper functioning of your equipment, compromising its overall performance and longevity.
By incorporating a routine cleaning schedule into your maintenance practices, you can prevent these issues from arising. Proper maintenance plays a critical role in reducing the likelihood of encountering technical issues related to dust buildup. Ensuring that your gear is free from dust and debris will contribute to better sound quality, allowing you to achieve maximum results in your studio work.
Investing time in cleaning your equipment not only safeguards against potential technical problems but also saves you money in the long run. By taking care of your gear through regular cleaning practices, you enhance its lifespan and performance capabilities. Additionally, maintaining clean gear creates a healthier environment in your studio space by reducing germs and enhancing the overall ambiance of the room.
Tools and Supplies Needed for Cleaning
To effectively clean your studio gear, gather essential tools and supplies like microfiber cloths, cotton swabs, mild liquid cleanser, and a vacuum with a soft brush attachment.
- Microfiber cloths: These are ideal for gently wiping down surfaces without leaving lint or scratches behind.
- Cotton swabs: Perfect for reaching tight spots and corners that are hard to clean with larger tools.
- Mild liquid cleanser: Use this to remove stubborn dirt or grime without damaging delicate equipment surfaces.
In addition to the basics, consider having alcohol-based wipes for disinfecting remotes and other frequently touched items, isopropyl alcohol for tackling grease buildup, and a computer keyboard brush for detailed cleaning tasks. For speaker maintenance, keep lint rollers on hand for speaker fabric and a soft vacuum brush for metal or plastic grilles. To keep your cables organized, utilize color-coded tags and implement proper cable management techniques such as securing them with ties or using cable racks. These tools and supplies will not only help you maintain a clean studio environment but also prolong the life of your equipment.
Step-by-Step Cleaning Process
Begin the cleaning process by ensuring all studio gear is unplugged for safety before proceeding with the cleaning steps. To achieve accuracy, start by wiping down surfaces with a mild liquid cleanser and a microfiber cloth. Pay special attention to areas like buttons, screens, and control panels. For detailed cleaning of dials, knobs, terminals, and connectors, use cotton swabs to reach into crevices effectively.
To disinfect remote controls and other handheld devices, utilize alcohol-based wipes to remove oils and dirt buildup, ensuring a vital-free surface. When conducting a deep clean, employ a vacuum with a soft brush attachment to remove dust and debris from equipment vents, fans, and other challenging areas. This step is essential for maintaining the prime performance of your studio gear.
Maintenance Tips for Dust Prevention
Implementing proactive measures to prevent dust accumulation on your studio gear is essential for ensuring peak performance and longevity. Dust prevention is a key aspect of gear maintenance to avoid signal disruptions and maintain equipment performance. To achieve this, consider the following maintenance tips:
- Regular Dusting: Make it a habit to regularly dust all gear surfaces to prevent dust accumulation. This simple step can go a long way in maintaining your equipment’s performance.
- Use Dust Covers: When your gear is not in use, cover it with dust covers or cotton twill sheets. This extra layer of protection helps shield your gear from dust and debris.
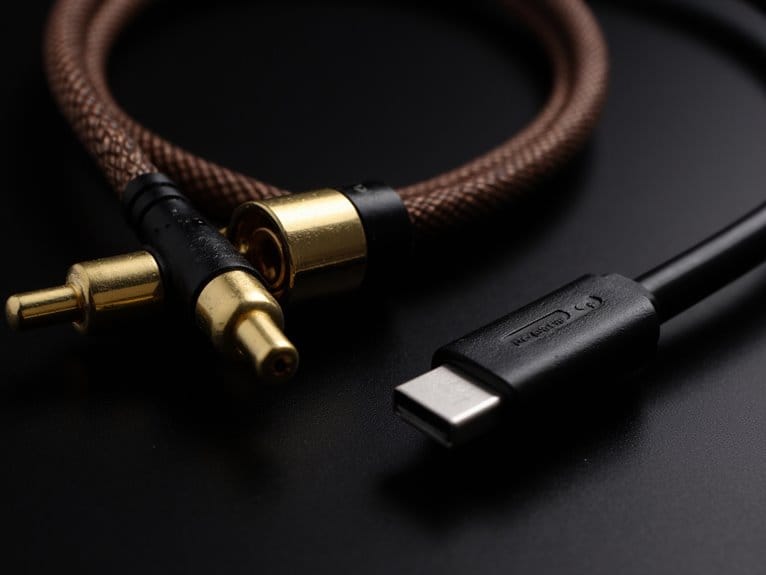
- Clean Jack Sockets: Make sure you clean the jack sockets on your mixers regularly. Dust can accumulate in these areas, leading to signal disruptions. Keeping them clean will help avoid these issues.
Cleaning Specific Studio Gear
When cleaning specific studio gear, employing specialized tools like a computer keyboard brush and paint brush can effectively remove dust and debris. These tools are ideal for reaching into crevices and corners where dust accumulates, ensuring thorough cleaning without causing damage to delicate components.
For intricate components such as faders and pots, a static-free duster is recommended to prevent any static electricity buildup that could potentially harm the gear. Regular dusting is important for maintaining the accuracy and functionality of studio gear, as dust buildup can lead to signal path disruptions and affect overall performance.
When cleaning switches and sockets on studio gear, using isopropyl alcohol on a soft cloth can help remove grime and dirt effectively. This practice not only aids in dust removal but also prevents signal path disruptions, ensuring the gear operates smoothly.
It is essential to avoid covering studio gear when in use to prevent overheating and maintain proper functionality. Additionally, keeping gear clean not only improves performance but also prolongs its lifespan, safeguarding your investment in equipment that is vital for your creative work.