Dealing With Common Home Studio Technical Issues
Hey there! Are you tired of dealing with all those pesky technical issues in your home studio? Well, fret no more because I've got your back! In this article, I'm going to walk you through some common problems that might be plaguing your studio, like audio dropouts, software crashes, and connection issues. We'll kick latency problems, noise, and interference to the curb too. And don't worry, I've got some troubleshooting techniques up my sleeve and we'll make sure all your equipment is playing nice together. Ready to take your home studio experience to the next level? Well then, let's dive right in and conquer those pesky technical challenges!
We are supported by our audience. When you purchase through links on our site, we may earn an affiliate commission, at no extra cost for you. Learn more.
Audio Dropouts
To troubleshoot audio dropouts in your home studio, start by checking your connections and cables. Ensure that all cables are securely plugged in and that there are no loose connections. Sometimes, a faulty cable or loose connection can cause audio dropouts. Next, check the settings on your audio interface or soundcard. Make sure that the sample rate and buffer size are properly configured. Adjusting these settings can help improve the performance and reduce audio dropouts. Additionally, check for any software conflicts or background processes that may be causing the dropouts. Close any unnecessary programs and disable any unnecessary background processes to free up system resources. Regularly updating your software and drivers can also help alleviate audio dropout issues. By following these troubleshooting steps, you can minimize audio dropouts in your home studio and ensure a smooth recording and mixing experience.
Software Crashes
If you experience frequent software crashes in your home studio, try troubleshooting the issue by checking for conflicting programs and ensuring that your software and drivers are up to date. Conflicting programs can cause instability and result in crashes, so it is crucial to identify and resolve any conflicts. Additionally, outdated software and drivers may contain bugs or compatibility issues that can lead to crashes. To avoid this, regularly check for updates and install them promptly. Updating your software and drivers not only improves stability but also ensures that you have access to the latest features and enhancements. By addressing these potential issues, you can minimize software crashes and optimize the performance of your home studio.
Connection Problems
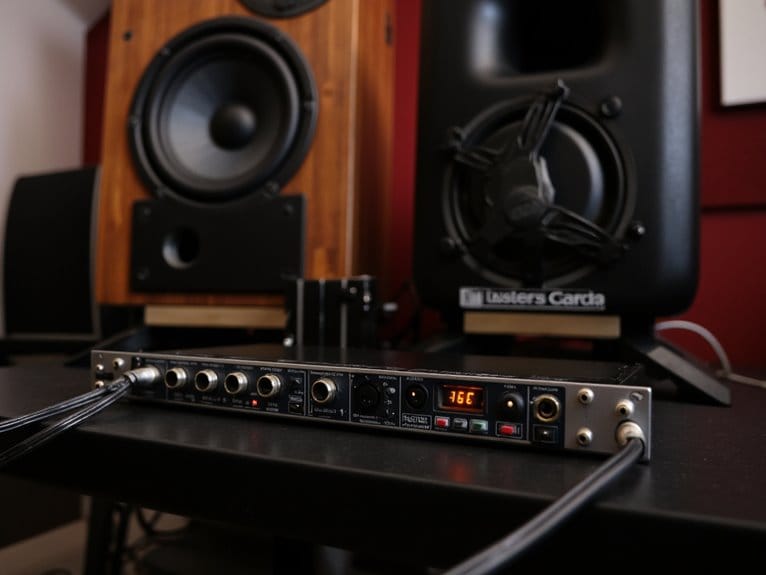
When dealing with connection problems in your home studio, it is important to troubleshoot the issue to ensure a stable and reliable setup. Connectivity is vital for transmitting audio data and controlling external devices. Start by checking the cables and connections. Ensure they are securely plugged in and not damaged. Next, examine your network settings. Make sure your router is functioning correctly and that you have a strong Wi-Fi signal. If using wired connections, inspect Ethernet cables for any signs of wear or damage. Additionally, consider the placement of your equipment. Physical obstructions and distance can affect signal strength. If problems persist, update your device drivers and firmware. Finally, consider investing in a quality audio interface or router to improve connectivity and reduce latency.
Latency Issues
Addressing latency issues in your home studio requires optimizing your audio setup for real-time performance. Latency, the delay in audio playback or recording, can be a frustrating problem that hampers your creativity. To minimize latency, start by selecting a low-latency audio interface that can handle the demands of your recording software. Consider using a direct monitoring feature, which allows you to monitor audio directly from the interface, bypassing the computer's processing. Another solution is to adjust the buffer size in your recording software. Lower buffer sizes reduce latency but require more processing power. Additionally, closing unnecessary applications and disabling background processes can free up system resources and improve latency performance. Remember, addressing latency issues is crucial for achieving a smooth and seamless recording experience in your home studio.
Noise and Interference
To address noise and interference in your home studio, take steps to minimize unwanted audio disturbances. One way to do this is by using balanced audio connections instead of unbalanced ones. Balanced connections utilize three wires: a positive signal, a negative signal, and a ground. This setup helps cancel out any interference that may be present in the cables, resulting in a cleaner signal. Additionally, consider using shielded cables to further reduce noise. These cables have an additional layer of shielding that prevents electromagnetic interference from entering the signal path. Another effective method is to properly ground all your equipment. This ensures that any unwanted electrical noise is safely discharged. By implementing these measures, you can significantly improve the audio quality in your home studio and create a more professional recording environment.
Equipment Compatibility
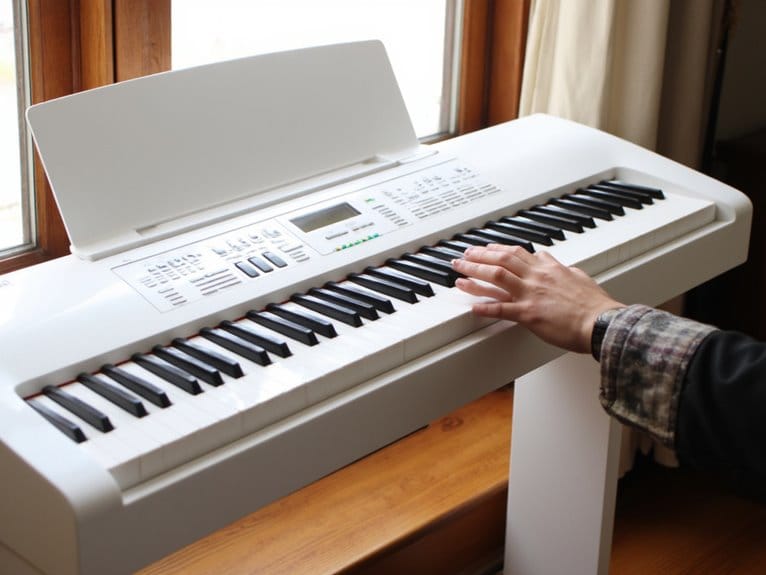
Make sure your equipment is compatible with each other to avoid technical issues in your home studio. Equipment compatibility refers to the ability of different devices and components to work together seamlessly without any conflicts or limitations. In a home studio setup, where multiple devices such as audio interfaces, MIDI controllers, and software plugins are interconnected, compatibility becomes crucial. Before purchasing any equipment, it is essential to research and ensure that it is compatible with your existing setup. Look for specifications and compatibility information provided by manufacturers. Consider factors such as operating systems, driver support, and connectivity options. Additionally, keep in mind future upgrades or expansions you may want to make and choose equipment that can adapt and integrate easily. By prioritizing equipment compatibility, you can create a streamlined and efficient home studio that enables you to focus on your creative process.
Troubleshooting Techniques
One effective troubleshooting technique is to systematically identify and isolate the specific technical issue in your home studio. Start by observing and documenting the symptoms or error messages you encounter. Then, analyze the possible causes and narrow down the list of potential issues. Next, perform diagnostic tests to confirm or rule out each possible cause. This can involve checking connections, testing individual components, or using diagnostic software. Once you have identified the root cause, focus your efforts on resolving that particular issue. This may involve updating software or firmware, adjusting settings, or replacing faulty hardware. Remember to document your troubleshooting process, as this can be helpful for future reference and troubleshooting. By following a systematic approach, you can efficiently resolve technical issues in your home studio and continue your creative work without interruptions.
Conclusion
In conclusion, dealing with common technical issues in a home studio requires troubleshooting techniques and equipment compatibility awareness. By addressing audio dropouts, software crashes, connection problems, latency issues, noise and interference, users can ensure a smooth and productive recording experience. It is crucial to stay updated with the latest software updates and maintain a stable internet connection. Additionally, investing in high-quality equipment and familiarizing oneself with troubleshooting techniques will help mitigate technical challenges in a home studio setup.