Calibrating Studio Monitors: A Step-by-Step Guide for Precision
Calibrating my studio monitors with precision is crucial for high-quality audio. I start by connecting the SPL meter, pink noise source, and monitors, then measure sound levels at my listening spot. Using Sonarworks Reference 4 Studio software, a calibrated microphone, and specific calibration profiles, I guarantee accurate readings and correction of room variations. Confirming calibration with test tones and balancing speaker placement, I achieve enhanced sound quality. By fine-tuning placement and balance, testing across genres, and enabling calibrated profiles, I optimize my audio setup for professional-grade production results.
We are supported by our audience. When you purchase through links on our site, we may earn an affiliate commission, at no extra cost for you. Learn more.
Importance of Monitor Calibration
Monitor calibration is vital for ensuring accurate and balanced sound reproduction in studio environments. Proper monitor calibration guarantees that the frequencies you hear are accurately represented, leading to balanced frequency response and informed mixing decisions. By calibrating your monitors, you create an optimum listening environment where you can make precise mixing choices based on what you hear. This process sets consistent baseline volume levels, which is essential for ensuring that your mixes translate well across different playback systems.
Accurate monitor calibration enhances sound quality by providing a reliable reference point for your audio work. It allows you to make precise mixing adjustments that result in professional-level results. Without proper calibration, your mixing decisions may be skewed, leading to inaccuracies in your final product. By starting with a calibrated monitoring system, you establish a foundation for high-quality audio production.
Equipment Setup and Preparation
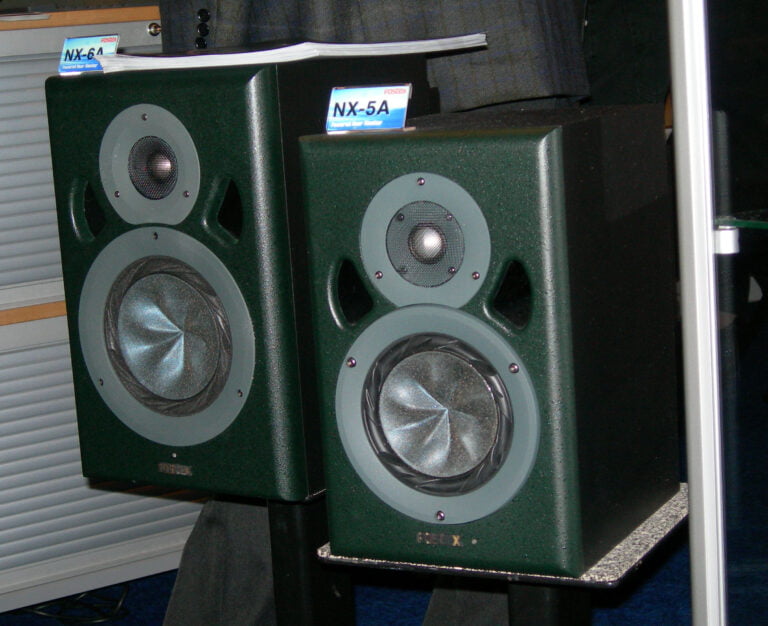
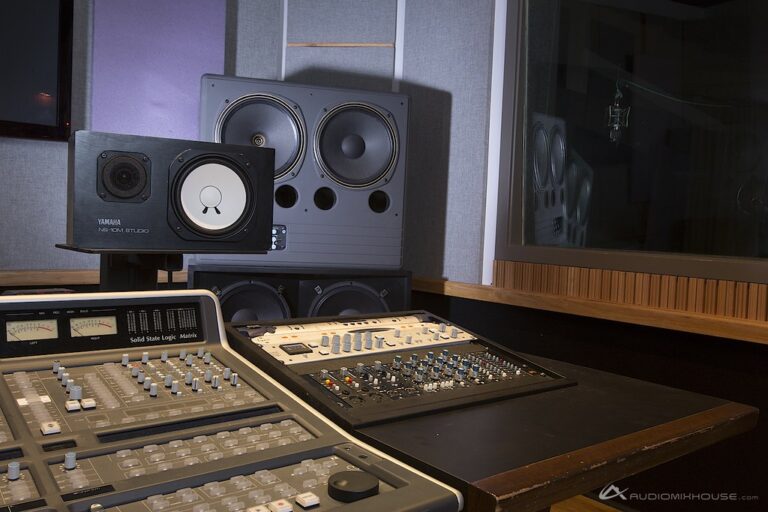
To properly set up your equipment for monitor calibration, it is essential to connect an SPL meter, a pink noise source, and your monitors. The SPL meter will help in measuring the sound level accurately at the listening spot. Placing the SPL meter at the listening position guarantees that you are calibrating based on the actual acoustic level reaching your ears. Pink noise is vital for calibrating the frequency response of studio monitors, providing a balanced reference for setting up the speakers.
Before beginning the calibration process, make sure to set the volume levels of your equipment to zero. This initial step prevents any sudden loud noises that could potentially damage your hearing or equipment. Position the SPL meter at ear level in the primary listening position, where you typically sit when working in the studio. This setup ensures that the measurements taken during calibration are precise and reflect the sound you hear accurately.
Proper equipment setup and preparation are fundamental to achieving reliable and accurate studio monitor calibration results. Taking the time to correctly position and connect the necessary tools will have a substantial impact on the quality of your audio production and mixing sessions.
Software Installation and Configuration
For precise and reliable monitor calibration, the initial step involves installing the Sonarworks Reference 4 Studio software. This software serves as the backbone for calibrating studio monitors accurately. Once installed, the next important component is utilizing the Reference 4 Measure tool. This tool is essential for making sure that the studio monitors are calibrated with precision.
When configuring the software, it is important to follow a detailed setup checklist. This checklist should cover aspects such as microphone connection, interface settings, and adjusting the sample rate to match your setup. Additionally, selecting the appropriate measurement mic and calibration profile is key for achieving reliable calibration outcomes.
During the setup process, it is essential to choose the correct input and output devices on your interface. This selection ensures that the calibration process is optimized for your specific studio setup. By meticulously following these steps and configurations within the Reference 4 Studio software, you can enhance the accuracy and reliability of your studio monitor calibration to a great extent.
Conducting Monitor Measurements
After setting up the Sonarworks Reference 4 Studio software and configuring the necessary settings, the next step involves utilizing a calibrated microphone to conduct precise monitor measurements. Placing the calibrated microphone at listening height and ear level is vital for accurate readings. Positioning the microphone at the sweet spot guarantees excellent calibration results by capturing the most relevant acoustic data.
When conducting monitor measurements, it is essential to take readings at various points within the listening area. This thorough approach helps in creating calibration profiles that can correct for room variations and enhance monitoring accuracy. By capturing data from different locations in the listening space, a more balanced and precise calibration can be achieved.
Ensuring that the microphone is placed accurately and that measurements are taken systematically is fundamental to the calibration process. Paying attention to these details will result in improved monitoring accuracy and a more consistent sound experience. Conducting measurements with precision sets the foundation for a well-calibrated monitoring system that can adapt to different room environments and provide reliable audio reproduction.
Finalizing Calibration and Testing
Consider employing test tones and SPL meters to confirm the precise calibration of studio monitors. Test tones provide consistent frequencies for accurate measurement, while SPL meters help guarantee uniform sound levels across the frequency spectrum. By utilizing these tools, you can verify that your studio monitors are calibrated to deliver a balanced and accurate sound.
Finalize calibration by fine-tuning speaker placement and balance with program music. Adjust the positioning of your studio monitors to optimize the listening experience and eliminate any audio discrepancies. Use a variety of program music to test the performance of your monitors across different genres and sound profiles, ensuring that they reproduce sound accurately and faithfully.
Test the accuracy of calibration by listening for improved sound quality and frequency response. A well-calibrated studio monitor setup should provide a clear and detailed sound with a uniform frequency response. Listen for any inconsistencies or distortions in the audio playback, and make adjustments as needed to achieve the best performance.
Enable the calibrated profile in Systemwide and DAW plugins for consistent results. By saving your calibration settings and applying them to your audio interfaces and digital audio workstations, you can maintain a standardized sound output for all your projects. Enjoy the benefits of studio monitor calibration with enhanced mix translation and accurate monitoring for a professional audio production experience.