Microphone Placement Techniques: Capturing the Best Sound in Any Space
Hey there! Are you eager to step up your audio game and create recordings that sound absolutely amazing? Well, get ready to dive into the world of microphone placement techniques – the secret sauce to capturing the best sound in any space.
We are supported by our audience. When you purchase through links on our site, we may earn an affiliate commission, at no extra cost for you. Learn more.
In this guide, we'll walk you through everything you need to know, from the basics to the nitty-gritty details. We'll help you choose the perfect microphone for your unique space and equip you with the knowledge you need to achieve that professional sound quality you've been dreaming of.
Imagine being able to overcome any acoustic challenges that come your way. It's like having a superpower that allows you to transform any ordinary recording into something extraordinary. We're here to show you how to unlock innovative ways to enhance your recordings and revolutionize your audio game.
So, are you ready to embark on this exciting journey? Let's get started and discover the magic of microphone placement techniques together. Trust us, you won't be disappointed!
Understanding the Basics of Microphone Placement
To capture the best sound in any space, you need to understand the basics of microphone placement. The placement of a microphone plays a crucial role in capturing clear and high-quality audio. When positioning a microphone, consider the sound source, the room's acoustics, and the desired sound characteristics. Start by identifying the primary sound source and position the microphone directly in front of it for optimal sound capture. Experiment with different distances, angles, and heights to find the sweet spot that captures the desired sound. It's important to avoid placing the microphone too close to the sound source to prevent distortion or overpowering. Additionally, be mindful of room reflections and background noise, as they can affect the overall sound quality. By mastering the basics of microphone placement, you can achieve exceptional sound reproduction in any space.
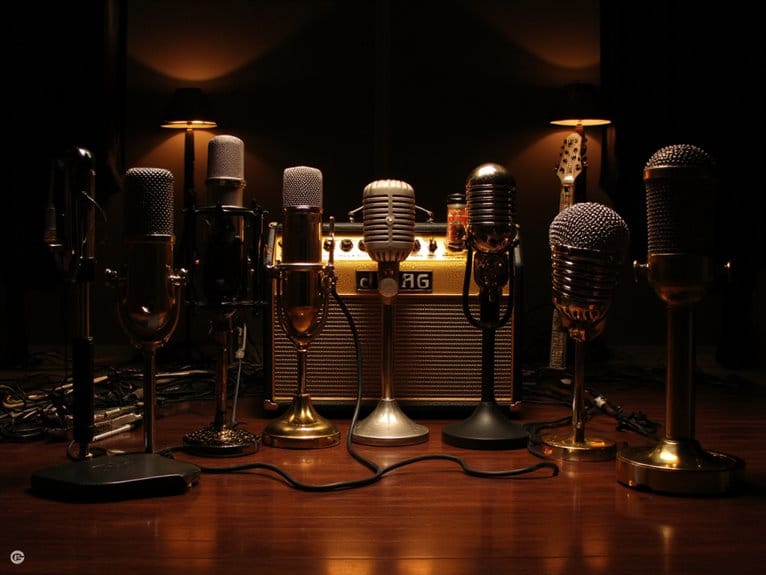
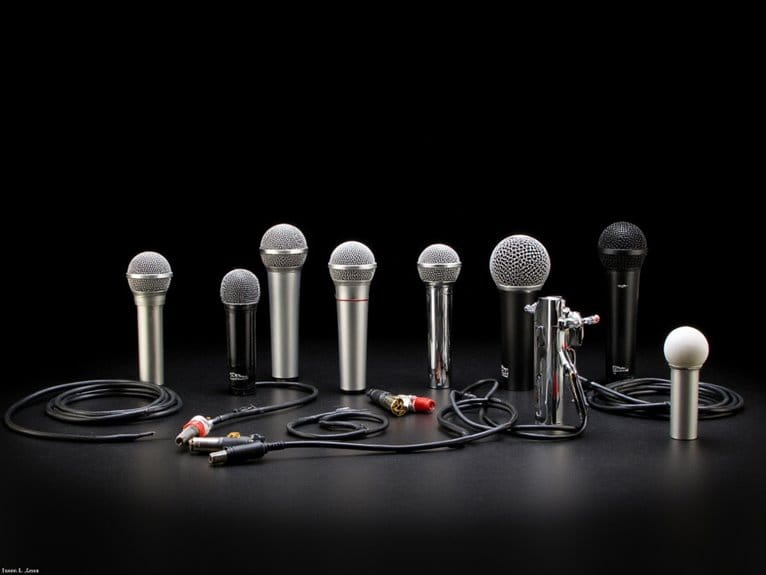
Choosing the Right Microphone for Your Space
Now that you understand the basics of microphone placement, let's dive into choosing the right microphone for your space. Selecting the appropriate microphone is crucial in capturing high-quality sound and ensuring optimal performance in any setting. Consider the acoustics, size, and purpose of your space when making this decision. For smaller spaces with controlled acoustics, a condenser microphone may be the best choice, as it offers sensitivity and accuracy. In larger spaces or environments with high background noise, a dynamic microphone might be more suitable, as it provides better isolation and can handle higher sound pressure levels. Additionally, for outdoor or mobile recording, a lavalier or shotgun microphone could be ideal. Remember, the right microphone will enhance your sound production and elevate the overall experience for your audience. Another option to consider is a wireless microphone, which offers significant flexibility and mobility during recordings or performances. The wireless microphone benefits include the ability to move around freely without being tethered to equipment, making it easier to engage with your audience and capture dynamic performances. This can be especially beneficial in scenarios where movement is essential, such as live events, presentations, or on-stage performances.
Positioning the Microphone for Vocal Recording
For vocal recording, position the microphone in a way that maximizes sound quality and minimizes unwanted noise interference. The ideal placement is typically at a distance of 6 to 12 inches from the singer's mouth, angled slightly downward to capture the voice directly. This positioning allows for optimal capture of the vocal nuances and reduces the chances of picking up excessive room noise. Additionally, using a pop filter can help minimize plosive sounds and harsh consonants. It is essential to consider the polar pattern of the microphone when positioning it. For cardioid microphones, position the singer directly in front of the microphone for the best sound isolation. Experimenting with different placements and angles can lead to innovative and unique vocal recordings that stand out in any space.
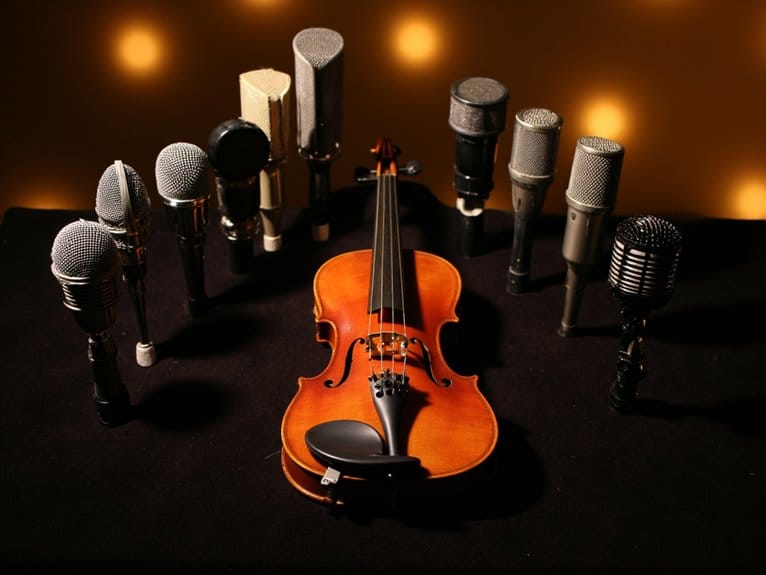
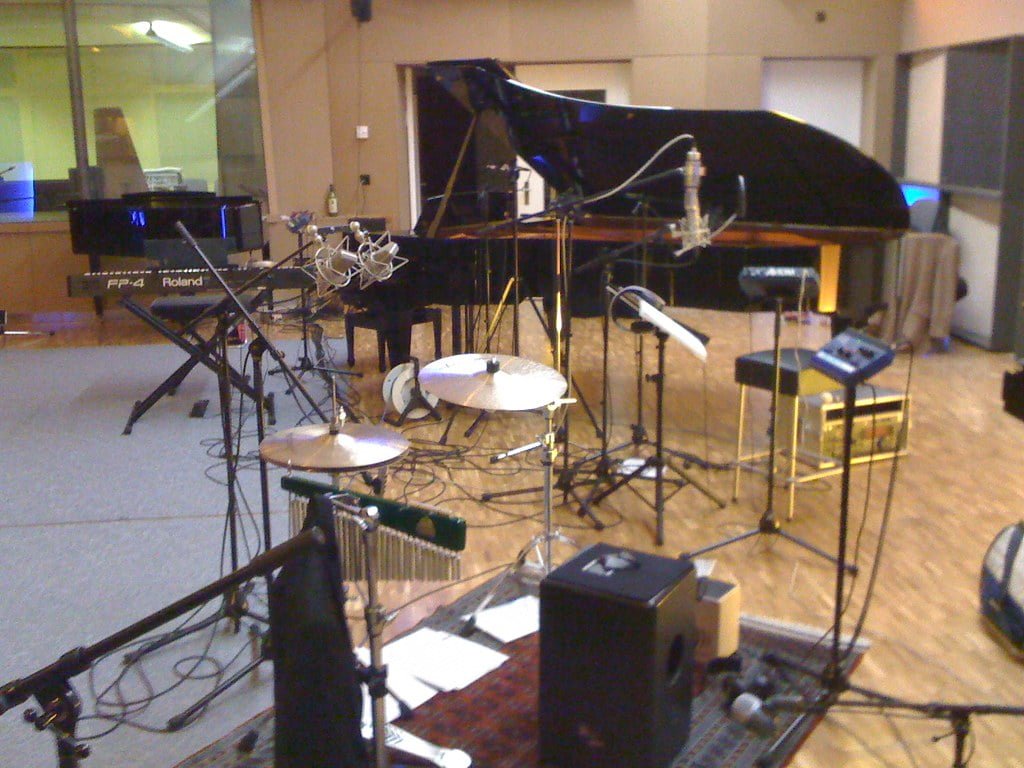
Mic Placement Techniques for Instrumental Recording
Continue capturing the best sound in any space by applying effective mic placement techniques for instrumental recording. When recording instruments, it is crucial to consider the unique characteristics and tonal qualities of each instrument. For string instruments such as guitars or violins, placing a microphone around 12 inches away from the sound hole can help capture a balanced and warm tone. For brass instruments like trumpets or trombones, positioning the microphone slightly above the bell can capture the full range of sound without overwhelming the mic with excessive volume. When recording drums, using multiple microphones for each drum and cymbal can ensure a well-rounded and dynamic sound. Experiment with different microphone placements to find the sweet spot that captures the true essence of the instrument and enhances the overall recording quality.
Overcoming Challenges in Acoustically Challenging Spaces
To capture the best sound in acoustically challenging spaces, you can overcome these obstacles by strategically placing the microphone in optimal positions. In such spaces, sound reflections and reverberations can cause unwanted audio artifacts and a loss of clarity. One effective technique is close-miking, where the microphone is placed as close as possible to the sound source. This reduces the impact of the room's acoustics and captures a more direct sound. Another approach is the use of directional microphones or cardioid microphones, which have a specific pickup pattern that focuses on the desired sound source while minimizing background noise. Additionally, placing absorptive materials such as foam panels or curtains on the walls can help reduce unwanted reflections. Lastly, experimenting with microphone placement and angles is key to finding the sweet spot that minimizes the negative effects of the challenging space and maximizes the desired sound. By implementing these techniques, you can capture exceptional audio quality even in the most acoustically challenging environments.
Pro Tips for Achieving Professional Sound Quality
Achieve professional sound quality by utilizing proper microphone placement techniques. To achieve a professional sound, it is essential to consider the distance between the microphone and the sound source. Position the microphone close to the source to capture a clear and focused sound. Additionally, pay attention to the angle and direction of the microphone. Experiment with different angles and positions to find the best sound quality. It is also crucial to minimize background noise and unwanted reflections. Use acoustic panels or foam to absorb sound and reduce reverberations. Furthermore, consider the polar pattern of the microphone. Different polar patterns, such as cardioid or omnidirectional, have distinct characteristics and are suitable for different applications. By applying these pro tips, you can achieve professional sound quality and elevate your audio recordings to the next level.
Conclusion
In conclusion, understanding the basics of microphone placement is essential for capturing the best sound in any space. By choosing the right microphone and positioning it correctly for vocal or instrumental recording, you can achieve professional sound quality. Additionally, overcoming challenges in acoustically challenging spaces requires careful consideration and experimentation. By following these pro tips, you can optimize your microphone placement techniques and ensure optimal sound capture in any environment.