Understanding Studio Monitor Specifications and Measurements
You’ll find studio monitor specs focus on frequency response curves showing how accurately they reproduce 50Hz to 20kHz, with flat response within ±3dB being essential for uncolored sound. Key measurements include maximum SPL ratings of 130-144dB, THD distortion under 0.5%, and power specifications for bi-amp configurations typically ranging 40-120W per channel. Construction materials like MDF cabinets, beryllium tweeters, and internal bracing affect resonance control, while balanced XLR connections guarantee professional integration. Understanding these specifications helps you choose monitors that’ll expose mix problems rather than hide them behind technical limitations.
We are supported by our audience. When you purchase through links on our site, we may earn an affiliate commission, at no extra cost for you. Learn more.
Notable Insights
- Frequency response curves show how monitors handle 50 Hz to 20 kHz; look for ±3 dB tolerance for accurate sound reproduction.
- Maximum SPL ratings indicate loudness capability, typically 130-144 dB at one meter for professional monitoring applications.
- THD (Total Harmonic Distortion) should be under 0.1% to ensure faithful sound reproduction without audible coloration.
- Power specifications in bi-amp setups typically range 40-120W per channel, with separate amplification for different frequency ranges.
- Balanced XLR/TRS connections reduce interference over long distances, while RCA connections suit basic consumer studio setups.
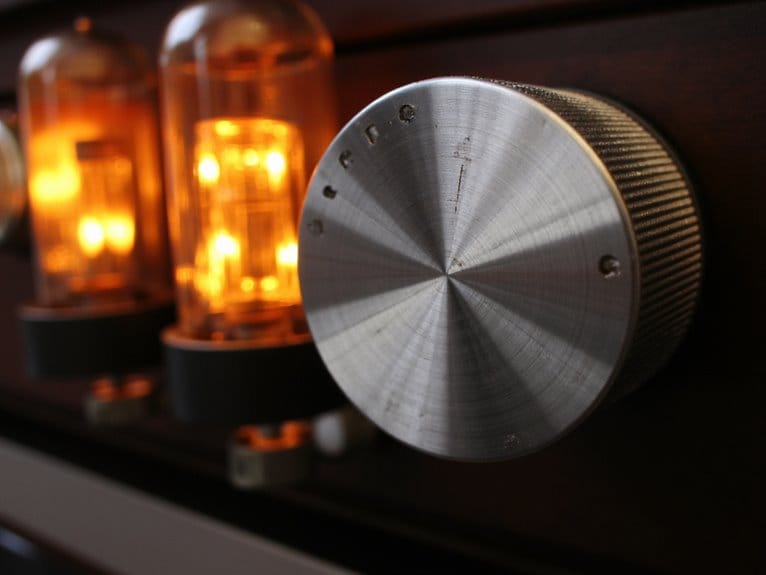
Physical Design and Construction Materials
When you’re evaluating studio monitors, the physical construction forms the foundation that determines whether you’ll hear accurate sound reproduction or unwanted colorations that’ll compromise your mixing decisions.
Cabinet design choices, like MDF construction and non-parallel cabinet shape configurations, directly impact structural integrity while minimizing resonance issues that muddy your mixes. Driver materials matter considerably—beryllium tweeters deliver exceptional transient response, while treated paper woofers provide balanced stiffness and damping characteristics. MDF wooden cabinets minimize unwanted resonance for critical listening applications where accuracy is paramount. Compact MDF cabinet designs with adjustable controls make them particularly effective for small home studios where space optimization is essential.
Interior treatment using mineral wool or rock wool creates effective acoustic damping, absorbing rear wave reflections that otherwise cause standing waves. Construction techniques incorporating internal bracing, combined with proper sound isolation through decoupling pads, guarantee you’re hearing the music rather than cabinet vibrations interfering with your critical listening sessions.
Professional studios often utilize monitors constructed with materials like concrete and bricks, which provide superior resonance control compared to standard materials, though these permanent installations aren’t practical for all production environments. Double-walled construction using materials like birch plywood provides added strength while maintaining excellent acoustic properties for high-performance monitoring applications. The connectivity options between your audio interface and studio monitors ensure optimal signal transfer, with many modern systems supporting versatile input configurations for various professional recording setups.
Frequency Response and Accuracy Ratings
Beyond the physical foundation that houses your monitor’s components, frequency response specifications reveal how accurately those carefully constructed drivers will translate your audio across the entire spectrum you’ll hear during mixing sessions.
The frequency response curve shows you exactly how your monitors handle everything from deep bass at 50 Hz to crisp highs at 20 kHz, plotting amplitude against frequency to reveal any colorization or bias.
Accuracy importance becomes clear when you’re balancing delicate mix elements, since deviations from flat response will mislead your ears and compromise your final product.
Flat frequency response ensures accurate monitoring decisions, while colored sound will deceive your ears and sabotage professional mixing results.
Look for specifications with tight decibel tolerances, typically ±3 dB, combined with low Total Harmonic Distortion ratings under 0.1% to guarantee you’re hearing your recordings as faithfully as possible without unwanted emphasis or frequency gaps. Professional monitors like the Yamaha HS5 achieve flat frequency response from 54Hz to 30kHz, providing the accurate sound reproduction essential for precision mixing decisions. Just as dynamic microphones like the SM7B require high-gain preamps to capture their full potential, your studio monitors need precise specifications to deliver the clean, uncolored sound reproduction essential for professional mixing decisions.
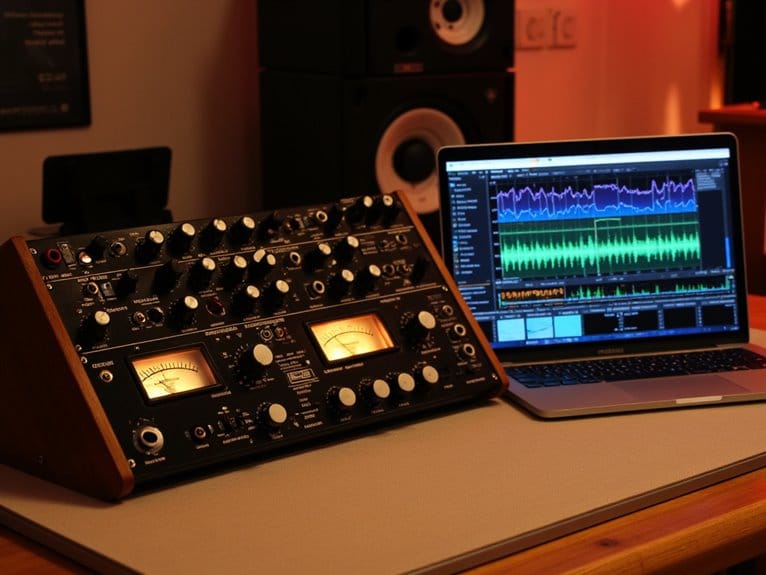
When recording signals through audio interfaces, sample rates of 24-bit/192kHz provide the detailed capture necessary to evaluate your monitor’s accuracy across the full frequency spectrum.
Professional measurement requires a test signal generator and microphone to capture amplitude output across the full frequency spectrum, creating the detailed graphs that reveal your monitor’s true performance characteristics.
Sound Pressure Level and Amplifier Power Specifications
When you’re evaluating studio monitors, you’ll quickly encounter two critical specifications that directly impact your monitoring experience: maximum SPL capabilities and amplifier power ratings.
I’ve found that understanding these interconnected specs helps you determine whether a monitor can handle your room size, listening preferences, and the dynamic range of your music without distortion or fatigue.
These specifications work together to define the monitor’s headroom, volume potential, and overall performance under various listening conditions, making them essential factors in your decision-making process.
Maximum SPL Capabilities
Three critical specifications determine whether your studio monitors can handle the demanding SPL requirements of professional audio production: maximum SPL rating, amplifier power output, and distortion thresholds.
Modern studio monitors typically deliver maximum output levels between 130-144 dB SPL at one meter distance, which exceeds most home studio requirements but guarantees headroom for demanding mixing scenarios.
The distortion limits, usually measured at 0.5% THD according to IEC 60268-4 standards, indicate when your monitors start introducing audible coloration to your audio.
I’ve found that bi-amp and tri-amp configurations provide better control over high SPL performance, allowing each frequency range to be powered independently.
Understanding these specifications helps you select monitors that won’t become the limiting factor in your signal chain during loud monitoring sessions.
Amplifier Power Ratings
The amplifier power specifications driving those impressive maximum SPL capabilities deserve equal attention, since they’re the engine that transforms electrical signals into the acoustic energy reaching your ears.
Understanding power matching between amplifiers and drivers becomes vital when you’re evaluating monitors, as mismatched components can lead to distortion or damage. Modern bi-amp configurations typically employ 40-120W per channel, with efficiency ratings varying greatly between Class AB and Class D designs.
You’ll find that Class D amplifiers offer superior power efficiency, reducing heat while maintaining clean output. Power requirements scale exponentially with desired volume levels—doubling power only adds 3dB to your SPL output, which explains why manufacturers often specify generous wattage ratings to guarantee adequate headroom for dynamic transients.
Connectivity Options and Professional Integration
Although I’ve spent countless hours untangling studio cables over the years, I can confidently say that understanding connectivity options represents one of the most significant aspects of building a professional monitoring setup.
When selecting monitors, you’ll encounter various cable types including balanced XLR and TRS connections, which reduce interference over long distances, plus unbalanced RCA options for consumer setups. Active monitors connect directly to audio interfaces through these balanced outputs, while passive monitors require external amplifiers with proper impedance matching.
Connector compatibility becomes vital when integrating different equipment levels, though adapters can bridge consumer and professional gear. Your audio interface’s balanced line outputs typically drive monitor inputs, with volume controls preventing distortion while maintaining signal integrity throughout your studio workflow. Professional audio interfaces with ultra-low latency performance ensure tight monitoring response, making them essential for real-time recording and production work.
Advanced Acoustic Technologies and Features
When professional engineers demand reference-quality monitoring that transcends traditional speaker limitations, modern studio monitors deliver through sophisticated acoustic technologies that I’ve witnessed transform countless mixing environments over the past decade.
You’ll discover that advanced driver technologies now incorporate coaxial designs and custom-engineered components that eliminate the frequency response irregularities I’ve battled in legacy systems.
Today’s room correction capabilities utilize adaptive DSP algorithms to compensate for acoustic anomalies automatically.
The most impactful innovations include:
- Directivity Control Waveguides that minimize early reflections while maintaining stereo imaging precision
- Smart Active Monitoring systems that adapt output based on real-time acoustic measurements
- Multi-way configurations with seamless crossover integration for extended frequency coverage
These technologies guarantee you’re hearing your mix accurately, regardless of your studio’s acoustic limitations.
Measurement Standards and Testing Conditions
Establishing proper measurement standards becomes critical once you’ve invested in advanced studio monitors, because I’ve learned that even the most sophisticated speakers won’t deliver accurate results without precise calibration protocols.
Your SPL calibration should target 73-76 dB C-weighted for home studios, noticeably lower than cinema’s 83-85 dB standard, since smaller rooms require adjusted levels.
I recommend using a C-weighted SPL meter with slow response mode, which costs around $20 and provides flatter frequency response for accurate readings.
Pink noise serves as your standard test signal, particularly band-limited 500Hz-2kHz versions that minimize room mode interference.
These measurement techniques work best when you’re positioned laterally centered between sidewalls, avoiding exact room center to prevent nulls from standing waves.
Professional audio interfaces with zero-latency monitoring capabilities ensure that your measurement signals and calibration tones are processed without delay, maintaining the accuracy of your SPL readings and test procedures.
Budget audio interfaces under $200 can provide professional sound quality comparable to higher-end models, making accurate studio monitoring accessible for home studio setups.
For optimal accuracy, maintain a balanced frequency response throughout your calibration process, as this ensures your monitors reproduce audio signals without unwanted coloration or distortion that could affect your mixing decisions.
Interpreting Technical Specifications for Real-World Use
Reading manufacturer spec sheets can feel like deciphering ancient hieroglyphics, but I’ve discovered that understanding these numbers helps you predict how monitors will actually perform in your specific studio environment.
The key lies in translating laboratory measurements into practical expectations for your workspace.
When evaluating specifications, consider how monitor placement and room acoustics will affect the published numbers. A monitor’s frequency response might look perfect on paper, but your room’s characteristics will inevitably alter what you hear.
- Frequency response curves measured in anechoic chambers won’t match your carpeted bedroom studio
- Power ratings assume ideal conditions that rarely exist in real mixing environments
- Driver specifications tell only part of the story without considering crossover integration
Focus on specifications that remain consistent across different environments, like build quality and connectivity options.
Frequently Asked Questions
How Much Should I Budget for Quality Studio Monitors for My Home Setup?
You should budget $300-500 for casual home production, $500-1,000 for semi-professional setups, or $1,000+ for professional use. Monitor price comparison shows entry-level starts around $140 each. Smart budget allocation includes stands and cables too.
How Long Do Studio Monitors Typically Last Before Needing Replacement or Repairs?
Your studio monitors’ lifespan typically ranges 10-20 years with proper care. Monitor lifespan depends on usage intensity and environment, while repair frequency increases after 10+ years when components age and parts become harder to find.
Can I Use Studio Monitors for Casual Music Listening and Gaming?
You can use studio monitors for both casual listening and gaming. They’ll provide accurate sound quality and precise audio cues that enhance your gaming experience, though they won’t add warmth like consumer speakers.
What Room Treatment Is Necessary When Upgrading to Professional Studio Monitors?
You’ll need bass traps in corners for low-frequency control, absorption panels at reflection points on side walls and ceiling, plus sound diffusion or absorption on the back wall to optimize your professional monitors’ accuracy.
On a final note
You’ve now got the tools to decode those intimidating spec sheets that manufacturers love throwing around. Don’t get overwhelmed by every single number—focus on frequency response curves, power ratings that match your room size, and connectivity that fits your workflow. I’ll admit, it’s tempting to chase perfect measurements, but remember that your ears and mixing environment matter just as much as any specification on paper.