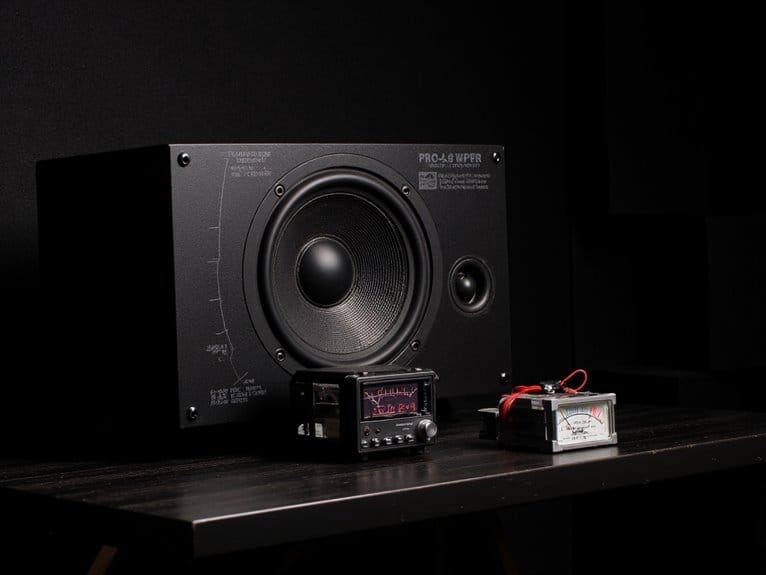
Understanding Microphone Specifications and Ratings
You’ll need to understand key specifications like frequency response (20Hz-20kHz for full-range capture), sensitivity ratings (measured in mV/Pa or dBV), and signal-to-noise ratio (80+ dB for professional quality) when choosing microphones. Pay attention to impedance matching—your preamp’s input should exceed the mic’s rating by ten times, polar patterns that determine directional pickup, and maximum SPL handling for loud sources. Self-noise under 15 dB-A guarantees clean recordings, while phantom power requirements vary by microphone type. These specifications directly impact your audio quality, and proper understanding helps you match equipment to specific applications.
We are supported by our audience. When you purchase through links on our site, we may earn an affiliate commission, at no extra cost for you. Learn more.
Notable Insights
- Frequency response curves show how microphones capture sound from 20 Hz to 20 kHz, with flat response providing transparent sound.
- Sensitivity ratings indicate conversion efficiency from sound to electrical signal, with higher sensitivity requiring less amplification for stronger output.
- Signal-to-noise ratio measures desired signal versus background noise, with studio condensers offering 70-85 dB SNR for cleaner recordings.
- Maximum SPL handling determines loudest capture before distortion, with modern condensers handling 117-140+ dB sound pressure levels.
- Polar patterns define directional sensitivity, with cardioid for isolation, omnidirectional for ambient recording, and bidirectional for stereo techniques.
Frequency Response Characteristics and Sound Shaping
When I first started working with microphones, I’ll admit I glossed over frequency response specs thinking they were just technical jargon. However, understanding how your microphone captures sound across the frequency spectrum is arguably the most essential factor in determining whether you’ll get professional-quality recordings or something that sounds like it was captured through a tin can.
Frequency response curves tell the complete story of how your microphone treats different frequencies, from deep bass rumbles around 30 Hz to crisp highs at 20 kHz. Quality condensers typically maintain a 20Hz – 20kHz range that captures the full spectrum of human hearing with exceptional detail. A flat response delivers transparency without sound coloration, while presence boosts around 3-5 kHz enhance vocal clarity. Some budget models like the SENNHEISER MKE 200 offer a more limited 40 Hz to 20 kHz range but still provide excellent performance for most recording applications.
These intentional frequency modifications aren’t flaws—they’re carefully engineered characteristics that shape your recording’s timbre and determine application suitability. When examining spec sheets, you’ll typically find these frequency response curves displayed as graphs that show exactly how your microphone will alter the incoming signal at each frequency range. Understanding the effective bandwidth helps you identify the frequency range where your microphone maintains acceptable performance levels for optimal output quality.
Sensitivity Ratings and Signal Conversion
When you’re evaluating microphones, you’ll encounter sensitivity ratings expressed as negative dB values, which indicate how efficiently the microphone converts acoustic pressure into electrical voltage signals.
I’ve found that higher sensitivity microphones, those with values closer to 0 dB like -30 dB versus -50 dB, produce stronger output signals that require less amplification and typically deliver better signal-to-noise ratios in your recordings.
Understanding these measurements becomes essential because they directly impact your audio quality, gain staging requirements, and the overall performance you’ll achieve in different recording environments. For classical guitar recording specifically, microphones with SNR above 70 dB effectively minimize hiss and capture expressive dynamics without background noise interference. The standard comparison uses a reference voltage of 1 Volt output when the microphone receives 1 Pascal of sound pressure, which equals 0 dB sensitivity.
Sensitivity measurements follow industry standards using a 1 kHz sine wave at 94 dB SPL to ensure consistent comparisons across different microphone models and manufacturers.
Sensitivity Measurement Units
How do manufacturers actually measure and express a microphone’s sensitivity, and why do these numbers matter when you’re selecting equipment?
Understanding these measurements helps you choose the right mic and configure proper gain staging in your signal chain.
Analog microphones use millivolts per Pascal (mV/Pa), showing output voltage at standard sound pressure levels, while digital sensitivity represents percentage of full-scale output at 94 dB SPL.
Sensitivity calibration occurs at 1 kHz using 94 dB SPL reference levels, ensuring consistent measurements across manufacturers.
Here’s what you’ll encounter:
- Analog specs: mV/Pa ratings converted to dBV using logarithmic formulas
- Digital sensitivity: dBFS measurements preventing clipping in DSP systems
- Reference standards: 94 dB SPL at 1 kHz for universal comparison
These specifications directly impact preamp requirements and system compatibility. Microphones function as transducers that convert the mechanical energy of sound waves into electrical energy in the form of voltage output.
High Vs Low Sensitivity
Now that you understand how sensitivity gets measured and expressed, you’ll need to grasp what those numbers actually mean for your recording setup.
High sensitivity microphones convert sound into stronger electrical signals, capturing subtle details without requiring excessive preamplifier gain. This keeps your signal chain cleaner and reduces potential noise from downstream components.
Low sensitivity mics produce weaker outputs but offer greater headroom before clipping, making them ideal for loud sound sources or unpredictable recording environments where volume levels vary dramatically.
Your applications comparison should focus on matching sensitivity to your specific needs—high sensitivity excels in controlled studio settings where you’re capturing delicate vocal nuances, while lower sensitivity handles live performances and high-SPL recording environments more effectively without distortion. Remember that SPL decreases by 6 dB with each doubling of distance from your sound source, which directly impacts your microphone sensitivity and preamplifier gain requirements. When comparing microphones, those with lower dBV values actually indicate higher sensitivity despite the negative numbers appearing less favorable.
Signal-to-Noise Ratio Impact
While sensitivity tells you how strongly your microphone converts sound into electrical signals, the signal-to-noise ratio reveals whether that conversion actually delivers clean, usable audio or just amplified background hiss.
SNR measures the difference between your desired signal and the microphone’s inherent electrical noise, expressed in decibels. Higher SNR values mean cleaner recordings with less audible background noise interfering with your audio. This improved audio clarity becomes especially critical in professional applications where pristine sound quality is essential.
Different microphone applications demand varying SNR performance levels:
- Studio condenser microphones typically offer 70-85 dB SNR, with premium models exceeding 90 dB for controlled recording environments.
- Dynamic microphones usually provide 55-70 dB SNR, prioritizing durability over ultimate noise performance for live applications.
- Professional wireless systems can achieve 90-120 dB SNR, emphasizing minimal interference for broadcast-quality audio.
Understanding these specifications helps you match microphones to your specific recording environments and quality requirements. SNR specifications only apply to active microphone designs since passive ribbon and dynamic microphones generate no internal electronic noise.
Self-Noise Levels and Signal-to-Noise Ratio
Silence, ironically enough, becomes one of the most challenging aspects to achieve when you’re selecting a microphone for critical recording applications.
Self-noise levels, measured in dB-A, reveal how much internal noise your microphone generates independently of external sound sources, and this specification directly impacts your recording’s noise floor.
I’ve found that microphones below 15 dB-A provide excellent self noise reduction for quiet sources, while anything above 20 dB-A becomes problematic for studio work.
The signal-to-noise ratio, calculated as 94 dB minus the self-noise level, offers another perspective on this relationship—higher SNR values indicate cleaner output. When evaluating microphones, keep in mind that dynamic microphones typically achieve around 18 dB-A self-noise when paired with ultra-low noise preamps.
Understanding these interconnected specifications helps you choose microphones that won’t compromise your recordings with unwanted electronic hiss or background noise.
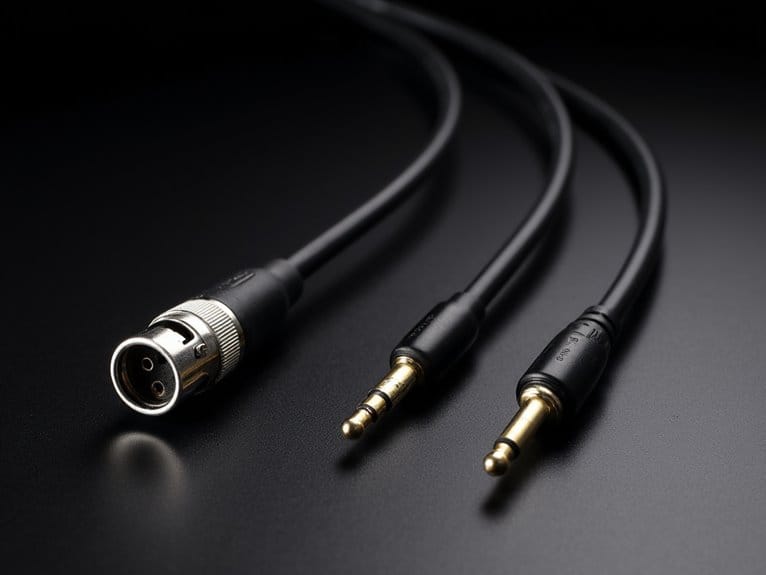
Impedance Matching and Load Requirements
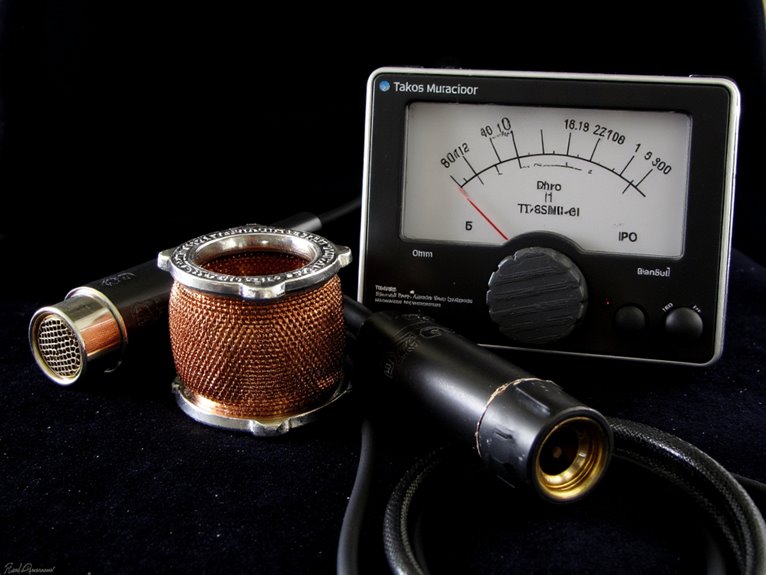
Beyond the internal noise characteristics we’ve just explored, your microphone’s impedance rating creates another layer of technical considerations that’ll directly affect how well it performs with your recording equipment.
Understanding impedance types helps you avoid costly mistakes I’ve witnessed countless times in studios:
- Low impedance (below 600Ω) – Standard for professional mics, typically around 150Ω
- Medium impedance (600Ω-10kΩ) – Less common, found in vintage equipment
- High impedance (above 10kΩ) – Often seen in budget consumer gear
Contrary to popular belief, perfect impedance matching techniques actually degrade your signal quality by causing 6dB loss.
Instead, make certain your preamp’s input impedance exceeds your microphone’s rating by at least ten times, reducing signal loss to under 0.5dB while preserving ideal frequency response and noise performance.
When selecting compatible equipment, prioritize low-noise preamps that maintain signal integrity throughout your entire audio chain, especially when working with sensitive condenser microphones that require phantom power. Professional interfaces featuring MIDAS preamps deliver exceptional audio clarity and improved signal-to-noise ratios for demanding recording applications.
Polar Pattern Classifications and Directional Behavior
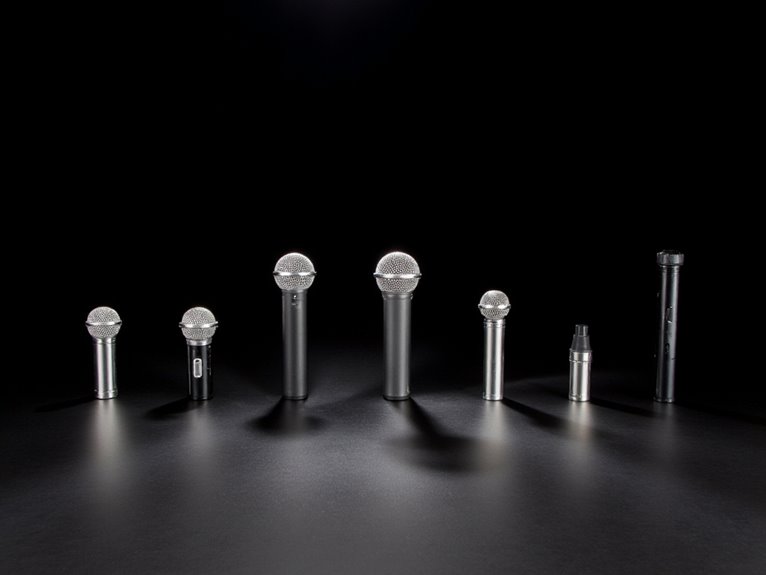
Directionality transforms your microphone from a simple sound-capturing device into a precision instrument that determines exactly what you’ll hear in your recordings, and frankly, it’s where most people make their biggest mistakes without realizing it. Understanding microphone directionality means knowing how different polar pattern applications affect your sound capture, and trust me, I’ve learned this the hard way through countless recording sessions.
| Pattern Type | Best Applications |
|---|---|
| Cardioid | Live vocals, instrument isolation |
| Omnidirectional | Ambient recording, group sessions |
| Bidirectional | Stereo techniques |
Each pattern’s sensitivity changes dramatically based on angle and frequency, with cardioid mics rejecting rear sounds while omnidirectional designs capture everything equally—making your choice critical for achieving professional results in any recording environment. Multiple dynamic microphones can be used together effectively, though proper setup requires monitoring levels carefully to avoid phase issues that can compromise your recording quality. For specialized applications requiring even tighter directionality, supercardioid pickup patterns provide superior background noise rejection by narrowing the field of capture beyond what standard cardioid microphones can achieve.
Maximum SPL Handling and Dynamic Range

When you’re selecting a microphone for recording applications, understanding maximum SPL limits becomes vital because this specification determines the loudest sounds your mic can capture before distortion creeps in and ruins your audio.
I’ve learned that dynamic range, which spans from the microphone’s noise floor to its maximum SPL threshold, fundamentally defines the full spectrum of sound levels you can record with clarity and precision.
You’ll find that modern condenser microphones typically handle anywhere from 117 dB to over 140 dB SPL, though these numbers can increase considerably when you engage built-in pad switches that attenuate the input signal.
Maximum SPL Limits
Maximum SPL handling represents one of the most critical yet often misunderstood specifications in microphone selection, as it determines the loudest sound pressure levels your mic can capture before distortion renders your recordings unusable.
Understanding distortion thresholds helps you recognize when your microphone’s overload capacity is being pushed too far, with audible distortion typically starting around 0.5% THD and becoming clearly noticeable at 10% THD.
Here’s what you need to know about SPL limits:
- Distortion doubles every 6 dB – As input levels increase, harmonic distortion compounds quickly.
- Pad switches extend headroom – Built-in attenuation can boost max SPL handling considerably.
- Peak levels exceed RMS by 20+ dB – Transient sounds hit much harder than average measurements suggest.
Modern condensers handle considerably higher SPLs than older designs, making them suitable for demanding applications.
Dynamic Range Importance
While maximum SPL tells you how loud your microphone can handle signals before distortion kicks in, dynamic range reveals the full spectrum of your mic’s performance capabilities, measuring the difference between those peak SPL limits and the microphone’s inherent self-noise floor.
I’ve found that dynamic range effects become particularly noticeable when you’re recording orchestras or film dialogue, where whispered conversations need to coexist with thunderous crescendos without losing detail.
For microphone selection, you’ll want at least 120 dB of dynamic range if you’re serious about professional recording, though I’ll admit that podcasters can often get away with less.
Condenser mics typically outperform dynamic models here, offering cleaner signal capture across wider volume variations.
Power Requirements and Polarization Types
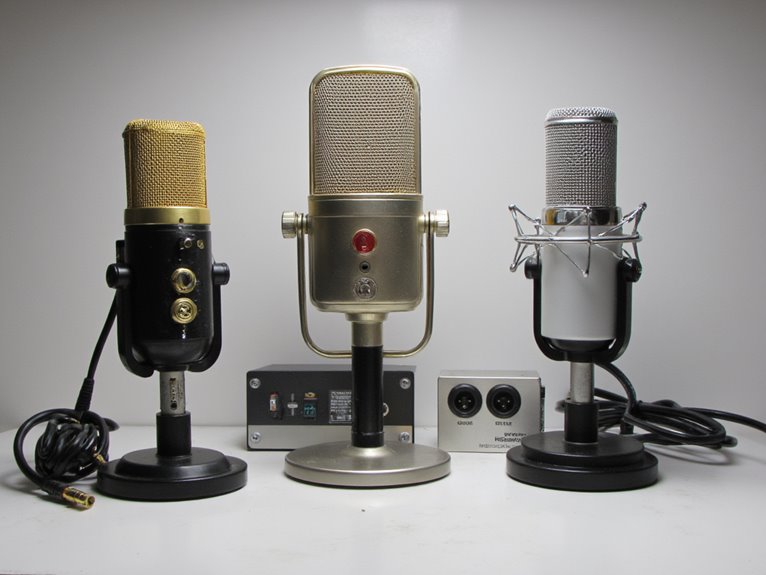
Before diving into the technical maze of microphone specifications, I should mention that understanding power requirements often determines whether you’ll actually be able to use a particular microphone with your existing equipment.
Different power types depend entirely on microphone design, and frankly, this distinction can save you from costly compatibility headaches.
Here’s what you need to know about microphone power systems:
- Dynamic microphones generate their own signal mechanically, requiring no external power whatsoever.
- Condenser microphones typically need 48V phantom power through XLR cables, though some use internal batteries.
- Tube microphones demand dedicated high-voltage power supplies for proper tube operation.
Polarization involves electrical charges applied to the microphone’s diaphragm or capsule, enabling sound-to-signal conversion through capacitance changes in condenser designs.
Many microphones with low output levels or gain-hungry designs like the Shure SM7B benefit significantly from dedicated mic preamps to achieve optimal recording quality. Dynamic mics typically require 40-60dB gain for professional results, making preamp selection crucial for achieving clean amplification.
Frequently Asked Questions
How Do Microphone Specifications Differ Between USB and XLR Models?
USB advantages include simplified specifications since you’re getting fixed internal preamps and converters that manufacturers optimize together, though this limits your upgrade options.
XLR flexibility means you’ll see wider specification ranges because performance depends on your chosen audio interface‘s preamp quality, sample rates, and bit depth capabilities, letting you customize the entire signal chain for professional results.
What Microphone Specs Are Most Important for Podcast Recording?
For podcast recording, you’ll want to prioritize cardioid pickup patterns that focus on your voice while rejecting background noise.
Dynamic range exceeding 120 dB SPL is necessary to handle loud speech without distortion, and frequency response should be tailored to vocal ranges around 80 Hz to 15 kHz.
I’d also recommend considering signal-to-noise ratios above 70 dB, moderate sensitivity levels that won’t capture excessive room noise, and built-in features like gain controls for real-time adjustments.
How Do Vintage Microphone Specifications Compare to Modern Digital Equivalents?
You’ll find vintage mics offer distinctive character through uneven frequency responses and tube warmth, but they’re inconsistent between units due to handmade capsules.
Modern digital equivalents prioritize precision with controlled frequency curves, solid-state electronics, and phantom power requirements.
While vintage characteristics include resonant peaks around 5.5 kHz creating that sought-after tone, digital clarity comes from linear responses and reduced self-noise, though they may lack the unique sonic fingerprint you’re seeking.
Which Specifications Matter Most When Choosing Microphones for Different Music Genres?
When I’m selecting microphones for different genres, you’ll want to prioritize dynamic range for loud rock performances, since dynamic mics handle high SPL without distortion.
On the other hand, frequency response becomes essential for acoustic genres where condenser mics capture subtle details.
For hip-hop vocals, you’ll need condensers with tailored frequency curves that emphasize presence, though I’ve learned that polar patterns matter equally for controlling ambient noise.
How Do Wireless Microphone Specifications Affect Sound Quality Compared to Wired?
Your wireless mic’s specifications directly impact sound quality through interference reduction capabilities and range limitations that I’ve tested extensively.
Modern wireless systems use 24-bit encoding, DSP processing, and dual-channel recording to match wired performance, though you’ll still face potential RF interference, battery dependency issues, and signal dropouts that wired connections avoid entirely through their direct physical connection.
On a final note
You’ve now got the essential knowledge to decode microphone specifications confidently, though I’ll admit these numbers can still feel overwhelming when you’re comparing models. Focus on the specs that matter most for your specific applications—whether that’s podcasting, recording instruments, or live performance—and don’t get caught up chasing perfect measurements that won’t impact your actual results in real-world situations.