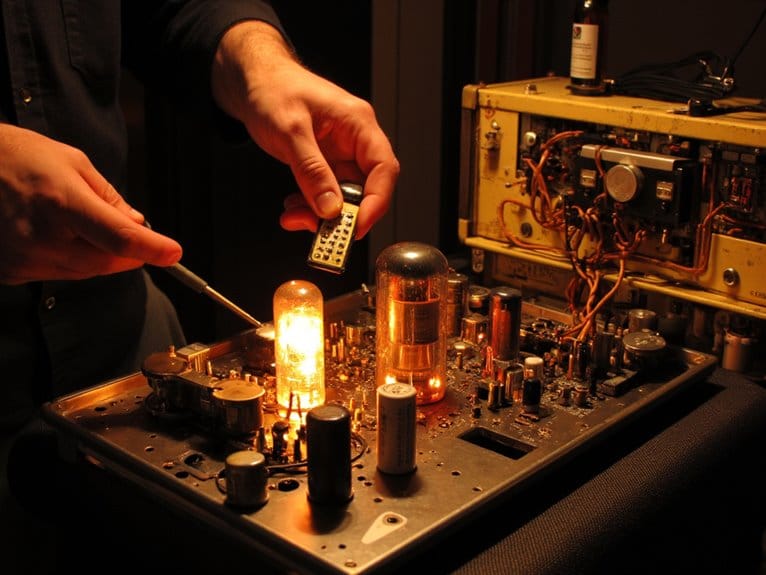
Understanding Microphone Gain Staging
Understanding microphone gain staging means managing signal levels from your mic’s capsule through every component until it reaches your recording device, ensuring you’ll capture clean audio without noise or distortion. You’ll need to balance your preamp’s amplification carefully, typically aiming for peaks around -6 dB to maintain headroom while avoiding the noise floor that plagues under-amplified signals. Different microphone types require varying gain amounts, with dynamic mics often needing 60-72 dB of clean amplification compared to sensitive condensers. Master these fundamentals, and you’ll reveal professional-quality recordings.
We are supported by our audience. When you purchase through links on our site, we may earn an affiliate commission, at no extra cost for you. Learn more.
Notable Insights
- Microphone gain staging manages signal levels from microphone capsule to recording device to optimize dynamic range while maintaining headroom.
- Different microphone types require varying gain amounts, with dynamic mics needing more amplification than sensitive condenser microphones.
- Start with input gain low and gradually increase while monitoring meters, aiming for average levels around -18 dBFS.
- Maintain peaks between -10 to -8 dBFS for adequate headroom and use 24-bit recording for better resolution and clarity.
- Use quality preamps, balanced connections, and proper cable shielding to prevent noise, interference, and signal degradation throughout the chain.
What Is Microphone Gain Staging and Why Does It Matter?
Microphone gain staging represents one of those foundational audio concepts that, while seemingly straightforward, can make or break your entire recording chain before you’ve even hit the record button.
I’ll admit, when I first encountered this concept, I underestimated its impact on final audio quality. Fundamentally, you’re managing signal levels at each step of your microphone’s path, from the capsule through preamps to your recording device.
Different microphone types, whether dynamic, condenser, or ribbon, each present unique gain requirements that affect how you’ll approach this process.
Each microphone type demands its own gain approach—dynamic mics need more boost, condensers less, ribbons require careful handling.
Poor gain staging introduces signal interference, noise, and distortion that’ll haunt your recordings later. You’re optimizing dynamic range while maintaining headroom, typically keeping peaks around -6 dB to preserve clarity without sacrificing loudness.
This approach provides the necessary buffer zone for unexpected volume spikes and transients that could otherwise cause clipping. A high signal-to-noise ratio allows for cleaner, professional-quality recordings, significantly influencing listener experience and overall sound clarity. Professional applications require microphones with SNR above 80 dB for optimal clarity in recordings.
Strategic microphone placement significantly affects gain staging since closer positioning increases signal strength and reduces the need for excessive preamplifier amplification.
The Role of Microphone Preamplifiers in Signal Amplification
When you’re setting up your microphone preamp, understanding its gain range capabilities becomes essential for capturing clean, professional audio that won’t compromise your recording quality.
You’ll need to master the delicate balance between boosting your signal enough to achieve ideal levels while preventing the clipping and distortion that can ruin an otherwise perfect take.
I’ve learned through countless sessions that developing solid ideal level setting techniques, which typically involve monitoring your input meters and adjusting gain incrementally, can mean the difference between amateur-sounding recordings and broadcast-quality audio. Quality preamps also serve as the foundation for maintaining excellent audio fidelity throughout your entire signal chain.
The preamp’s three distinct stages work together seamlessly, with the input stage receiving your microphone signals, the amplifier stage boosting them using transistors, and the output stage delivering the enhanced audio to your recording equipment. Demanding dynamic microphones like the SM7B often require substantial amplification, with professional preamps offering 72dB gain to properly drive these gain-hungry microphones. For optimal recording quality, aim for preamps with signal-to-noise ratios of 70 dB or higher to minimize unwanted hiss and maintain crystal-clear audio.
Preamp Gain Range Capabilities
At the heart of every professional recording setup, preamplifiers serve as the essential bridge between your microphone’s whisper-quiet electrical signals and the robust levels that your recording equipment actually needs to function properly.
When you’re examining gain range variations across different preamps, you’ll find that most modern units deliver approximately 60dB of amplification, though specialized applications may require up to 80dB for distant miking scenarios.
Digital preamps like the PGA2500 typically offer 10dB to 65dB ranges with precise 1dB increments, while professional hardware such as the API 312 provides +34dB to +69dB capabilities. Many engineers enhance their signal chains with line amplifiers that boost audio signals for improved clarity and presence.
Your preamp selection should consider these specifications carefully, as lower ranges around 40dB work perfectly for close-miked sources, while medium 60dB settings accommodate most standard recording situations effectively. Proper impedance matching between your microphone and preamp ensures optimal signal transfer and prevents power loss during transmission.
Preventing Clipping and Distortion
Three fundamental stages work together inside your preamplifier to transform those incredibly weak microphone signals into something your recording equipment can actually use, and understanding this process is essential for preventing the harsh clipping that’ll ruin your recordings.
The input stage handles signal reception and signal balancing, where quality transformers eliminate electromagnetic interference while contributing their own harmonic character. Here’s where transformer influence becomes significant—these components naturally roll off harsh frequencies while boosting low-end presence, directly affecting your headroom margins.
The amplifier stage uses transistors to boost levels without introducing noise, while the output stage delivers clean signal to your interface. Recording at 24 bits provides 256 times more resolution than 16-bit recordings, giving you much greater flexibility in post-production even when your gain staging isn’t perfect.
Proper gain staging means finding that sweet spot where you’re amplifying above your noise floor but staying well below clipping thresholds. Premium microphones paired with dedicated external preamps deliver significantly improved sound quality compared to internal preamps, as they provide the necessary phantom power and headroom for professional recording applications.
Optimal Level Setting Techniques
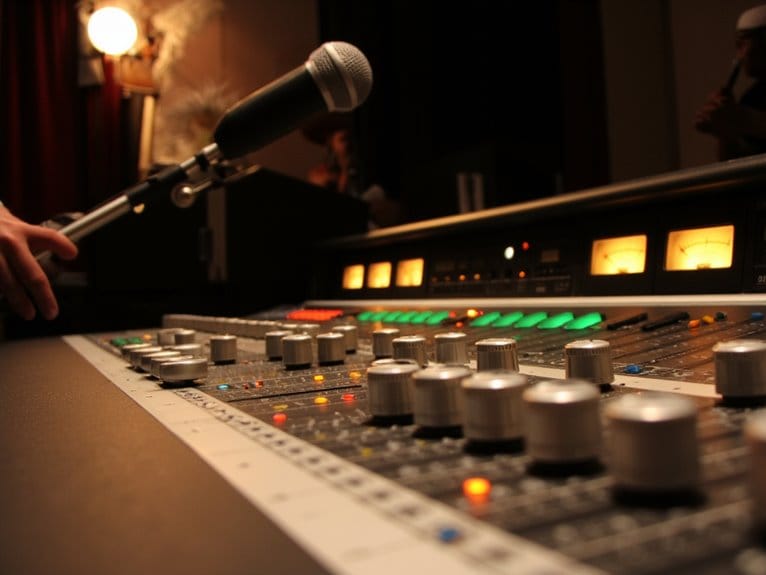
Getting your preamp levels dialed in properly represents the most critical decision point in your entire signal chain, because every piece of gear downstream will be working with whatever you establish at this stage.
I always start with input gain turned down, output at unity, then gradually increase input gain while watching my meters climb toward 0 dB without clipping.
For drums and percussion with fast transients, I’ll aim for -10 to -15 dB peaks since meters can’t always catch those lightning-quick spikes.
Microphone sensitivity settings play a huge role here—dynamic mics need more gain than condensers.
Audio level calibration becomes straightforward when you maintain unity faders during recording, keeping your gain staging transparent and predictable. Proper signal-to-noise ratio optimization ensures that your desired audio remains clear while minimizing unwanted background noise throughout the recording process. Always leave yourself a safety margin of extra headroom to handle unexpected peaks that can occur when performers get excited or project louder than anticipated.
How Microphone Placement Affects Your Gain Structure
While many audio engineers obsess over expensive preamps and pristine signal chains, I’ve learned that microphone placement often has a more dramatic impact on your gain structure than any piece of gear you’ll ever buy.
Your microphone placement directly determines how much gain you’ll need, affecting everything from noise floor to headroom.
Here’s how strategic positioning enhances your gain structure:
- Close placement (6-12 inches) captures stronger signals, requiring less gain amplification and preserving valuable headroom for dynamic peaks.
- Distant positioning forces higher gain settings, which amplifies ambient noise and reduces your effective signal-to-noise ratio.
- Directional microphones like cardioids allow closer placement while rejecting unwanted room reflections and background sounds.
- Proper polar pattern selection minimizes feedback potential, enabling ideal gain staging without compromising audio quality.
When working with high-output sources like kick drums, positioning your microphone to avoid phase cancellation ensures cleaner signal capture and more efficient gain utilization.
Understanding frequency response characteristics helps you position microphones to capture the full 20Hz to 20kHz range without unwanted coloration.
Smart placement beats expensive gear every time.
Managing Signal Levels Throughout the Audio Chain
Once you’ve captured that initial signal at your microphone, you’ll need to maintain ideal levels as it travels through each component in your audio chain, ensuring that your preamp, interface, and DAW all receive clean signals without degradation.
I’ve learned that proper level distribution means keeping your signal strong enough to stay above the noise floor while leaving sufficient headroom at each stage, typically aiming for those -18 dBFS average levels we discussed earlier.
Your downstream devices depend on receiving properly staged signals to perform their best work, whether that’s your audio interface’s converters or the plugins you’ll use during mixing. For optimal performance, look for interfaces that maintain a dynamic range specification of 106dB or higher to prevent distortion across all sound levels.
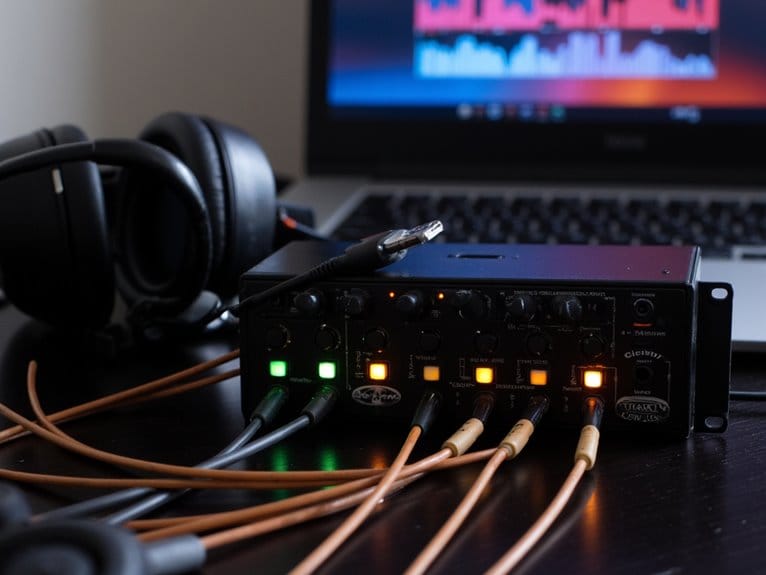
Modern audio interfaces with ultra-low-noise preamps can provide up to 69 dB of clean gain, giving you the flexibility to properly stage your signal levels without introducing unwanted noise into your recording chain.
Optimal Level Distribution
The foundation of professional audio lies in maintaining consistent signal levels throughout every stage of your recording and mixing chain, from the initial microphone preamp to the final master output.
When you’re working with microphone sensitivity and dynamic range considerations, you’ll need to establish ideal level targets that preserve your signal’s integrity while preventing unwanted distortion or noise floor issues.
Here’s how I approach ideal level distribution in my recording setup:
- Target -18 dBFS RMS for individual channels with peaks between -10 to -8 dBFS to maintain clean headroom.
- Adjust levels at the source using plugin volume controls rather than channel faders for better input control.
- Monitor both peak and RMS meters to track transient spikes and perceived loudness simultaneously.
- Maintain consistent bus output levels around -18 dBFS when combining multiple instruments.
Preventing Signal Degradation
After you’ve established proper levels at the input stage, your signal faces numerous opportunities for degradation as it travels through each component in your audio chain.
I’ve learned that maintaining signal integrity requires constant vigilance at every processing step. Electrical interference becomes your primary enemy here, particularly electromagnetic interference from power supplies, fluorescent lights, and digital devices that can inject unwanted noise into your pristine audio signal.
You’ll want to implement proper cable shielding, maintain adequate separation between audio and power cables, and use balanced connections wherever possible to reject common-mode interference.
I’ve found that copper tape strategically placed near signal paths, along with power conditioners and isolated grounds, dramatically improves your system’s resistance to EMI while preserving the clean signal you’ve worked to establish.
Downstream Device Preparation
Protecting your signal from degradation means nothing if you’re not properly managing levels as they flow through each downstream device in your audio chain. I’ve watched countless recording sessions fall apart because engineers focused solely on the microphone preamp while ignoring everything that came after.
Your signal conditioning strategy must account for every stage, from audio interfaces to DAW plugins, each requiring specific input levels for best dynamic response.
Here’s how I approach downstream preparation:
- Set interface inputs around -18 dBFS average to mirror analog 0 VU standards
- Maintain 6 dB headroom minimum before each processing stage
- Monitor green-yellow-red indicators consistently throughout your signal path
- Match plugin input levels to their designed operating ranges
This methodical approach prevents the cumulative gain errors that destroy otherwise pristine recordings.
Common Gain Staging Mistakes That Compromise Audio Quality
Even experienced audio engineers fall into predictable traps that sabotage their recordings, and I’ve witnessed countless sessions where simple gain staging oversights transformed promising performances into unusable audio.
Mismatched microphones create the foundation for disaster, particularly when you pair dynamic mics with quiet sources or condensers with loud instruments without adjusting your approach accordingly. Improper settings at the preamp stage cause irreversible clipping that destroys your waveform permanently, while overzealous amplification pushes levels dangerously close to 0 dBFS, eliminating essential headroom for mastering processing.
Monitoring neglect compounds these errors exponentially, allowing noise floors and distortion to accumulate unnoticed throughout your signal chain, ultimately compromising your mix’s clarity and professional viability.
Setting Optimal Preamp Gain Without Clipping or Noise
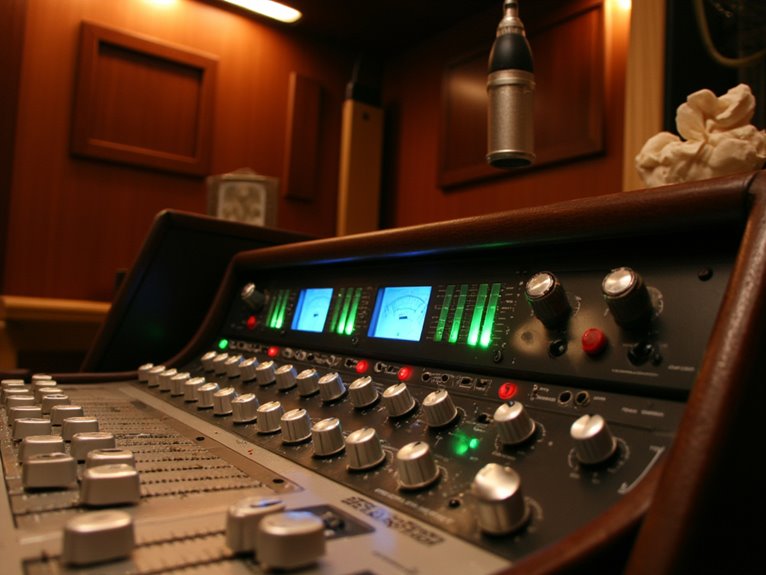
Once you’ve identified the gain staging pitfalls that plague most recordings, the real work begins with setting your preamp gain at that sweet spot where your signal stays clean, strong, and ready for processing.
Different preamp types handle gain differently, but the principle remains consistent across analog and digital designs.
Here’s my approach to ideal gain setting:
- Solo your channel and have the performer play at their loudest expected level
- Adjust preamp gain until your meters show -20 dBFS during peak performances
- Consider microphone sensitivity – condensers need less gain than dynamic mics
- Use pad switches when necessary to tame hot signals without sacrificing quality
This method maximizes your signal-to-noise ratio while maintaining headroom for transient peaks.
Frequently Asked Questions
Does Microphone Gain Staging Differ Between Dynamic and Condenser Microphones?
Yes, you’ll find significant differences when setting gain levels between these microphone types.
Dynamic mic advantages include higher gain tolerance due to their robust, passive design and lower self-noise characteristics. However, condenser mic sensitivity means they produce stronger output signals, requiring less preamp gain to reach ideal recording levels.
You’ll typically need 10-20dB more gain with dynamics compared to condensers for identical sources.
How Does Phantom Power Affect Gain Staging Requirements?
When you apply phantom power to condenser microphones, you’ll get a stronger, cleaner initial signal that requires less preamp gain, reducing your noise floor markedly.
Without it, you’re forcing yourself to crank up gain excessively to compensate for weak output, which introduces unwanted noise and artifacts.
I’ve found that proper phantom power application makes gain staging more predictable and professional-sounding.
Can Excessive Gain Staging Cause Phase Issues in Multi-Microphone Setups?
Yes, you’ll definitely encounter phase cancellation when you’re pushing gain levels too aggressively across multiple mics.
I’ve seen countless sessions where excessive gain staging amplifies timing discrepancies and reflections, creating destructive interference that’ll hollow out your mix.
When you overdrive preamps or stack heavy plugin gains, you’re introducing phase shifts that compromise mic alignment, making those subtle timing differences between capsules sound like obvious comb filtering artifacts.
What Gain Staging Considerations Apply When Using Microphone Splitters or DI Boxes?
When you’re using splitters or DI boxes, microphone quality becomes essential since you’re dividing signal strength across multiple outputs.
I’ve found that splitter configurations greatly impact your gain structure, with passive units typically dropping levels by 3-6dB per split. You’ll need to compensate upstream with higher initial gain, but watch for noise accumulation.
Active splitters maintain better signal integrity, while DI boxes require careful impedance matching to preserve your original dynamic range.
How Do Different Microphone Polar Patterns Impact Optimal Gain Structure?
Your polar pattern choice fundamentally changes gain staging strategy, since cardioids let you push levels higher due to directional rejection, while omnis require conservative settings to manage ambient pickup.
I’ve found bidirectional mics demand careful balance between their dual pickup zones for stereo imaging applications.
Each pattern’s proximity effect also influences how aggressively you’ll set input gain to avoid low-frequency overload while maintaining warmth.
On a final note
You’ve got all the tools now to nail proper gain staging, whether you’re tracking vocals in your bedroom studio or mixing a live show downtown. Remember, it’s not rocket science—watch your meters, trust your ears, and don’t be afraid to back off that preamp gain when things get spicy. Clean signal flow starts with smart decisions at the source, and you’ll thank yourself later when your mixes sound professional.

