Understanding Mic, Line and Instrument Input Differences
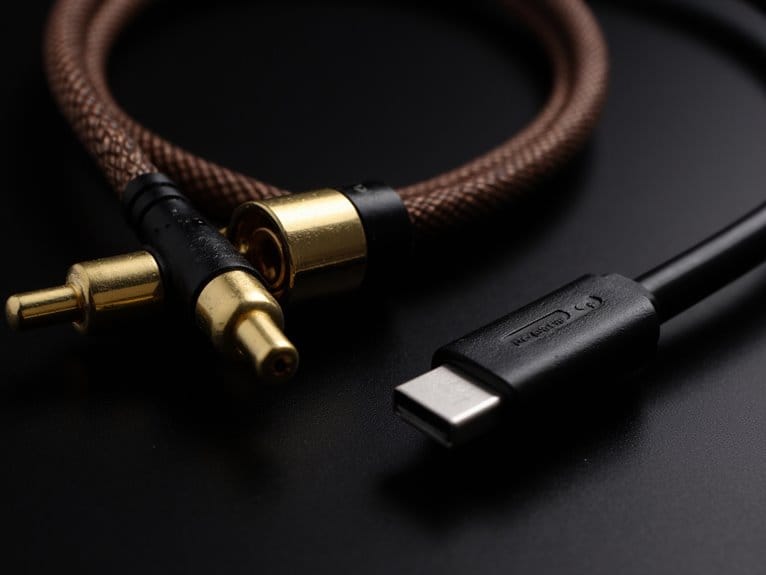
You’ll encounter three distinct signal levels when connecting audio sources: microphone inputs handle weak millivolt signals requiring high gain amplification, instrument inputs accommodate guitar-level signals with high impedance circuits to preserve tone, and line inputs accept pre-amplified signals from mixers or processors. Mic inputs use balanced XLR connectors with built-in preamps, while instrument inputs utilize 1/4″ jacks, and line inputs bypass amplification stages entirely. Understanding these differences prevents noise, distortion, and impedance mismatching that can compromise your recordings and reveal optimization techniques.
We are supported by our audience. When you purchase through links on our site, we may earn an affiliate commission, at no extra cost for you. Learn more.
Notable Insights
- Mic inputs amplify weak millivolt signals from microphones using built-in preamps and balanced XLR connections.
- Instrument inputs provide high impedance buffering for guitars and basses through unbalanced 1/4″ TS jacks.
- Line inputs accept already-amplified signals, bypassing preamp stages and connecting via TRS or XLR connectors.
- Signal levels range from millivolts (mic) to several volts (line), requiring proper matching to prevent distortion.
- Using wrong input types causes impedance mismatches, resulting in weak, noisy, or distorted audio recordings.
Signal Level Fundamentals and Electrical Characteristics
When I first started working with audio equipment, I’ll admit I was completely baffled by why my electric guitar sounded terrible when plugged directly into my audio interface’s mic input-but understanding the four distinct signal level categories in audio will save you from making the same rookie mistakes I did.
Each signal level operates within specific voltage ranges, from mic signals at mere millivolts to speaker-level signals exceeding several volts RMS, and these electrical characteristics determine compatibility between your gear. Professional equipment typically operates at +4 dBu standard while consumer gear uses −10 dBV reference levels.
Mic inputs expect weak signals requiring high gain, instrument inputs need high impedance to preserve signal integrity, while line inputs handle stronger, more stable voltages through lower impedance connections, making proper matching essential for ideal audio quality. Condenser microphones require phantom power to operate properly, which is typically supplied through the mic input of your audio interface or mixer. Mismatching these signal levels can result in increased noise floors or cause your equipment to overload and produce unwanted distortion.
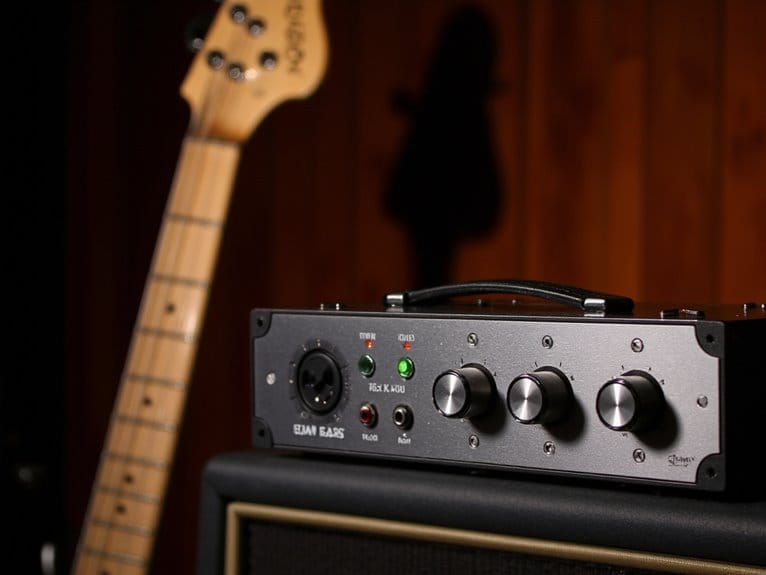
Hardware Components and Connection Types
After you’ve grasped the electrical fundamentals of signal levels, the physical hardware components and connectors become your roadmap for making proper connections-and trust me, understanding these hardware differences will prevent countless hours of troubleshooting mysterious audio problems.
Different input designs incorporate specific circuitry tailored to each signal type, while connector variations provide visual cues for proper matching.
Input circuitry and connector types work together as a visual and functional matching system for proper audio connections.
- Mic inputs feature built-in preamplifiers and female XLR connectors with balanced circuitry
- Instrument inputs use high-impedance buffers with 1/4″ TS jacks for unbalanced guitar signals
- Line inputs bypass preamp stages, accepting already-amplified signals through TRS or XLR connections
- Combo jacks merge XLR and 1/4″ connectors into single ports with switching capabilities
Modern interfaces often include hardware or software switches that toggle input characteristics, changing impedance and gain staging to accommodate different source types seamlessly. Most affordable interfaces provide 48V phantom power as standard equipment for powering condenser microphones that require external voltage to operate their active circuitry. Selecting the wrong input type can lead to signal overload when strong signals hit sensitive circuits or signal weakness when low-level sources meet inappropriate impedance. Speaker level signals require speaker cables for safe transfer due to their significantly higher voltage output from amplifiers.
Proper Gain Staging and Amplification Requirements
Once you’ve connected everything properly, getting your signal levels right becomes the make-or-break factor that separates clean, professional recordings from noisy disasters-and I’ll admit, I’ve learned this lesson the hard way more times than I care to count.
Proper gain staging techniques require you to aim for input peaks between -18 dBFS and -12 dBFS, giving your signals enough headroom while maintaining clarity. These amplification standards apply differently across your signal chain, where analog stages target 0 dBVU while digital stages prefer -12 to -14 dBFS for peak performance. Remember that every piece of analog equipment contributes to your overall noise floor, which accumulates throughout your entire signal chain and can degrade your final recording quality.
You’ll want to keep your mixer faders near unity gain, adjusting individual track levels instead of the master fader when clipping occurs, ensuring each processing stage maintains its sweet spot. VU meters remain an essential tool for monitoring these signal levels, carrying forward the proven analog recording practices that sound engineers have relied on for decades.
Common Mismatching Problems and Their Solutions
Even after you’ve mastered proper gain staging, input mismatching problems will still rear their ugly heads at the worst possible moments, and I’ve watched countless recording sessions grind to a halt because someone plugged a microphone into the wrong input type.
The most frustrating part about these issues is they’re completely preventable once you understand what causes them:
Understanding the root causes of input matching problems transforms these maddening technical roadblocks into easily avoidable setup mistakes.
- Impedance issues create signal attenuation when you connect low-impedance mics to high-impedance inputs, resulting in weak, noisy audio that’ll drive you crazy.
- Connection faults from damaged XLR cables or loose patches can mimic input problems, making troubleshooting unnecessarily complicated. Always check that cables and connections to your audio equipment are secure and undamaged before assuming the problem lies elsewhere.
- Driver problems prevent your interface from properly recognizing different input types, even when everything’s connected correctly. Sometimes audio drivers become corrupted and cause microphone inputs to fail across multiple devices, requiring driver updates or system repairs to restore proper functionality.
- Phantom power failures leave condenser mics completely silent, creating mystery no-signal situations.
On a final note
You’ve now got the essential knowledge to match your sources properly with your audio interface or mixer, which honestly makes all the difference between professional-sounding recordings and frustrating technical headaches. Remember that mic inputs need the most gain, instruments sit in the middle, and line signals pack the most punch, so when you’re connecting your gear, you’ll avoid those common impedance mismatches that plague beginners.