Understanding Electronic Drum Modules and Sound Libraries
Electronic drum modules transform your stick strikes into digital signals through piezoelectric sensors that detect velocity, timing, and strike zones, then trigger multi-layered samples from extensive sound libraries organized by velocity zones. You’ll connect via USB or MIDI for low-latency performance, while onboard effects processing including compression, EQ, and reverb shape your sound in real-time. Quality modules distinguish rim shots from head hits, apply velocity-sensitive mapping for dynamic response, and offer custom sample integration to personalize your kit’s sonic character—though mastering these systems reveals deeper creative possibilities.
We are supported by our audience. When you purchase through links on our site, we may earn an affiliate commission, at no extra cost for you. Learn more.
Notable Insights
- Electronic drum modules use ADC circuits and velocity mapping to convert drumstick impacts into dynamic digital sound output.
- Multi-layered sample architecture organizes drum sounds into velocity zones, with more layers creating more realistic sound reproduction.
- Piezoelectric sensors and multi-zone triggers detect strike force, pressure, and positioning to distinguish between rim shots and head hits.
- Custom sample integration allows personalization through format verification, sample preparation, and strategic assignment for enhanced sonic palette.
- Insert effects process individual drum voices inline while master effects use auxiliary sends to blend processed and dry signals.
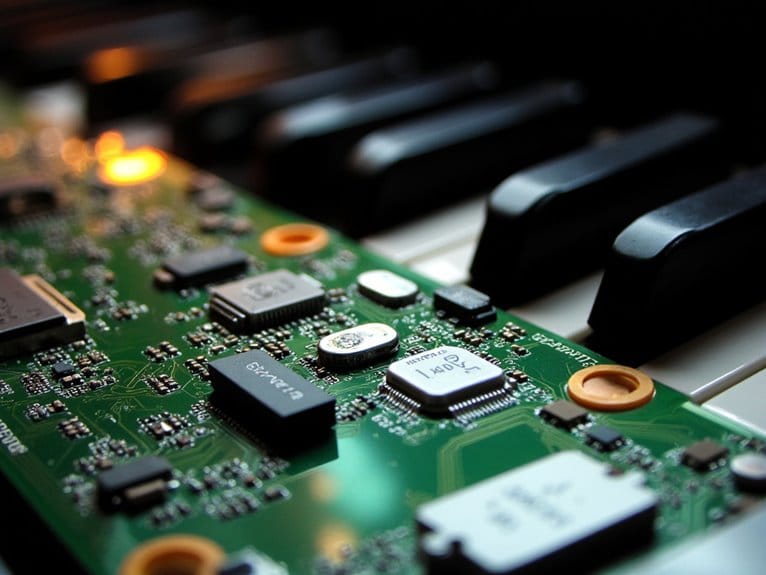
How Electronic Drum Modules Process Sound Signals
The magic happens the moment your drumstick connects with an electronic pad, triggering a sophisticated chain of digital processing that I’ve come to appreciate after years of working with these systems.
The instant your stick hits the pad, years of digital engineering transform that simple strike into musical magic.
Your drum module immediately performs digital signal conversion, transforming the analog piezo sensor output through ADC circuits that capture every nuance of your strike.
During signal analysis, the module processes velocity data, positional information, and timing parameters while filtering out unwanted noise through signal conditioning algorithms.
I’m constantly impressed by how these systems detect multi-zone strikes, distinguishing between rim shots and head hits with remarkable accuracy.
The module then applies velocity sensitivity mapping, ensuring your softest ghost notes and hardest accents translate into appropriately dynamic sound output. This sophisticated processing enables the playback of multi-layered samples that provide authentic sound variation based on your strike intensity and playing technique.
The drum module’s sound library contains pre-installed drum kits and percussion instruments that give you access to countless sonic possibilities for different musical genres.
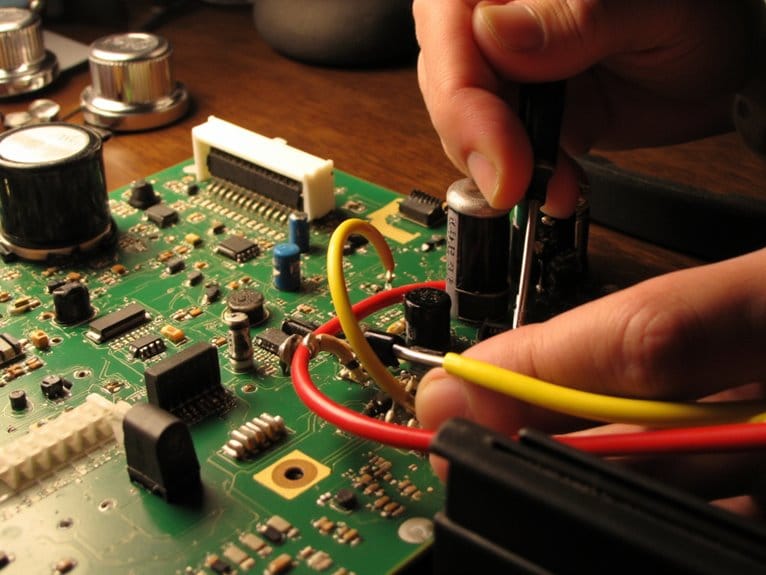
Transducers and Trigger Technology Fundamentals
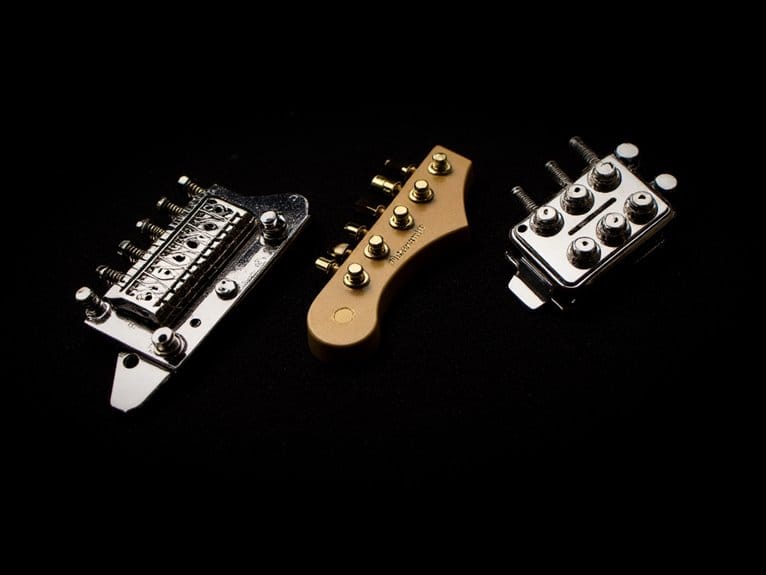
Behind every responsive electronic drum pad lies a sophisticated network of transducers that I’ve learned to appreciate through countless hours of testing different trigger systems across various price points and manufacturers.
You’ll find piezoelectric sensors dominating most setups, converting mechanical strikes into voltage signals with impressive reliability. Dynamic triggers offer enhanced trigger sensitivity by detecting both impact force and pressure variations, while clip-on models transform acoustic drums into hybrid systems without compromising feel.
Multi-zone sensors represent the evolution I’ve witnessed firsthand, enabling rim shots and cross-stick techniques through strategic placement on drumheads and rims. These systems excel at maintaining lower noise levels during practice sessions while preserving the dynamic response that serious drummers demand.
Advanced transducer types like multi-sensor arrays push boundaries further, though proper mounting remains essential for preventing false triggering from sympathetic vibrations that can frustrate even experienced players during complex performances.
Sound Libraries and Multi-Layered Sampling Systems
When you’re exploring electronic drum modules, you’ll discover that the heart of their realistic sound reproduction lies in sophisticated multi-layered sample architecture, which captures multiple recordings of each drum at different strike intensities to create dynamic, expressive playback that responds naturally to your playing style.
Modern modules typically house extensive sound libraries containing dozens of drum kits, percussion instruments, and effects, with each sound often featuring numerous velocity layers that trigger distinct audio samples based on how hard you hit the pad.
What makes these systems particularly versatile is their ability to integrate custom samples and third-party libraries, allowing you to import your own recordings or download professional content that expands your sonic palette far beyond the factory presets.
Multi-Layered Sample Architecture
Although many drummers don’t realize it, the difference between a convincing electronic drum kit and one that sounds obviously fake often comes down to multi-layered sample architecture—a sophisticated approach that captures the true dynamic response of acoustic drums.
Unlike basic sample players that simply adjust volume based on how hard you hit, proper sample layering uses multiple recordings of each drum piece at different strike intensities, triggering specific samples based on your velocity input to replicate authentic acoustic dynamics.
Modern drum modules organize these samples into velocity zones, with each MIDI velocity range activating its corresponding sample. When you strike softly, you’ll hear a gentle recording; hit harder, and a more aggressive sample triggers, preserving the natural tonal shifts that make acoustic drums so expressive.
Custom Sample Integration
Expanding your drum module’s sonic palette through custom sample integration transforms your electronic kit from a collection of preset sounds into a personalized instrument that reflects your unique musical vision.
Through custom editing and sound assignment processes, you’ll gain unprecedented control over your kit’s character, though I’ll admit the initial learning curve can feel overwhelming.
Essential preparation steps include:
- Format Verification – Confirm your module supports WAV files at appropriate bit depths and sample rates
- Sample Preparation – Trim audio precisely and normalize levels to prevent distortion during playback
- Storage Planning – Calculate memory requirements against your module’s capacity limitations before importing multiple samples
- Assignment Strategy – Map samples across pads and trigger zones to maximize your kit’s expressive potential
Custom editing transforms generic sounds into signature tones.
Just as reed plate materials directly affect tone quality and responsiveness in harmonicas, the quality of your custom samples and their processing will fundamentally shape your electronic kit’s sonic character and performance capabilities.
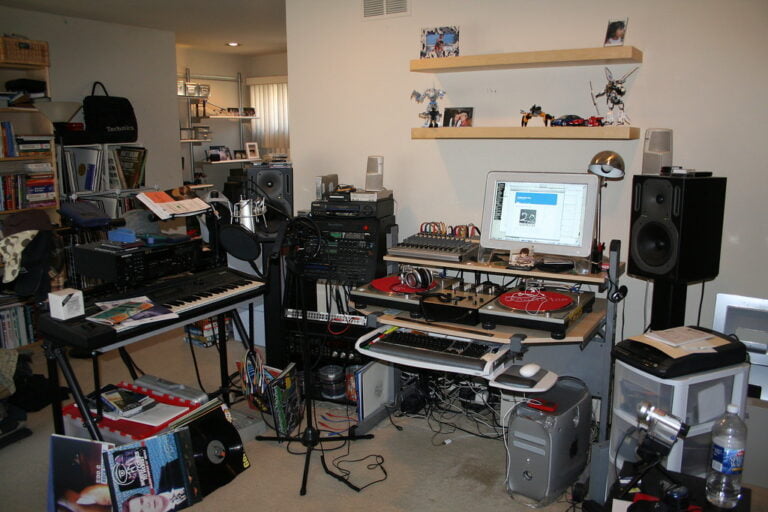
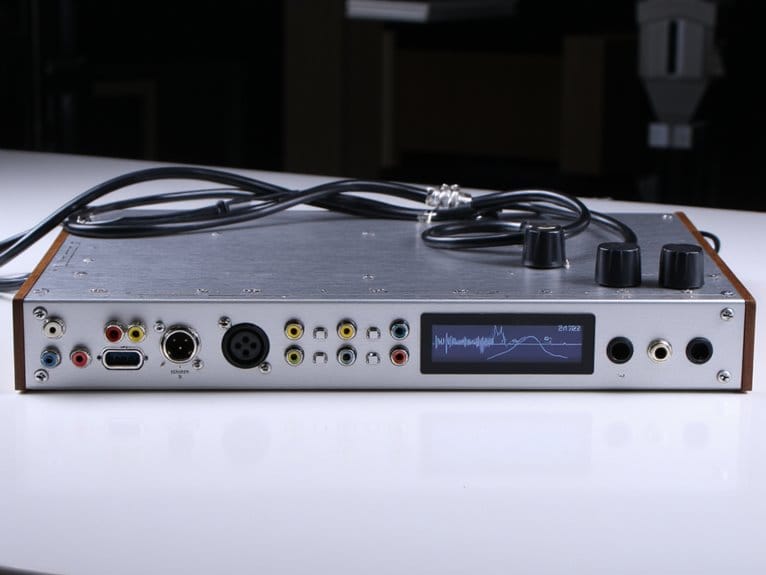
Connectivity Options for Studio and Live Performance
Most electronic drum modules today offer multiple connectivity options that’ll determine how effectively you can integrate your kit into studio workflows and live performance setups.
I’ve found that understanding these connections early on saves countless headaches down the road. USB advantages include plug-and-play functionality with direct computer connections, eliminating extra hardware while providing low-latency performance reliability for both studio setup and live performance scenarios.
MIDI flexibility remains essential for triggering external sound libraries and maintaining device compatibility with legacy gear through MIDI-to-USB interfaces.
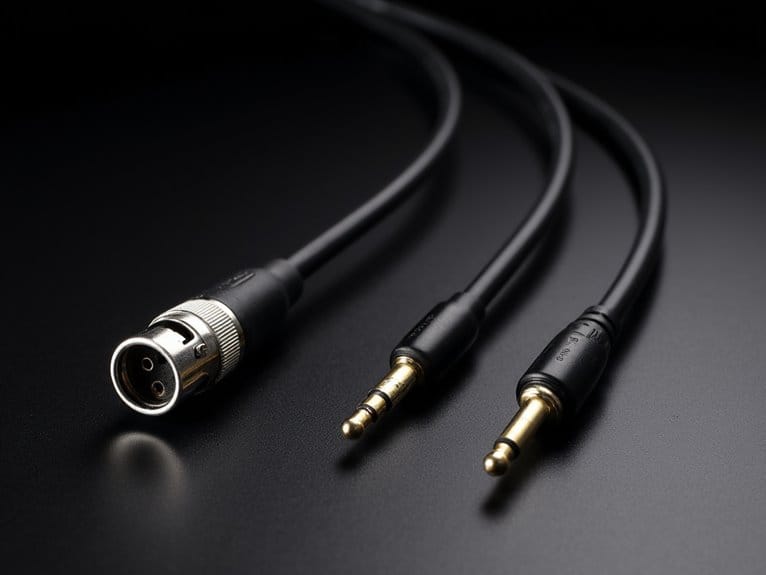
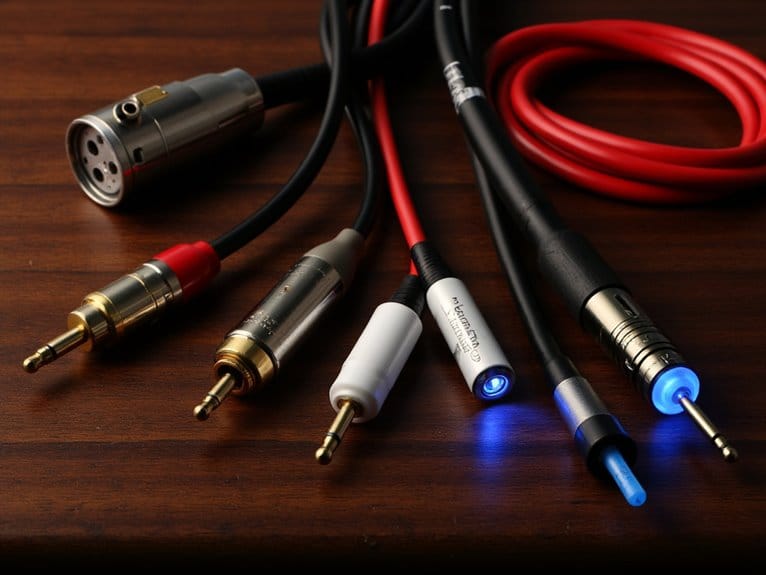
Audio output options range from standard quarter-inch jacks to balanced XLR connections, ensuring clean signal transmission to amplifiers or audio interfaces.
Wireless features like Bluetooth connectivity offer convenience for backing tracks and practice apps, though connectivity challenges may introduce latency issues that limit professional applications, ultimately affecting your integration potential.
Effects Processing and Sound Enhancement Features
When you’re exploring the effects capabilities of modern drum modules, you’ll encounter a sophisticated array of onboard processing tools that range from basic reverb and delay to advanced transient shapers and parametric EQs.
The key distinction you’ll need to understand lies between master effects, which process your entire drum mix simultaneously, and insert effects, which target individual pads or drum channels for precise sound sculpting.
Most modules I’ve tested offer real-time parameter adjustment through dedicated knobs or touchscreen interfaces, allowing you to shape attack characteristics, add compression for punch, or layer multiple effects chains without the latency issues that plague some computer-based setups.
Onboard Effects Types
The heart of any electronic drum module’s creative potential lies in its onboard effects processing, which transforms basic drum samples into polished, professional sounds that rival those found in commercial recordings.
You’ll find that modern modules offer extensive effect suites that enhance every aspect of your performance, from subtle ambiance to dramatic sound design.
The essential onboard effects categories include:
- Reverb types – Hall, room, and plate algorithms create natural spatial depth
- Dynamic control – Compression and limiting for punch and consistency
- Modulation effects – Chorus, flanger, and phaser for movement and texture
- Distortion techniques – Overdrive and saturation for aggressive tones
Higher-tier modules typically provide individual drum processing alongside global effects, while entry-level units often apply effects to the entire kit, limiting your sample editing flexibility.
Real-Time Sound Shaping
Beyond the static processing capabilities we’ve explored, electronic drum modules truly shine when they respond dynamically to your playing in real-time, transforming each strike into an expressive performance that adapts to your touch, timing, and intensity.
Velocity-sensitive triggering forms the foundation, where harder hits produce different timbres, volumes, and harmonic content than gentler touches, mimicking acoustic drum behavior with remarkable accuracy.
Real-time humanization algorithms eliminate mechanical artifacts by smoothing velocity shifts, while behavioral modeling simulates shell resonance and component interactions for authentic sound response.
You’ll find modular effects chains allowing instant filtering and modulation during performance, plus AI-assisted customization that adapts sounds to your musical context.
This dynamic sound design capability transforms simple sample playback into nuanced, living instruments that breathe with your performance style.
Master Vs Insert Effects
Most electronic drum modules handle effects processing through two distinct signal paths that’ll dramatically impact how you shape your kit’s sound, and understanding the difference between master sends and insert effects can mean the difference between a muddy, CPU-taxing mess and a polished, professional mix that breathes with spatial depth.
Insert effects process individual drum voices completely inline, replacing your original snare or kick signal with compressed, EQ’d, or saturated versions. Master effects operate through auxiliary sends, blending processed audio with your dry signals on separate channels.
Here’s how I typically route effects on modern modules:
- Compression and EQ go on inserts for precise drum shaping
- Reverb and delay route through master sends for shared ambience
- Distortion effects work best as inserts for character enhancement
- Modulation effects can work either way depending on your creative intent
Performance Optimization and Latency Management
When you’re setting up your electronic drum module for peak performance, I’ve found that proper optimization can make the difference between a frustrating practice session and one that feels as natural as playing an acoustic kit.
Performance adjustment begins with fine-tuning your threshold and sensitivity settings, which I consider the foundation of responsive triggering. You’ll want to balance these parameters so your module captures both whisper-soft ghost notes and thunderous backbeats without false triggers ruining your groove.
Effective latency techniques involve choosing high-speed USB or MIDI interfaces, keeping firmware updated, and selecting modules with optimized hardware designs.
I’ve learned that even mechanical factors like pad sensor technology greatly impact signal extraction speed, so investing in quality components pays dividends in real-time responsiveness during demanding performances.
Frequently Asked Questions
Which Brands Make the Most Reliable Electronic Drum Modules?
Roland stands out for exceptional reliability in professional electronic drum modules, consistently earning top ratings from experts. When making Alesis comparisons, you’ll find they offer solid value and stability, though Roland maintains the industry’s best reputation.
Can Electronic Drum Modules Work With Acoustic Drum Triggers?
Yes, you can use electronic drum modules with acoustic drum triggers. Check trigger compatibility with your specific module first. Many drummers create hybrid setups by mounting triggers on acoustic drums for expanded sound options.
On a final note
You’ve now got the essential knowledge to navigate electronic drum modules confidently, from understanding how triggers convert your strikes into digital signals, to selecting sound libraries that match your musical style. Whether you’re connecting to studio gear or managing latency for live performances, these fundamentals will help you make informed decisions. Remember, the best module isn’t necessarily the most expensive—it’s the one that fits your specific needs and workflow perfectly.