Understanding Audio Interface Specifications and Features
When you’re shopping for an audio interface, you’ll need to understand key specifications like preamp gain range (typically 55-65 dB), input types (XLR for mics, Hi-Z for instruments), and digital converter quality (look for 24-bit/192kHz resolution, SNR above 110 dB). Connection options include USB, Thunderbolt, or ADAT for expansion, while bus power eliminates external adapters for smaller units. Marketing claims often exaggerate performance, so focus on real-world specs like THD+N below 0.001% and flat frequency response. We’ll explore how these technical details impact your actual recording quality.
We are supported by our audience. When you purchase through links on our site, we may earn an affiliate commission, at no extra cost for you. Learn more.
Notable Insights
- Audio interfaces require 24-bit/192kHz resolution and ultra-low noise preamps below -120 dB for professional recording quality.
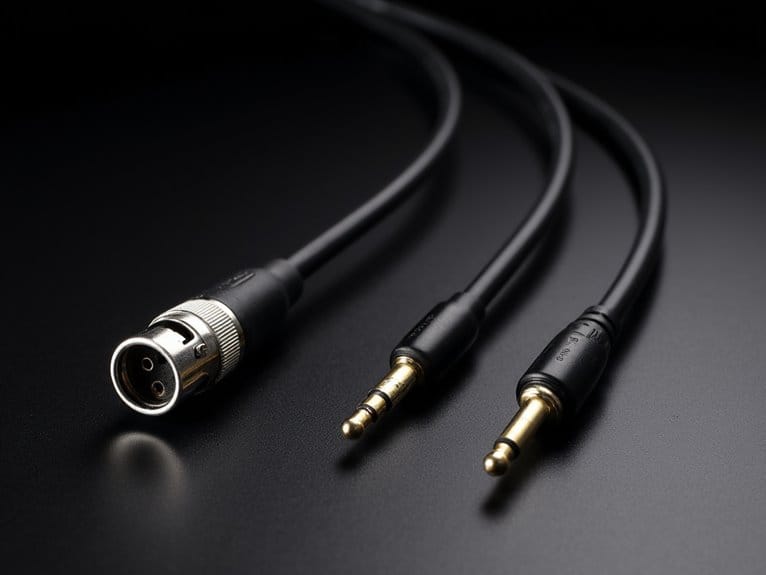
- Combo jacks accept both XLR and 1/4″ TRS connections, while Hi-Z inputs optimize signal capture from electric instruments.
- Digital expansion through ADAT Optical adds eight channels, while AES3/S/PDIF provides two additional low-latency channels.
- USB-C and Thunderbolt connections offer the best performance for latency and efficiency in modern recording setups.
- Key specifications include SNR above 110 dB, THD+N below 0.001%, and flat frequency response across the audible spectrum.
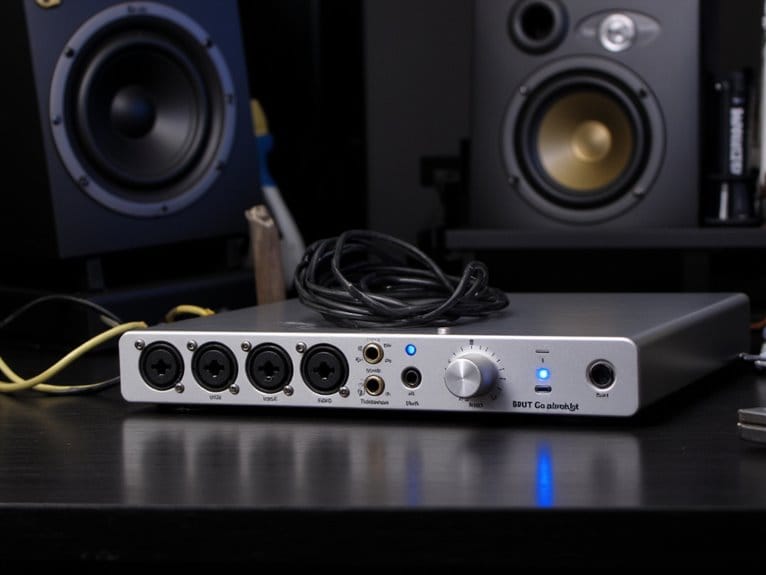
Input and Output Configurations Explained
When you’re evaluating audio interfaces, understanding the input and output configurations becomes essential since these specifications directly determine how many sources you can record simultaneously and how you’ll route audio throughout your studio setup.
Input versatility comes from combo jacks that accept XLR microphone connections or 1/4″ TRS line inputs, allowing you to connect everything from dynamic microphones to synthesizers without adapters. Most interfaces include built-in preamps for mic-level signals, though some professional models skip preamps entirely, expecting you’ll use external ones.
Output routing flexibility varies markedly between models, with some providing more outputs than inputs to accommodate monitor feeds, headphone mixes, and external processing chains. Digital I/O like ADAT can dramatically expand your channel count beyond analog connections. Professional interfaces often include S/PDIF connections for transferring uncompressed digital audio between compatible devices.
Higher-end interfaces often feature Hi-Z inputs specifically designed for electric guitars and bass guitars that require high-impedance connections for optimal signal capture. Input channel requirements must align with your recording complexity, as limited inputs may restrict multi-mic setups for larger projects, with various interfaces offering different numbers of inputs to accommodate simultaneous recordings. The quality of mic preamps has a direct impact on recording quality, making it an important consideration when selecting an interface.
Physical Connections Vs Software Channel Counts
While physical jacks determine what you can plug directly into your interface, the software channel count reveals the true recording capacity once you factor in digital expansion options.
You’ll find that ADAT connections can add eight channels per optical port, while SPDIF contributes just two additional channels, making this digital vs analog distinction vital for planning your setup.
Your interface’s channel management capabilities depend heavily on the connection type you’re using, with Thunderbolt typically offering superior bandwidth compared to USB for handling expanded channel counts. Modern interfaces often feature XLR combo connectors that accept both XLR and quarter-inch jacks, maximizing your input flexibility within the available physical space.
The firmware and drivers play essential roles in recognizing these digital expansions, ensuring your DAW properly registers all available channels beyond the physical connectors you can actually see and touch. When evaluating interfaces, ensure they support at least 24-bit/192kHz resolution for capturing detailed audio with professional-grade fidelity. However, ADAT’s channel capacity drops to four channels when operating at 96 kHz sample rates, which affects your recording options at higher quality settings.
Microphone and Instrument Input Types
Beyond the digital expansion capabilities that determine your total channel count, you’ll encounter three primary input types that handle the actual signal sources flowing into your interface: microphone, instrument, and line level inputs.
Microphone inputs utilize XLR connectors with built-in preamps, providing phantom power for condenser microphone types while maintaining balanced, low-noise connections.
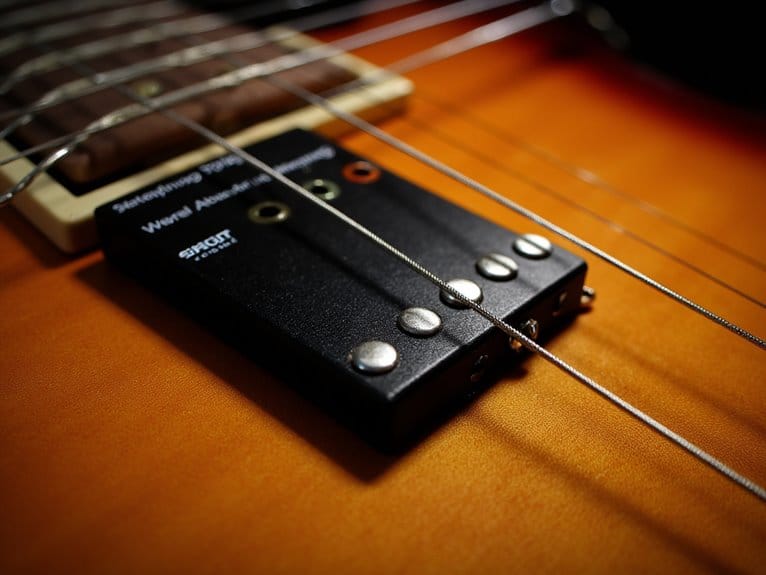
Instrument inputs feature Hi-Z 6.35mm jacks optimized for electric guitars and basses, preserving signal integrity through proper impedance matching. For bass guitars specifically, many musicians incorporate DI boxes before connecting to audio interfaces to achieve professional signal conversion and eliminate potential ground loop issues.
Line inputs handle stronger signals from keyboards and mixers, typically bypassing preamp gain stages entirely. These inputs must accommodate the maximum input level to ensure signals are neither too weak nor overloading the input.
Many interfaces employ combo connectors that merge XLR and quarter-inch jacks into single ports, enhancing input compatibility while conserving space—though this convenience sometimes compromises dedicated signal optimization compared to separate, purpose-built inputs. Quality preamps play a crucial role in recording clarity, with ultralow-noise preamps being essential for minimizing interference and achieving professional results. Interfaces typically connect to computers through USB, Thunderbolt, Firewire, or ethernet connections depending on your system’s available ports and bandwidth requirements.
Digital Input Expansion Options
Although analog inputs handle your immediate recording needs, I’ve found that digital input expansion truly transforms an interface from a basic recording tool into a complete studio hub. Through optical connections like ADAT Lightpipe, you can add eight channels per port, dramatically boosting your channel counts without compromising audio quality during conversion processes.
| Connection Type | Channel Count | Primary Use | Latency Impact |
|---|---|---|---|
| ADAT Optical | 8 channels | Home/project studios | Minimal increase |
| AES3/S/PDIF | 2 channels | Simple expansions | Negligible |
| MADI | 64+ channels | Professional facilities | Low with proper sync |
| Ethernet | Variable | High-end systems | Depends on protocol |
Expansion devices, including digital mixers with quality preamp features, maintain excellent signal integrity while requiring careful attention to synchronization requirements, ensuring your expanded setup delivers professional results. Digital mixers offer greater flexibility with advanced features compared to analog alternatives, making them ideal for modern recording setups. These systems serve as a crucial bridge between your computer and the extensive external analog audio gear in your studio. This approach eliminates the frequent patching and cable management that typically slows down recording sessions. Professional interfaces with comprehensive connectivity options include multiple XLR/TRS combo inputs alongside MIDI I/O capabilities for seamless integration with electronic instruments and gear.
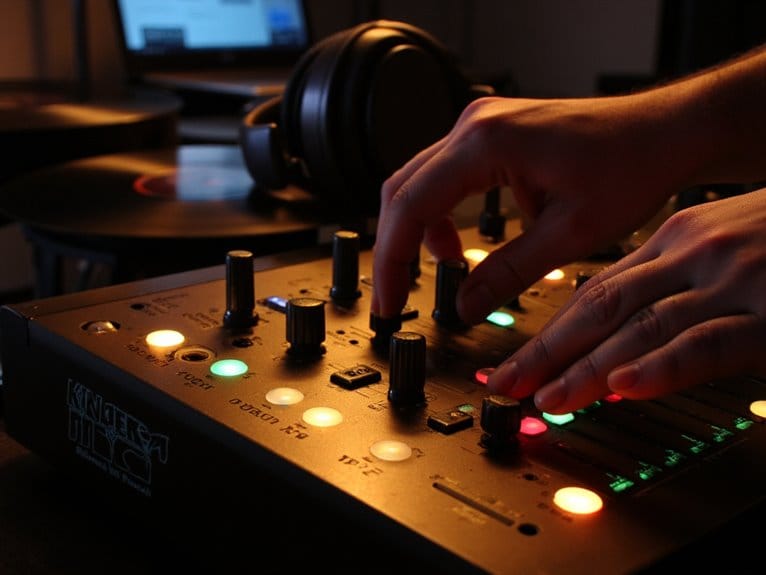
Gain Control and Signal Amplification
When I first started evaluating audio interfaces, I quickly discovered that gain control represents one of the most critical yet misunderstood aspects of signal amplification, directly determining whether you’ll capture clean, professional recordings or struggle with noisy, distorted audio.
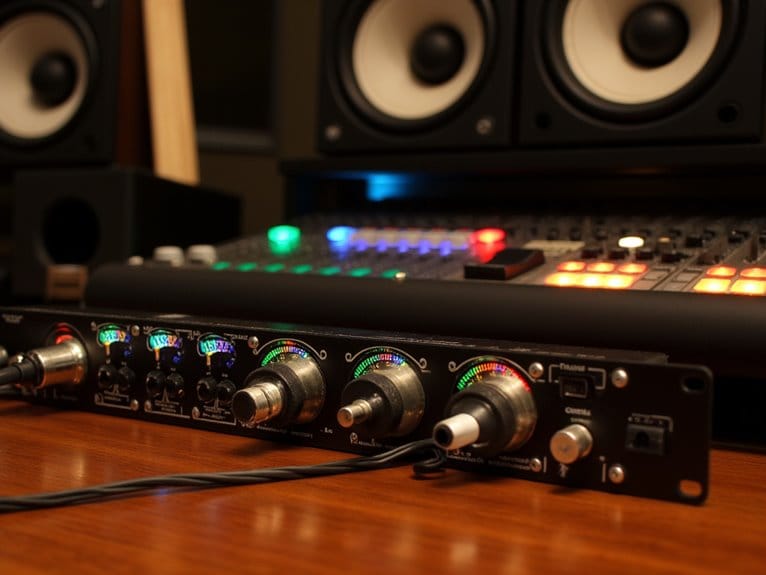
Most interfaces offer a 55 to 65 dB gain range, which I’ve found adequate for standard recording applications, though high-end preamps like Focusrite’s ISA units provide up to 80 dB for demanding scenarios. The Scarlett 18i20 features ultralow-noise mic preamps with up to 69 dB gain, delivering exceptional performance for complex recording setups. However, comparing gain specifications between manufacturers can be misleading since some state gain range while others list maximum preamp gain, leading to confusion when evaluating different models.
Effective gain adjustment techniques involve monitoring visual meters for real-time feedback, preventing clipping while maintaining strong signal strength. Advanced interfaces now include Auto Gain and Clip Safe modes that automatically optimize input levels to prevent distortion during recording. Verifying gain specifications from multiple sources helps ensure accuracy when evaluating different interface models, as manufacturers may present data inconsistently.
Digital gain options, typically adding up to 20 dB, complement analog preamps but require careful implementation. Proper noise reduction strategies include optimizing analog gain first, since it maintains transparency better than digital amplification.
Preamp Quality and Performance Range
After years of testing dozens of audio interfaces across every price range, I’ve learned that preamp quality fundamentally determines whether your recordings sound amateur or professional, with the performance range serving as the technical backbone that separates budget units from genuine studio-grade equipment.
The gain range becomes your first indicator—while budget interfaces typically max out around 55dB, professional units push 65-80dB, accommodating everything from ribbon mics to dynamic sources.
Different preamps types, whether transparent Class A designs or colored tube-style circuits, affect signal integrity in distinct ways.
You’ll notice how low noise floors, typically under -120dB in quality units, preserve delicate details that cheaper preamps simply crush under their own electronic noise, making the difference between polished recordings and frustrating amateur sessions.
Professional interfaces like RME’s lineup demonstrate this principle through their rock-solid driver stability and pristine preamp design, which explains why they maintain 10-15 year lifespans in demanding studio environments.
Headphone Output Power and Monitoring
When you’re evaluating audio interfaces, headphone output power becomes critical since you’ll need sufficient wattage to drive your specific headphones to adequate listening levels without distortion, particularly if you’re using high-impedance models that demand more power.
You’ll also want to take into account whether you need multiple headphone outputs for collaborative sessions, as this feature allows several people to monitor simultaneously without requiring additional headphone distribution amplifiers.
I’ve found that understanding these power requirements upfront saves considerable frustration later, especially when you discover your interface can’t properly drive those expensive studio headphones you just purchased.
Output Power Requirements
While shopping for audio interfaces, I’ve learned that understanding output power requirements can make or break your monitoring experience, especially since headphone outputs and monitoring systems demand different power considerations that directly impact sound quality and volume capabilities.
Your headphone sensitivity determines how much power you’ll actually need, since high-sensitivity models require considerably less juice than their low-sensitivity counterparts.
Here’s what affects your power requirements:
- Headphone impedance and sensitivity ratings – Higher impedance headphones typically need more power to reach ideal listening levels.
- Monitor speaker power demands – External monitoring power often exceeds what interfaces can provide internally.
- Signal-to-noise ratio maintenance – Adequate power delivery keeps your SNR clean and interference-free.
- Output impedance matching compatibility – Proper matching prevents frequency response issues and maintains audio fidelity.
Multiple Headphone Outputs
Two headphone outputs enable collaborative possibilities that I’ve found invaluable during recording sessions, since musicians and producers can monitor different mixes simultaneously without the awkward cable-sharing dance that plagued my earlier studio days. Dual monitoring capabilities transform your audio interface design from basic playback into a sophisticated control center, where independent mixes enhance monitoring efficiency dramatically.
| Feature | Benefit |
|---|---|
| Independent Volume Controls | Precise level adjustment per user |
| Dual Monitoring Outputs | Separate mixes for different headphone types |
| Noise Reduction Circuitry | Clean audio without interference |
| Multiple Impedance Support | Compatible with consumer and professional gear |
You’ll discover that modern interfaces accommodate various headphone types, from 32Ω consumer models to 600Ω professional cans, while maintaining excellent user experience through dedicated volume controls and robust noise reduction systems.
Multiple Headphone Jack Configurations
Although entry-level audio interfaces typically offer just one headphone output, I’ve found that mid to high-end models often feature two or more outputs. This becomes essential when you’re working with multiple musicians, producers, or engineers who need simultaneous monitoring capabilities.
Multiple headphone outputs become crucial when collaborating with several musicians who need independent monitoring during recording sessions.
Understanding different headphone jack types and their configurations considerably impacts your monitoring workflow. Here’s what I’ve observed in professional setups:
- Separate amplifier circuits per output maintain independent volume control and signal quality for each listener.
- Different monitor mix assignments allow customized headphone feeds for vocalists versus instrumentalists during recording sessions.
- Mixed connector sizes accommodate various headphone types, from consumer 3.5mm earbuds to professional 6.35mm studio monitors.
- Combined headphone-line outputs provide flexibility for connecting external amplifiers or powered speakers alongside direct headphone monitoring.
Critical Audio Quality Specifications
Beyond the physical connections and headphone configurations, the real magic happens inside your audio interface where analog signals get converted to digital data and back again, and I’ve learned that understanding these technical specifications can mean the difference between amateur-sounding recordings and professional-quality audio that stands up to industry standards. Converter accuracy determines how faithfully your sound gets digitized, while preamp characteristics affect the warmth and clarity of your recordings.
| Specification | Professional Target | Impact on Recording |
|---|---|---|
| SNR | 110+ dB | Cleaner, noise-free audio |
| THD+N | <0.001% | Minimal distortion/coloration |
| Bit Depth | 24-32 bit | Greater dynamic range |
These specs work together—high-quality converters capture every detail, low-noise preamps preserve signal integrity, and proper bit depths guarantee your recordings maintain professional standards.
Frequency Response and Dynamic Range
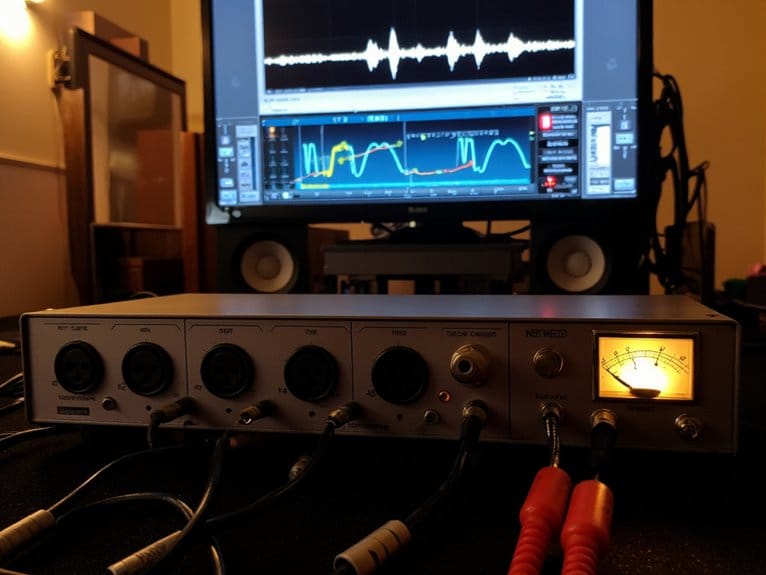
When you’re evaluating audio interfaces, frequency response and dynamic range specifications reveal how accurately the device captures and reproduces sound, though manufacturers don’t always present these numbers in ways that reflect real-world performance.
You’ll find that truly flat frequency response across the audible spectrum matters more than extended ranges that push beyond human hearing limits, while dynamic range specifications directly impact your ability to record everything from whispered vocals to thunderous drums without losing detail to noise or distortion.
I’ve learned that understanding these measurements, rather than getting caught up in impressive-sounding marketing claims, helps you choose an interface that actually delivers the audio fidelity your projects deserve.
Flat Response Standards
Nothing matters more in professional audio recording than knowing your interface won’t color the sound you’re capturing, which is where flat response standards become absolutely critical for anyone serious about audio quality.
When you’re evaluating interfaces, you’ll want to understand what constitutes truly flat response and how manufacturers achieve it.
Here’s what defines proper flat response standards:
- Frequency range coverage from 20 Hz to 20 kHz with minimal variance, typically ±1 dB or better
- High-quality converters and preamps that maintain signal integrity across the entire spectrum
- Rigorous frequency response measurements during development to guarantee consistent performance
- Comprehensive audio interface calibration procedures that compensate for any inherent hardware limitations
Premium interfaces achieve these standards through careful component selection and thorough testing protocols.
Dynamic Range Importance
While achieving flat frequency response guarantees your audio interface won’t color your recordings, dynamic range determines how much of the actual performance you’ll capture, from the softest whisper to the loudest crescendo.
Dynamic range, measured in decibels, represents the difference between your system’s loudest signal without distortion and its quietest usable signal above the noise floor. Higher bit depths directly expand this range, with 24-bit interfaces offering 144 dB theoretical capacity compared to 16-bit’s 96 dB limitation.
| Bit Depth | Dynamic Range |
|---|---|
| 16-bit | 96 dB |
| 24-bit | 144 dB |
| Premium interfaces | 120+ dB (A-weighted) |
| Real-world sources | Rarely use full range |
This headroom prevents audio compression during recording, ensuring you’ll capture subtle nuances without sacrificing loud passages to clipping.
Marketing Claims Reality
You’ll encounter impressive specifications across audio interface datasheets, but I’ve learned that marketing claims don’t always translate to real-world performance differences you can actually hear.
These common marketing pitfalls create audio misconceptions that can mislead your purchasing decisions:
- Frequency response beyond 20 kHz serves more as marketing appeal than audible improvement, since human hearing typically caps at this range.
- Dynamic range claims of 109-112 dB use A-weighted measurements that may not reflect your actual recording environment’s noise floor.
- THD+N figures below 0.001% represent ideal laboratory conditions, not the cable quality and room acoustics you’ll actually encounter.
- Perfect frequency response tolerances like ±0.05 dB sound impressive but won’t meaningfully impact your mix quality compared to proper gain staging.
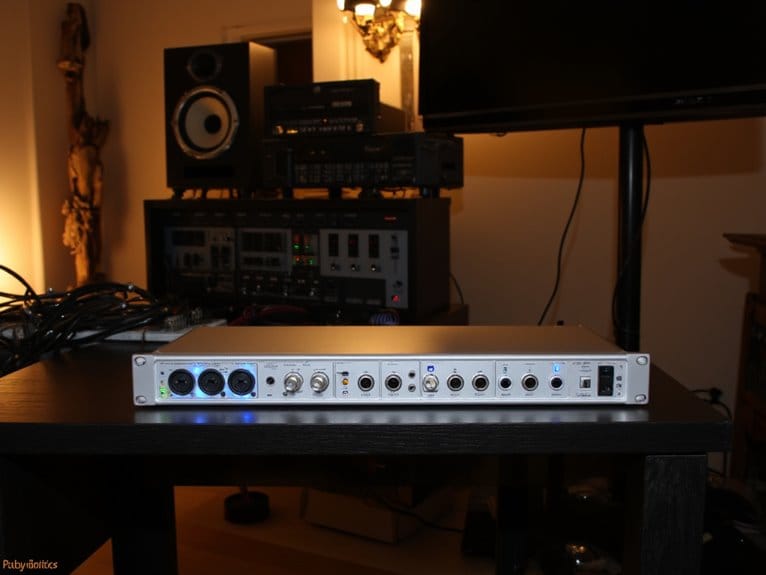
Digital Connectivity and Bus Power
Beyond the analog domain of microphones and instruments, your audio interface’s digital connectivity determines how seamlessly it’ll integrate with both your computer and other digital gear in your studio. USB-C and Thunderbolt connections offer the best combination of audio latency performance and power efficiency, while older FireWire remains reliable despite being legacy technology.
| Connection Type | Channels Supported |
|---|---|
| ADAT Optical | 8 at 48kHz, 4 at 96kHz |
| S/PDIF | 2 channels per cable |
| AES/EBU | 2-16 channels depending on connector |
| MADI | Up to 64 channels |
Bus-powered interfaces eliminate external power supplies, though cable quality becomes essential for maintaining stable digital signal transmission. Higher-channel-count interfaces typically require dedicated AC power, since USB ports can’t deliver sufficient current for complex processing and multiple preamp stages.
Expandability Through External Devices
Your interface’s connection options form just the foundation of what’s actually a much larger expandability puzzle, where external devices can transform a modest two-input interface into the centerpiece of a sophisticated recording ecosystem.
External device compatibility becomes the real game-changer when you’re connecting microphones, guitars, synthesizers, and analog outboard gear through various analog and digital connections.
Here’s what determines your expandability potential:
- Physical I/O variety – SPDIF, ADAT, and AES/EBU ports enable multichannel expansion.
- Modular rack integration – Professional units support additional converters and preamps.
- Networked protocols – Dante and optical connections share resources across workstations.
- Proprietary driver ecosystems – Brands like Focusrite and RME offer seamless hardware integration.
However, driver installation challenges can complicate even well-designed setups, requiring administrative privileges and system restarts for stability.
Real-World Performance Vs Published Specs
When manufacturers release those glossy spec sheets filled with impressive numbers, they’re often telling you about their best-case scenarios rather than what you’ll actually experience in your home studio. Real world testing frequently reveals significant published discrepancies between advertised performance and actual usability.
| Specification Area | Published Claims | Real-World Reality |
|---|---|---|
| Frequency Response | Individual ADC chip specs | Entire input stage performance |
| Latency Performance | Theoretical minimums | Project condition variance |
| Dynamic Range | Ideal test conditions | Practical noise interference |
| Headphone Output | Raw power numbers | High-impedance driving capability |
| Noise Floor | Laboratory measurements | Normal listening conditions |
I’ve learned that manufacturers sometimes quote individual component specs rather than complete signal chain performance, creating misleadingly impressive figures that don’t translate to your recording sessions.
Frequently Asked Questions
Can I Use Multiple Audio Interfaces Simultaneously With One Computer?
You can achieve multiple device setup, though audio interface compatibility varies greatly between operating systems.
Mac users benefit from native aggregate device support, while Windows typically limits you to one interface under ASIO drivers.
I’ve found success using interfaces from manufacturers offering multi-device drivers, or connecting units via ADAT for expanded channel counts, which sidesteps compatibility issues entirely.
Do Audio Interfaces Work With Tablets and Smartphones?
Yes, you’ll find that audio interfaces do work with tablets and smartphones, though tablet connectivity and smartphone compatibility vary considerably depending on your specific device model and interface manufacturer.
I’ve noticed that USB-C connections work best for modern devices, while some manufacturers like IK Multimedia design interfaces specifically for mobile use, offering reduced latency and improved portability for mobile recording setups.
How Much Latency Should I Expect During Recording and Monitoring?
You’ll typically experience 1.5 to 10 ms round-trip latency during recording, which depends heavily on your buffer size settings and interface quality.
I’ve found that smaller buffer sizes around 64-128 samples deliver excellent real time processing with minimal delay, though they’ll push your CPU harder.
Thunderbolt interfaces can achieve impressive 1.67 ms latency, while USB interfaces usually range 2.7-5 ms, both perfectly acceptable for comfortable monitoring.
Can I Record and Playback at Different Sample Rates Simultaneously?
You can’t record and playbook simultaneously at different sample rates on most audio interfaces without sample rate conversion, which I’ve learned creates audio quality impacts through additional processing.
Your interface typically operates at one global sample rate per session, requiring hardware or software resampling for different rates. This introduces latency, potential artifacts, and complexity that most home studio setups honestly aren’t designed to handle efficiently.
Do I Need Special Drivers for My Audio Interface?
You’ll likely need specific drivers for maximum performance, though some interfaces work with generic operating system drivers.
I recommend checking driver compatibility with your OS before purchasing, as manufacturers typically provide optimized ASIO drivers that greatly reduce latency compared to standard drivers.
The installation process usually involves downloading software from the manufacturer’s website, ensuring your interface communicates efficiently with recording software for professional results.
On a final note
You’ll find that understanding these specifications transforms your interface shopping experience, though I’ll admit the technical jargon can feel overwhelming initially. Focus on matching your actual recording needs with realistic performance requirements, rather than chasing impressive numbers that may not impact your workflow. Remember that the best interface isn’t necessarily the most feature-packed one, but rather the device that reliably delivers the connectivity, quality, and expandability you’ll actually use in practice.