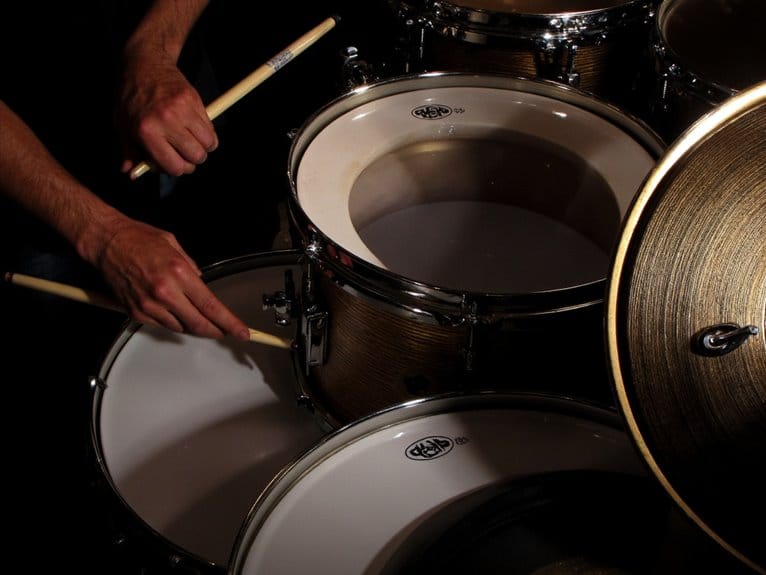
Troubleshooting Common Drum Setup Problems
When you’re troubleshooting drum setup problems, start with the bass drum pedal since it’s the most common culprit—check for loose clamps, improper beater angles, and lubricate moving parts with chain oil, not WD-40. Next, inspect hardware stability by tightening wing nuts and memory locks using a star pattern technique, then address unwanted ring with control drumheads or tone control kits for better sound dampening. These five areas will solve most performance issues you’ll encounter with your kit.
We are supported by our audience. When you purchase through links on our site, we may earn an affiliate commission, at no extra cost for you. Learn more.
Notable Insights
- Check bass drum pedal alignment by adjusting clamp positioning, beater angles, and hoop alignment together since these components are interconnected.
- Regularly tighten loose hardware components using finger-tight baseline tension and star pattern tightening to prevent wobbling and rattling.
- Lubricate pedal moving parts with fine oil or chain oil while avoiding WD-40, and inspect tension springs regularly.
- Use control ring drumheads or tone control kits with magnetic strips to manage unwanted ringing without harsh muting.
- Position microphones strategically using cardioid patterns and proper distance to minimize bleed and capture clear, isolated drum sounds.
Bass Drum Pedal Maintenance and Repair
Maintaining your bass drum pedal isn’t just about keeping it functional—it’s about preserving the precise feel and response that makes your playing consistent, reliable, and expressive.
These pedal maintenance tips start with creating a clean workspace, removing the pedal from your drum, and moving the board up and down to detect squeaks or friction points that need attention.
Effective pedal repair techniques involve using proper lubricants like fine oil or chain oil on spring suspensions and joints, while avoiding WD-40 which acts more as a solvent than lubricant.
I’ve learned that inspecting tension springs regularly, checking wing screw threads, and tightening beater rod screws prevents mid-performance failures that can derail your entire set. Remember that shoes introduce dirt and debris that can accumulate on your pedal, so regular cleaning with a methodical process of elimination helps identify and address performance issues before they become major problems. Maintaining humidity around 50% helps protect your pedals and drums from environmental damage that can affect performance and longevity.
Resolving Bass Drum Pedal Alignment Issues
When your bass drum pedal feels unstable, strikes inconsistently, or sits crooked against the floor, you’re likely dealing with alignment issues that stem from improper pedal clamp positioning, incorrect beater angles, or hoop misalignment.
I’ve found that these three interconnected problems often cascade into each other, where fixing one element without addressing the others leaves you chasing the same issues session after session.
You’ll need to systematically check each component’s relationship to the others, since a perfectly positioned clamp means nothing if your hoop’s rotated wrong or your beater’s traveling an inconsistent strike path. When beaters exceed the ideal striking angle, they compromise both sound quality and your playing technique, making beater positioning more critical than achieving perfect impact patch placement.
A quality drum rug with rubber backing can eliminate many of these pedal alignment problems by preventing your entire kit from shifting during aggressive playing sessions.
Pedal Clamp Positioning
Three critical elements determine whether your bass drum pedal will stay put during an intense playing session, and I’ve learned through countless setup frustrations that getting the clamp positioning right from the start saves you from mid-song disasters.
Proper pedal clamp angles prevent your heel from lifting awkwardly while maintaining consistent beater strikes, though I’ll admit I’ve wrestled with this adjustment more times than I care to count.
When you’re dealing with clamp slippage, it’s usually because one of these fundamentals got overlooked:
- Clamp tightness – Your wing bolt needs firm pressure without over-torquing the hoop
- Angle adjustment – Loosen that adjustment knob to flatten your pedal against varying hoop thicknesses
- Rubber insert condition – Replace worn grip inserts that’ve lost their bite on the hoop
Many drummers also overlook how pedal vibrations can affect their quick-release rim clamps on tom mics, which may need readjustment after vigorous bass drum work.
Beater Angle Adjustment
Once you’ve got your clamp locked down tight, the beater angle becomes your next battleground, and I’ve discovered that this single adjustment can make or break your entire playing experience.
Most modern pedals offer infinite beater angle variations through rocker hubs, while older models rely on fixed-hole settings that limit your options.
When adjusting, remember that footboard positioning changes simultaneously with beater angle, creating a dual optimization opportunity. I typically start at 45 degrees for general use, then fine-tune based on genre requirements—closer angles around 60 degrees deliver quicker attack for jazz contexts, while wider angles maximize power for rock applications.
Always use your drum key to loosen the adjustment bolt gradually, test thoroughly, then tighten securely without overdoing it.
Hoop Alignment Correction
Inevitably, you’ll encounter hoop alignment issues that transform your perfectly adjusted pedal into a frustrating, crooked mess that fights you every step of the way.
Understanding hoop misalignment causes helps you tackle these problems systematically, since decentering pedals, uneven clamp tightening, and improperly positioned hoop protectors create most alignment headaches.
My preferred pedal adjustment techniques follow this sequence:
- Loosen the secondary adjustment nut before final tightening to guarantee even clamp grip
- Verify complete hoop insertion into the pedal clamp to prevent trajectory problems
- Test stability through several minutes of playing to confirm the setup holds
I’ve learned that back-and-forth trial tightening while making minute positional adjustments reveals the prime alignment sweet spot, though it requires patience and systematic testing.
Having quality drum keys on hand ensures you can make precise tension rod adjustments during this alignment process, as proper tuning directly impacts hoop positioning and overall setup stability.
Quality double-braced stands prevent wobbling during intense play and provide the stable foundation necessary for maintaining proper hoop alignment throughout extended sessions.
Poor hoop alignment can also affect your drumhead performance, as misaligned tension rods create uneven stress patterns that compromise both tuning stability and sound quality.
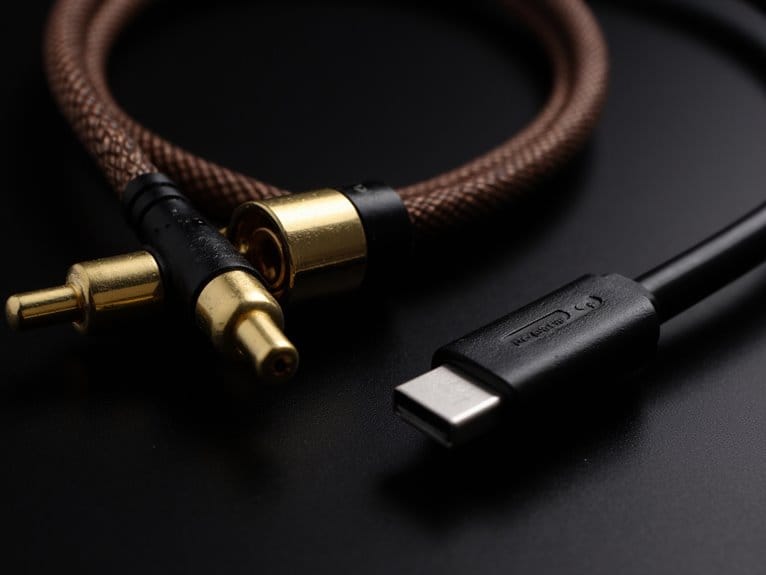
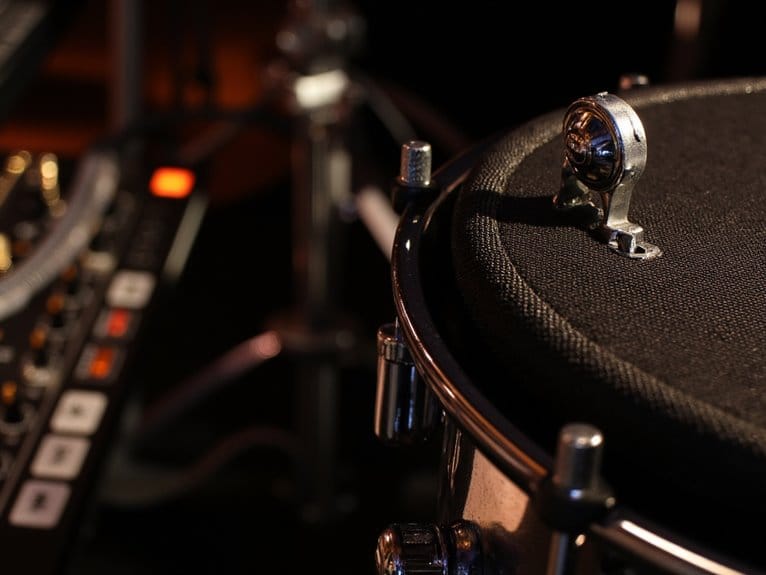
Electronic Drum Pad Connection Problems
Frustration peaks when you’re ready to play your electronic drums, but the pads won’t respond or produce intermittent sounds that disrupt your rhythm.
I’ve found that cable integrity issues top the troubleshooting list, as loose connections between pads and modules create the most common failures. Check that all cables sit securely at both ends, including any cable snakes that might’ve worked loose during practice sessions.
When pads trigger erratically, pad sensitivity settings in your drum module likely need adjustment—I typically start by tweaking threshold levels for each pad individually.
Swap cables between working and problematic pads to isolate faulty components quickly. Don’t overlook dirty contact points inside pads, which can impair triggering accuracy and require cleaning or replacement to restore proper function.
Controlling Drum Overtones and Unwanted Ring
Why do your drums sound like they’re ringing bells in a cathedral when you’re aiming for tight, controlled tones that cut through the mix? Effective overtone management starts with proper tuning techniques, which I’ve learned can eliminate most unwanted resonances without sacrificing your drum’s natural voice.
Here are three essential muffling techniques that’ll transform your sound:
- Control ring drumheads like Remo Pinstripe or Evans EMAD provide built-in dampening without harsh muting effects.
- Tone control kits use magnetic leather strips around hoops, offering adjustable dampening without sticky residues.
- Strategic tuning of both batter and resonant heads reduces ringing naturally, preserving dynamic range.
Quality microphone selection also plays a crucial role in overtone control, as mics with cardioid patterns can isolate drum sounds while rejecting unwanted bleed from cymbals and other nearby sources.
Hardware Stability and Stand Maintenance
Nothing ruins a performance quite like hardware that wobbles, slides, or falls apart mid-song, and I’ve learned through countless setups that proper maintenance prevents these embarrassing disasters.
You’ll need to regularly tighten loose components, lubricate threaded parts that resist smooth adjustment, and implement strategies to keep your kick drum planted firmly in position throughout your entire set.
These three critical areas of hardware stability require consistent attention, but the investment in time pays dividends when your gear performs flawlessly under pressure.
Tightening Loose Hardware Components
Three fundamental principles govern successful drum hardware tightening, and I’ve learned through countless setup sessions that mastering these techniques prevents most stability issues before they start.
Your hardware inspection routine should focus on identifying loose components before they compromise your entire setup, while proper tightening techniques guarantee longevity and performance.
Here’s my systematic approach to hardware maintenance:
- Start finger-tight on all tension rods – Turn until washers just touch the hoop without excessive force, establishing your baseline tension across all lugs.
- Use the star pattern for gradual tightening – Make half-turn increments on opposite lugs simultaneously, preventing decentering and maintaining balanced tension distribution.
- Check stands and clamps regularly – Inspect wing nuts, memory locks, and tripod mechanisms for looseness that causes rattling during performance.
Lubricating Threaded Stand Parts
Four specific types of lubricants can transform your drum hardware from a squeaky, stubborn mess into a smooth-operating system, and I’ve discovered that choosing the right product makes the difference between professional-grade performance and amateur frustration.
Your lubrication techniques should focus on minimal application—one drop per tension rod prevents mess while ensuring ideal thread protection. I’ve found that specialized products like PedalLube target metal fatigue specifically, while White Lightning bicycle lube dries clear without attracting dirt.
| Lubricant Type | Best Application |
|---|---|
| PedalLube | Pedals, high-stress joints |
| White Lightning | Stand tubes, wingnuts |
| Sil-Glyde | Tuning hardware |
| Sewing machine oil | General hardware maintenance |
Apply lubricant after cleaning, inspect threads for damage, and remember that overtightening causes more problems than insufficient lubrication ever will. Regular maintenance becomes even more critical with electronic drum sets since their stability directly affects the responsiveness of mesh pads and the overall playing experience.
Preventing Kick Drum Sliding
While properly lubricated hardware keeps your stands functioning smoothly, there’s nothing more frustrating than watching your kick drum creep across the floor mid-song, leaving you stretching to reach the pedal like you’re playing some twisted game of musical chairs.
The solution requires addressing three key areas where your drum meets various floor surfaces:
- Adjust your spurs properly – Point them forward at the correct angle, ensuring metal spikes bite into the floor surface for maximum grip and stability.
- Invest in a quality drum rug – Dense, thick material creates essential friction between spurs and floor, preventing that annoying forward slide that ruins your groove.
- Add physical anchors – Metal bars, rubber pads, or portable blocks provide mechanical barriers that complement your existing hardware setup.
When working on kick drum technique, maintaining hardware stability during intense practice sessions becomes especially important for developing proper muscle memory and timing consistency.
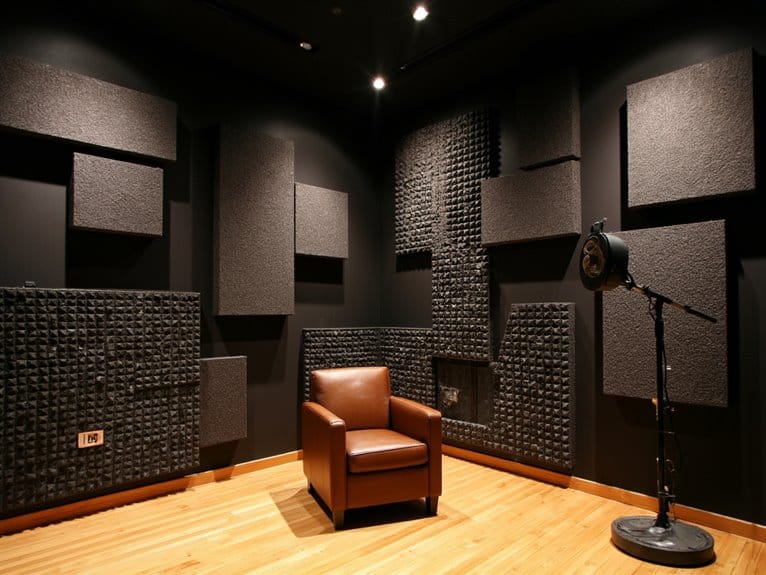
For drummers practicing with monitoring equipment, proper audio isolation becomes crucial when working on kick drum stability in studio environments.
For budget-conscious drummers, affordable drum machines can provide consistent backing rhythms during practice sessions while you work on perfecting your kick drum stability and timing.
Optimizing Drum Kit Ergonomics and Placement
When I’ve worked with drummers struggling through long practice sessions or performances, I’ve noticed that most setup problems stem from poor ergonomics rather than technique issues, and getting your kit positioned correctly can transform both your comfort and playing ability.
Start by establishing proper drum height at elbow level with 90-degree arm bends, which reduces shoulder strain during extended playing.
Proper drum height at elbow level with 90-degree arm positioning eliminates shoulder strain and enhances endurance during lengthy sessions.
Your tom arrangement should follow the “snow globe” principle, where everything fits within your natural arm reach without twisting or stretching.
Position your throne so your legs form a natural V-shape, with one knee toward the hi-hat and the other toward the snare. This creates a stable foundation that prevents the awkward positioning that leads to fatigue and inconsistent timing.
Invest in hardware with memory locks to maintain consistent positioning between sessions, as these prevent angle drift and eliminate the frustration of constantly readjusting your setup.
Frequently Asked Questions
How Do I Stop My Snare Drum From Buzzing When Other Drums Are Played?
You’ll need snare adjustments like repositioning drums to avoid contact and fine-tuning wire tension. Try damping techniques such as loosening the bottom drumhead slightly or using isolation mounts to reduce sympathetic vibrations.
What’s the Best Way to Tune Drums in Different Room Acoustics?
You’ll need to adjust your drum tuning based on room acoustics by testing different tensions, placing drums away from reflective surfaces, and using your ears to find each drum’s sweet spot within the space’s unique sound characteristics.
How Can I Reduce the Volume of My Acoustic Kit for Apartment Practice?
You’ll want mesh drumheads and low-volume cymbals for effective practice techniques. Add soundproof materials like blankets in drums, use isolation platforms under your kit, and position away from shared walls for apartment-friendly sessions.
On a final note
You’ve now got the essential troubleshooting knowledge to tackle most drum setup issues that’ll inevitably surface during your playing journey. I’ve found that consistent maintenance, proper alignment checks, and systematic problem-solving approaches prevent most headaches before they start. Don’t let minor technical hiccups derail your practice sessions—address these common problems proactively, and you’ll spend more time creating music instead of wrestling with stubborn hardware.