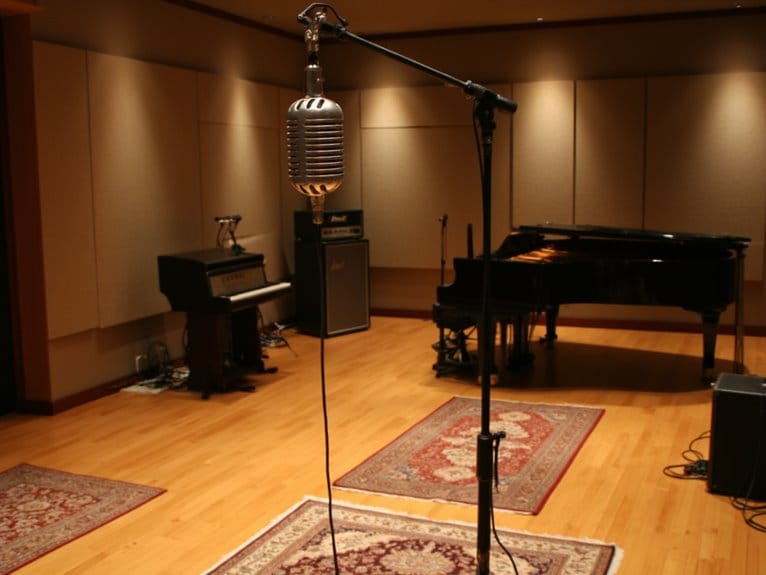
Room Microphone Placement: Capturing Space
You’ll capture professional spatial depth by positioning room mics 6-15 feet from your source, depending on room size, while following the 3:1 rule to maintain phase coherence between multiple microphones. I’ve found that mic height dramatically affects tonal balance-higher placements emphasize cymbals and brightness, while lower positions add weight and body to your recordings. Hard floors naturally enhance ambient reflections, but carpeted spaces require strategic placement of reflective materials to achieve similar spaciousness, and mastering these fundamentals opens advanced stereo techniques.
We are supported by our audience. When you purchase through links on our site, we may earn an affiliate commission, at no extra cost for you. Learn more.
Notable Insights
- Follow the 3:1 rule by placing secondary microphones three times farther from the source than primary mics to maintain phase coherence.
- Position distant mics 10-15 feet back in large rooms to capture natural reverb and spacious character effectively.
- Use XY stereo technique with mics at 90-135° angles for precise spatial imaging without phase cancellation issues.
- Place mics closer (around 6 feet) in small rooms and adjust height to emphasize cymbals or add low-end weight.
- Choose omnidirectional mics for enhanced room ambience capture, while cardioid patterns focus on direct sound with less room influence.
Understanding Phase Relationships and Distance Guidelines
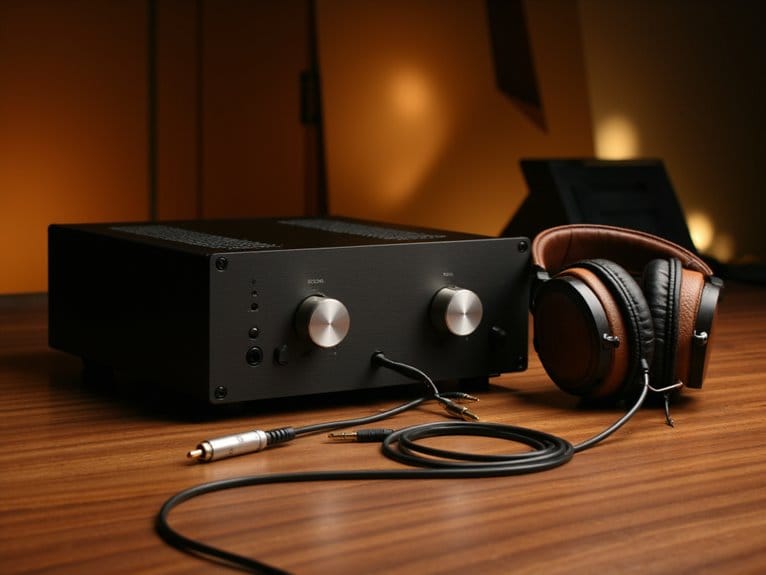
While many engineers focus on microphone selection and positioning for direct sound capture, I’ve learned that understanding phase relationships between room mics often makes the difference between a professional-sounding recording and one that feels flat or muddy. By carefully managing these phase relationships, even a lower-cost option can shine when paired with the best studio mic. This approach not only enhances clarity but also adds depth, allowing each element of the mix to breathe. Ultimately, the art of balancing these factors can elevate any recording to a level of professionalism that captivates the listener.
When you place multiple microphones at varying distances from a source, you’re creating time delays that shift phase relationships, and those microsecond differences cause comb filtering-those telltale frequency peaks and dips that rob your recordings of clarity.
The 3:1 rule becomes your best friend here, requiring that secondary mics be positioned at least three times farther from the source than your primary microphone. This spacing helps maintain phase coherence by allowing sound wave cycles to separate naturally, while distance effects become more manageable and predictable throughout your recording chain.
Strategic Positioning Techniques for Different Room Types
Once you’ve mastered phase relationships, the real art begins in adapting your microphone placement to each room’s unique acoustic fingerprint, because what works brilliantly in a cathedral-sized studio will sound completely wrong in your friend’s basement rehearsal space.
Large rooms demand distant positioning, typically 10-15 feet back, letting natural reverb develop fully while capturing that spacious character you’re after.
Distance is your friend in cathedral-sized spaces-step back and let that gorgeous natural reverb work its magic.
Small rooms require closer, more strategic placement-I’ll position mics about 6 feet directly above drum kits to avoid overwhelming reflections that’ll muddy your mix.
Room characteristics dictate everything: hard wooden floors enhance ambient reflections naturally, while carpeted spaces need reflective materials strategically placed underneath your microphones.
Mic height becomes essential here, with higher placements emphasizing cymbals and bright reflections, lower positions adding weight through floor bounce.
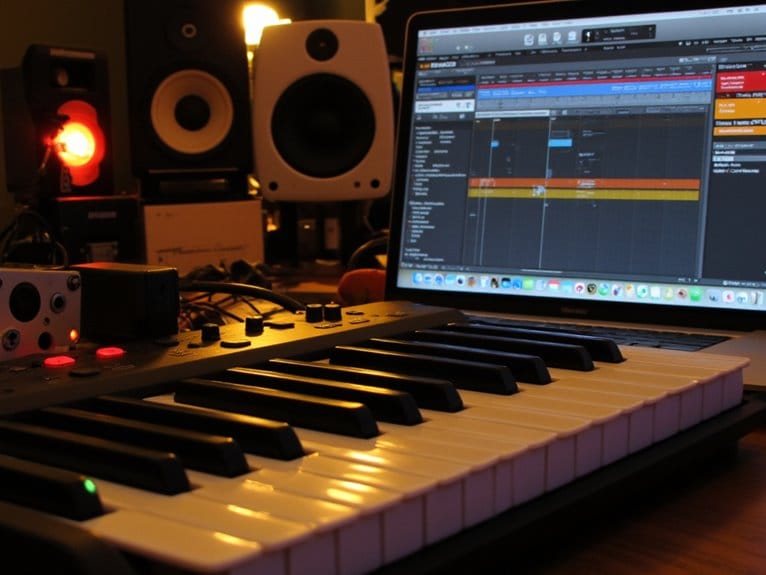
Stereo Recording Methods for Spatial Capture
How do you capture that three-dimensional soundscape that makes listeners feel like they’re sitting right in the recording space? Your choice of stereo recording method determines everything.
The XY technique positions two directional mics at 90-135° angles, creating precise imaging without phase issues. Near coincident methods like ORTF add subtle spacing (10-30 cm) between angled mics, capturing both timing and level differences for enhanced spatial depth.
AB spacing uses omnidirectional mics placed farther apart, emphasizing room ambience through time-of-arrival differences, though it’s less mono-compatible. Binaural capture mimics human ear placement for incredibly realistic 3D audio, perfect for headphone listening.
Ambisonic arrays capture full-sphere soundfields using tetrahedral capsule configurations, offering post-production flexibility for VR applications.
Stereo integration combines these techniques strategically.
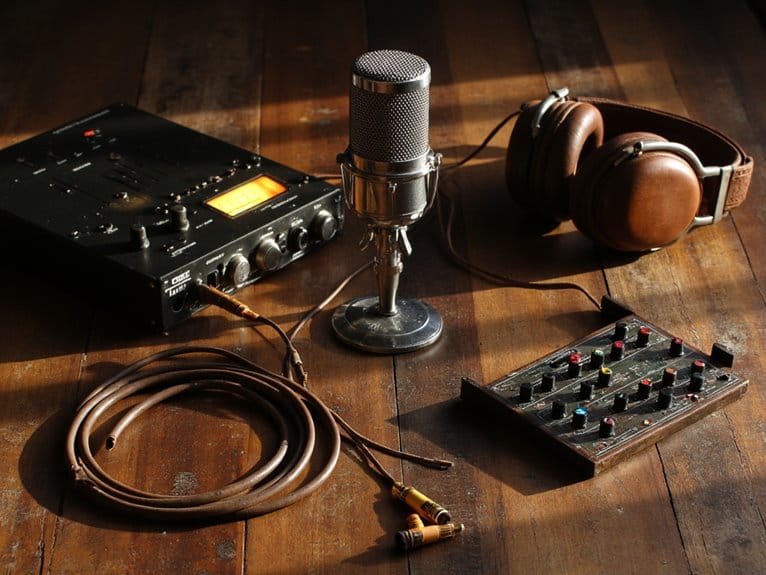
Equipment Selection and Setup Optimization
Before you can capture that perfect spatial recording, you’ll need the right microphones working in harmony with your room’s unique acoustic signature. Your microphone configuration determines whether you’ll achieve natural spatial depth or end up with lifeless, flat recordings that make listeners wonder if they’re hearing audio through a cardboard tube.
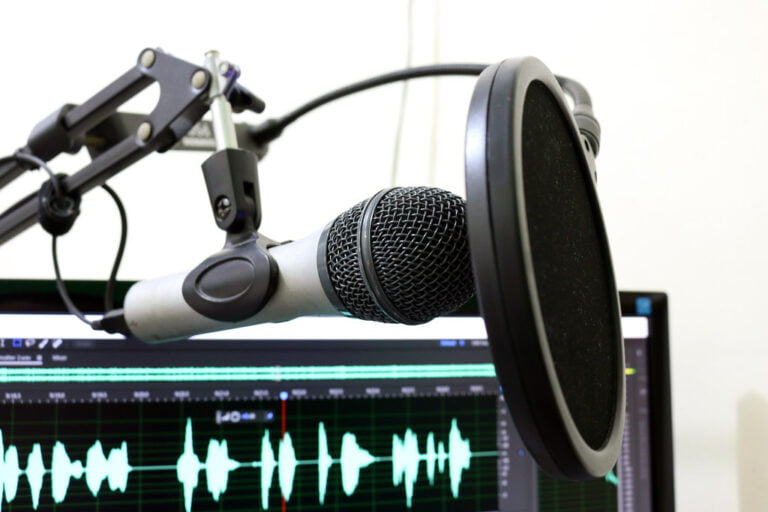
Proper shock isolation becomes critical when you’re positioning multiple mics throughout a room, as vibrations travel through surfaces faster than you’d expect. I’ve learned that quality boom arms with vibration-dampening cradles prevent those annoying thumps and rumbles that plague amateur recordings.
Consider these essential equipment priorities:
- Boundary mics for thorough table coverage with minimal visual intrusion
- Modular systems that daisy-chain seamlessly across larger spaces
- Adjustable stands offering precise height control without mechanical noise transfer
When selecting microphones for room recording, understanding pickup patterns helps you choose between cardioid options that focus on specific areas versus omnidirectional mics that capture the full acoustic environment.
On a final note
You’ve now got the fundamentals down for capturing convincing room sound, though I’ll admit these techniques take practice to master effectively. Remember that your room’s acoustics, combined with strategic microphone placement at proper distances, will make or break your spatial recordings. Trust your ears over measurements when fine-tuning positions, and don’t hesitate to experiment with unconventional setups that suit your specific space and creative goals.