Recording Vocals: Techniques for Professional Results
You’ll achieve professional vocal recordings by selecting the right microphone-large-diaphragm condensers for detailed nuances, dynamics for loud vocals-and positioning it 6-12 inches away with a cardioid pattern to minimize background noise. Create an ideal environment by treating first reflection points, sealing sound leaks, and installing bass traps in corners where low frequencies accumulate. Build your signal chain starting with pitch correction, followed by subtractive EQ cuts around 80-100Hz, then compression at 2:1-4:1 ratios with fast attack times. The techniques below will transform your home studio into a professional recording space.
We are supported by our audience. When you purchase through links on our site, we may earn an affiliate commission, at no extra cost for you. Learn more.
Notable Insights
- Choose large-diaphragm condenser microphones with cardioid patterns and position 6-12 inches from vocalist for optimal detail capture.
- Create acoustic treatment using bass traps in corners and control first reflection points to minimize unwanted room noise.
- Apply high-pass filtering around 80-100Hz and boost 2-5kHz frequencies while using 2:1-4:1 compression ratios for clarity.
- Ensure complete lyric memorization and maintain vocal hydration while avoiding caffeine and alcohol before recording sessions.
- Use precise time alignment and add subtle reverb effects while preserving natural vibrato through careful pitch correction.
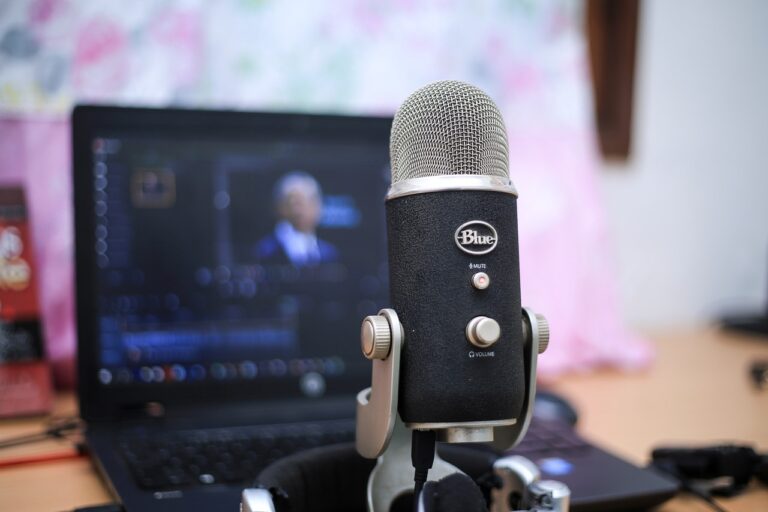
Choosing the Right Microphone and Optimal Placement
Why does choosing the right microphone feel like steering through a maze of technical specifications and conflicting advice?
I’ve found that understanding microphone types simplifies this process considerably, as each serves distinct vocal recording purposes with measurable performance differences.
Large-diaphragm condensers like the AKG C414 XLII offer wide frequency response and high sensitivity, capturing detailed vocal nuances that dynamic mics miss.
Large-diaphragm condensers deliver superior frequency response and sensitivity, revealing vocal details that dynamic microphones simply cannot capture.
However, dynamic microphones such as the Shure SM7B excel for loud vocals, reducing proximity effect while providing broadcast-quality sound.
Dynamic microphones are particularly advantageous because they don’t require phantom power, simplifying setup configurations and reducing the amount of additional equipment needed for professional vocal recording.
For optimal performance, look for microphones with a cardioid polar pattern that effectively minimizes background noise and unwanted ambient sound pickup.
Placement techniques prove equally essential, with 6-12 inches being your starting distance to balance intimacy and room sound.
Position slightly off-axis to minimize sibilance, use pop filters for plosive control, and align the mic above mouth level to reduce breath noise.
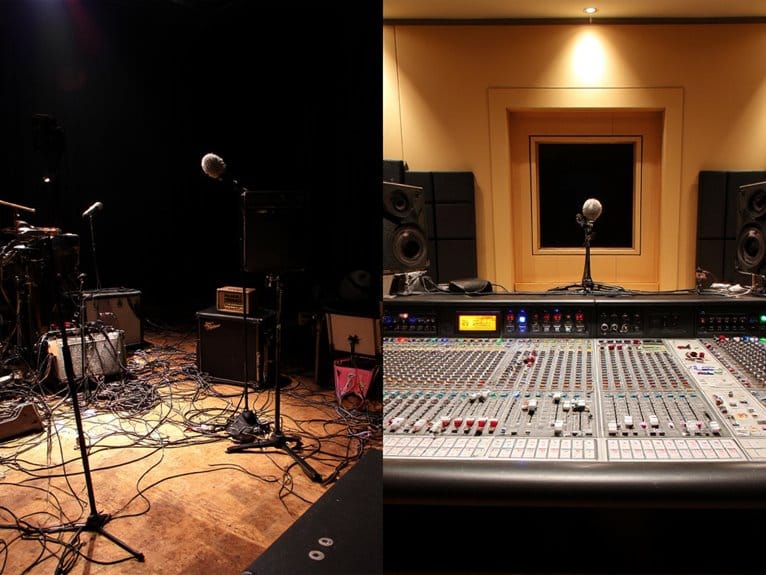
Creating the Perfect Recording Environment
While selecting the perfect microphone sets your foundation, I’ve learned that your recording environment determines whether you’ll capture professional-quality vocals or struggle with muddy reflections and unwanted noise.
Effective acoustic treatment starts with identifying first reflection points using the mirror technique, where you’ll place absorption panels at spots where sound bounces directly back to your listening position.
Sound isolation becomes equally critical, requiring you to seal doors, windows, and ventilation openings while managing mechanical noise from equipment and air conditioning systems.
Here’s my three-step approach to optimizing your space:
- Position yourself strategically – avoid the room’s center to prevent bass buildup
- Target corner placement – install bass traps where low frequencies accumulate most
- Control ceiling reflections – add overhead treatment for enhanced vocal clarity
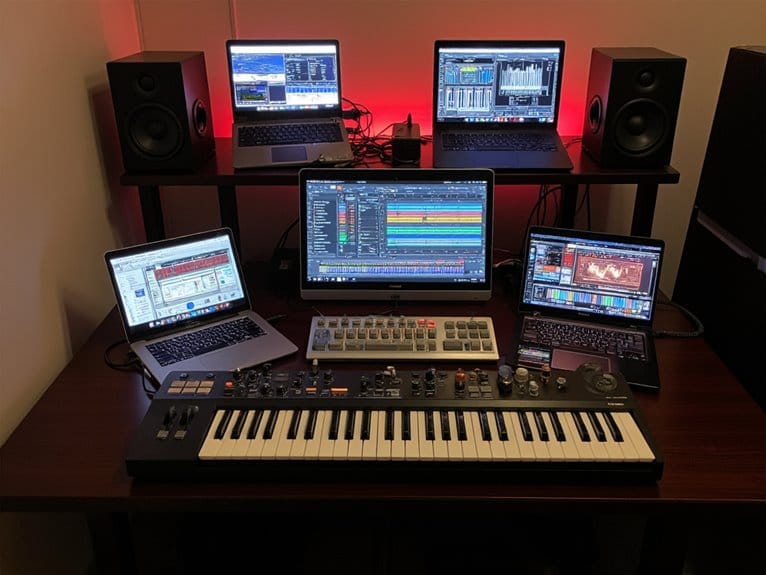
Building an Effective Vocal Signal Chain
Once you’ve dialed in your room acoustics, the next challenge becomes constructing a vocal signal chain that transforms your microphone’s raw output into a polished, radio-ready sound.
Understanding proper signal flow starts with your microphone selection, which captures the initial character that’ll influence everything downstream.
Your processing order should begin with pitch correction if needed, followed by subtractive EQ to cut problematic frequencies around 700Hz and 5kHz before adding compression.
I’ve learned that high-pass filtering between 40-85Hz eliminates rumble without sacrificing vocal warmth, while compression with fast attack times controls transients effectively.
Adding saturation after dynamics processing enriches the timbre, and finishing with reverb sends creates the spatial dimension that separates amateur recordings from professional productions.
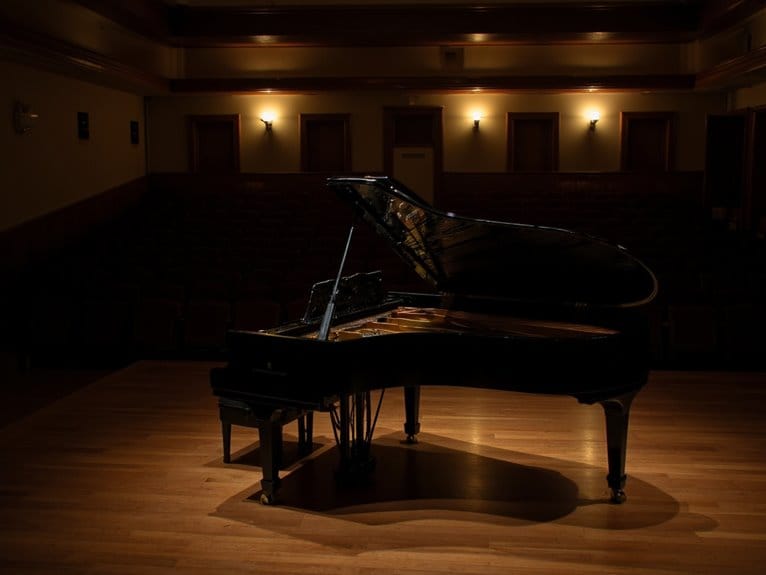
Preparing Your Voice for Studio Sessions
Before you even step foot in the studio, your voice’s readiness determines whether you’ll capture magic or struggle through hours of mediocre takes that drain both your vocal cords and your budget.
Your voice’s readiness before entering the studio determines whether you’ll capture magic or struggle through expensive, mediocre takes.
I’ve witnessed countless sessions derail because artists skipped fundamental preparation, turning what should’ve been creative breakthroughs into expensive vocal rehabilitation exercises.
Your pre-session routine should include these essential elements:
- Complete lyric memorization – going “off-book” frees your mind to focus on emotional delivery techniques rather than stumbling through words.
- Strategic vocal hydration tips – drink water consistently for 24 hours before recording, avoiding caffeine and alcohol.
- Controlled practice sessions – use marking techniques at half-volume to preserve your voice while perfecting timing and phrasing.
Smart preparation transforms studio time from damage control into artistic expression.
Essential Mixing and Post-Production Techniques
After capturing your best vocal performance, the real magic happens during mixing and post-production, where raw talent transforms into polished artistry through strategic technical manipulation. Your vocal performance optimization begins with precise time alignment, synchronizing multiple takes while eliminating timing discrepancies that plague amateur recordings. I’ve found that careful waveform alignment creates phase coherence, resulting in that coveted commercial polish you hear on professional tracks.
| Processing Stage | Primary Function | Key Parameters |
|---|---|---|
| EQ | Frequency shaping | 80-100Hz cut, 2-5kHz boost |
| Compression | Dynamic control | 2:1-4:1 ratio, fast attack |
| Effects | Spatial enhancement | Subtle reverb, rhythmic delay |
| Tuning | Pitch correction | Natural vibrato preservation |
Your mixing consistency techniques should include moderate compression ratios with strategic automation, while subtle pitch correction maintains authenticity without sacrificing professionalism.
On a final note
You’ve now got the essential toolkit for capturing professional-quality vocals in your home studio. From selecting the right microphone and positioning it correctly, to crafting an acoustically-treated space and building a solid signal chain, these fundamentals will elevate your recordings considerably. Remember, preparing your voice properly and applying thoughtful mixing techniques are equally important. Don’t expect perfection immediately-I’ve learned that consistent practice with these methods yields the best long-term results for any vocalist.