Parallel Compression: The Secret to Professional Drums
Parallel compression, also known as New York compression, blends your unprocessed drum signal with a heavily compressed version, preserving those essential transient attacks while adding sustain and thickness that makes drums cut through dense mixes. You’ll route your kick, snare, and overheads to a dedicated aux channel with aggressive compression settings-think 4:1 to 20:1 ratios and 6-12dB of gain reduction-then blend this compressed signal back with your dry drums. This technique exploits how our ears perceive volume, raising quieter elements without squashing the natural punch that separates professional recordings from amateur attempts, and there’s much more to master.
We are supported by our audience. When you purchase through links on our site, we may earn an affiliate commission, at no extra cost for you. Learn more.
Notable Insights
- Parallel compression blends unprocessed drums with heavily compressed signals to preserve transients while adding sustain and thickness.
- Use attack times of 10-40ms and compression ratios of 4:1-8:1 to maintain natural punch while enhancing drum presence.
- Route individual drum tracks to a dedicated aux channel and blend the compressed return with dry signals.
- Aim for 6-12dB of gain reduction on the parallel channel to add density without squashing dynamics.
- Set the threshold just below the quietest drum hits to effectively manage dynamic range and avoid pumping.
What Is Parallel Compression and Why It Works
Anyone who’s spent time behind a mixing console has likely encountered that frustrating moment when traditional compression either squashes the life out of your drums or leaves them sitting weakly in the mix.
This is precisely where parallel compression-also known as New York compression-becomes an invaluable tool in your audio arsenal.
This clever mixing technique involves blending your original, unprocessed drum signal with a heavily compressed version of the same audio, creating a sophisticated sound layering approach that preserves those vital transient attacks while adding sustain and thickness.
Unlike conventional compression that simply reduces dynamic range by attenuating peaks, parallel compression exploits how your ears perceive volume changes, raising quieter elements while maintaining natural punch and immediacy.
Setting Up Your Parallel Compression Chain
Now that you understand the fundamental principles behind parallel compression and its ability to enhance drum presence without sacrificing natural dynamics, the actual implementation requires a methodical approach to signal routing that I’ve refined through countless mixing sessions.
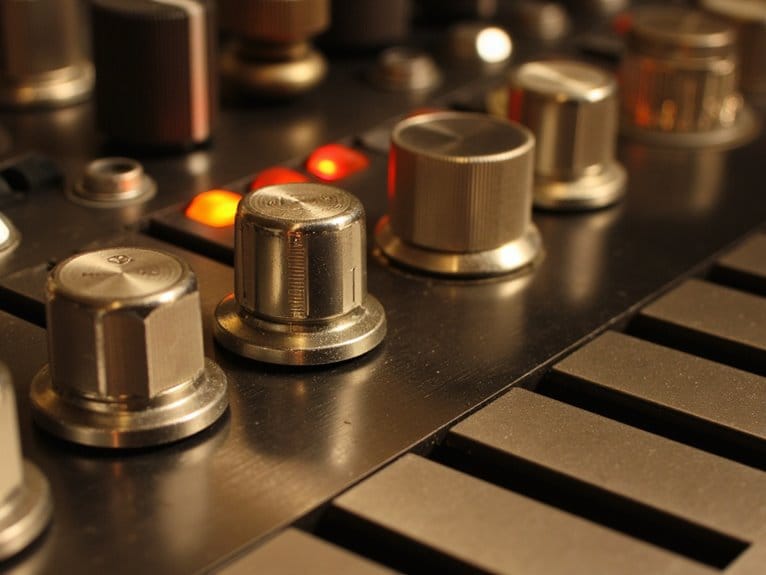
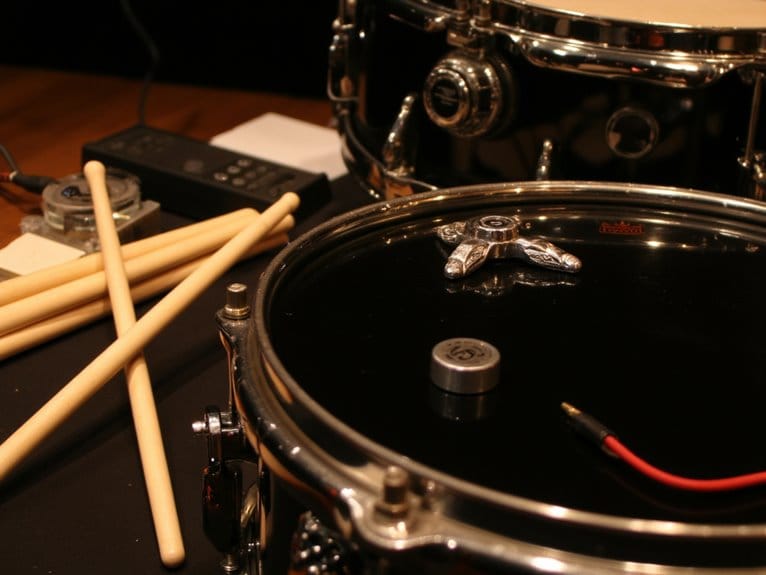
Start by creating a dedicated aux channel specifically for compression processing, which isolates your parallel chain from the original drum tracks. Route your kick, snare, and overhead tracks to this aux channel using individual sends, giving you precise control over how much signal feeds into the compressed path.
This signal routing method allows you to blend the heavily compressed auxiliary return with your dry drums, creating that punchy, full-bodied sound that defines professional drum mixes. The key is maintaining natural dynamics while adding the sustained energy that parallel compression provides to your overall drum sound. For optimal results, ensure your audio interface provides phantom power to any condenser microphones used in the original drum recordings, as this directly impacts the quality of your source material before compression. Most budget-friendly interfaces include 48V phantom power as a standard feature, making professional drum recording accessible without significant financial investment.
Dialing In the Perfect Settings for Drums
The magic happens when you dial in your compressor settings with surgical precision, because even the most perfectly routed parallel chain won’t deliver professional results without the right attack, release, and ratio parameters working in harmony.
Start with an attack time between 10-40ms to preserve those vital transients, though I’ll occasionally push below 2ms for truly aggressive compression that catches every hit. Your release time should hover around 60ms, allowing the compressor to recover between hits while maintaining that punchy snap we’re after.
| Parameter | Conservative | Aggressive | Extreme |
|---|---|---|---|
| Attack Time | 30-40ms | 10-20ms | 1-5ms |
| Release Time | 80-100ms | 40-60ms | 20-40ms |
| Ratio Settings | 4:1-8:1 | 10:1-15:1 | 20:1+ |
| Gain Reduction | 3-6dB | 6-10dB | 10-15dB |
| Blend Level | 10-20% | 20-40% | 30-50% |
Push those ratio settings hard-I’m talking 20:1 for serious parallel processing, aiming for 6-12dB of gain reduction.
Common Mistakes and How to Avoid Them
Perfect settings won’t save you from the landmines that trip up even seasoned engineers, and I’ve watched countless producers sabotage otherwise stellar drum mixes by falling into these preventable traps.
The biggest culprit? Misunderstanding purpose-you’re not just slapping compression on tracks randomly. You’re adding density while preserving transient impact, so plan your moves around the actual drum performance characteristics.
Your threshold ratio relationship makes or breaks everything.
Set that threshold too low, and you’ll amplify bleed and noise alongside your drums. Position it just below your quietest hits to affect the full dynamic range properly.
When working with overheads, resist heavy compression that causes audible pumping during cymbal ring-out, and always use pre-fader sends to maintain consistent levels and tonal balance.
On a final note
You’ve now got the foundation to transform your drum tracks from amateur to professional using parallel compression. Remember, it’s not about crushing everything with heavy settings-subtlety wins every time. Start conservative with your ratios and attack times, then gradually push until you find that sweet spot where punch meets musicality. Trust your ears, avoid the common pitfalls we covered, and you’ll be mixing drums like the pros in no time.