Microphone Sensitivity and SPL Handling Explained
Microphone sensitivity measures how efficiently your mic converts sound waves into electrical signals, typically tested at 94 dB SPL, while maximum SPL handling determines the loudest sounds it can capture before distortion occurs. Higher sensitivity means stronger output voltage from quieter sources, requiring less preamp gain, though environmental factors like temperature can shift readings by several decibels. Modern condensers reach 144 dB SPL compared to older 120 dB limits, and understanding these specifications helps you match the right microphone to your specific recording situation.
We are supported by our audience. When you purchase through links on our site, we may earn an affiliate commission, at no extra cost for you. Learn more.
Notable Insights
- Microphone sensitivity measures efficiency in converting sound to electrical signals, with higher sensitivity producing more voltage from the same sound input.
- Sensitivity is tested at 94 dB SPL and specified in dBV/Pa, where lower negative dB values indicate higher sensitivity.
- Maximum SPL represents the threshold where audible distortion begins, typically measured at 0.5-1% total harmonic distortion.
- High-sensitivity condensers need minimal preamp gain while low-sensitivity dynamics require 50+ dB gain, affecting noise levels.
- Environmental factors like temperature and humidity can shift sensitivity readings by several decibels, requiring proper calibration standards.
What Microphone Sensitivity Means and How It’s Measured
Understanding microphone sensitivity starts with grasping a fundamental concept: it’s basically how efficiently your microphone converts sound waves into electrical signals that your recording equipment can work with.
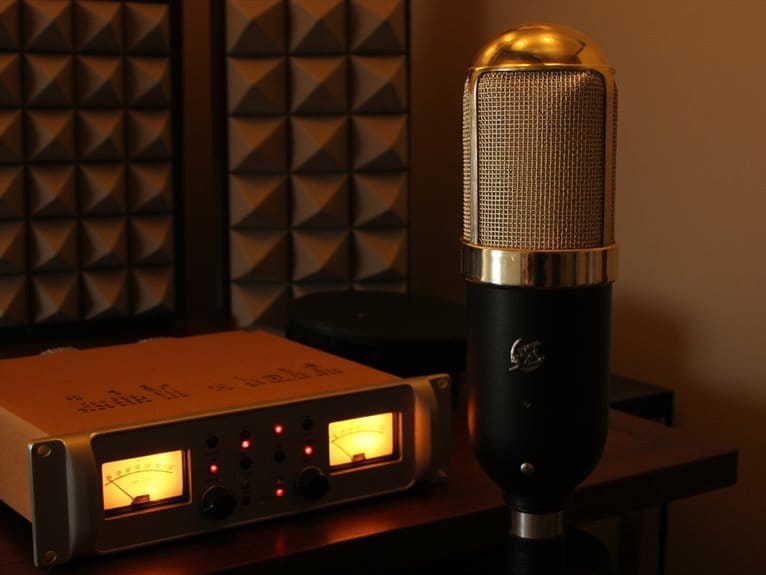
When manufacturers test sensitivity, they expose the mic to a standardized 94 dB SPL (sound pressure level), which equals one pascal of acoustic pressure, then measure the resulting output voltage. Higher sensitivity means your microphone produces more voltage from the same sound input, making it more responsive to quieter sources.
Most specs show sensitivity in millivolts per pascal or decibels relative to one volt per pascal—don’t worry, the math isn’t as scary as it sounds. In decibel measurements, lower dBV values actually indicate higher sensitivity since these are negative numbers relative to the one volt reference. This measurement directly influences your microphone design choices and determines how much preamp gain you’ll need during recording sessions.
As a leading European retailer of musical instruments and equipment, many suppliers offer comprehensive product support to help you understand these technical specifications when selecting the right microphone for your needs.
Sensitivity Tolerance and Environmental Stability Factors
While knowing your microphone’s basic sensitivity rating gives you a solid foundation for recording decisions, real-world conditions don’t always match the controlled laboratory environment where those specs were determined.
Laboratory specifications provide baseline expectations, but field conditions introduce variables that can significantly alter your microphone’s actual performance during recording sessions.
Your microphone’s performance can shift based on environmental factors that affect both the microphone design’s inherent stability and the accuracy of sensitivity measurement itself.
Here’s what impacts your microphone’s environmental stability:
- Temperature fluctuations cause reversible sensitivity changes of ±0.03 dB/°C, with higher frequencies above 6 kHz showing greater vulnerability to thermal variations than lower frequencies.
- Ambient pressure changes from elevation or weather conditions alter condenser microphone back cavity compliance, requiring documented calibration conditions for accurate corrections. When original data is not properly preserved during calibration procedures, the validity of subsequent measurements becomes compromised.
- Humidity variations affect electrical properties and can cause condensation issues, particularly problematic for long-term measurement reliability in field recording situations. Professional applications often require applying environmental coefficients to maintain data integrity when conditions deviate from original calibration parameters.
Maximum Sound Pressure Level Handling and Dynamic Range
Beyond environmental stability concerns, your microphone’s maximum Sound Pressure Level (SPL) handling determines whether you’ll capture that thunderous kick drum cleanly or end up with a distorted mess that makes your recording sound like it’s coming through a broken speaker.
Max SPL represents the threshold where audible distortion begins, typically measured at 0.5% to 1% total harmonic distortion, though manufacturers vary their standards considerably.
When making max SPL comparisons, you’ll notice modern condensers reach 144 dB SPL versus older models’ 120 dB limitations.
The dynamic range implications become clear when you consider this specification sets your microphone’s upper limit, working alongside the noise floor to determine how faithfully you’ll capture both whispered vocals and explosive snare hits in the same performance. Higher maximum SPL specifications typically indicate higher quality microphones and are often reflected in pricing tiers. SPL decreases by 6 dB with each doubling of distance from your sound source, making microphone placement crucial for optimizing your gain structure.
Professional models like the Shure SM58 demonstrate excellent SPL handling capabilities while maintaining their legendary durability and tailored frequency response that has made them a standard choice among vocalists.
Dynamic microphones are particularly valued for their warm clarity in studio and live settings, making them excellent choices when SPL handling is a primary concern for your recording environment.
Key Factors That Affect Sensitivity Accuracy
When you’re measuring microphone sensitivity, you’ll discover that achieving accurate results depends heavily on calibration standards and environmental conditions that can greatly impact your readings.
I’ve learned through countless studio sessions that even slight temperature changes, humidity fluctuations, or atmospheric pressure variations can shift sensitivity measurements by noticeable amounts, making your initial lab calibrations less reliable in real-world applications.
You need to understand how these factors work together because proper calibration at the standard 94 dB SPL reference point, combined with environmental compensation techniques, guarantees your sensitivity measurements remain accurate and your audio captures maintain consistent quality across different recording conditions. The measurement standards used can create confusion when comparing microphones from different manufacturers, as European specifications often express sensitivity in millivolts per Pascal while U.S. specifications typically use negative decibel values relative to 1V/Pa.
Calibration Standards Impact
Understanding microphone sensitivity accuracy requires recognizing that calibration standards don’t exist in a vacuum, and I’ve learned through years of measurement work that even the most sophisticated calibration methods face inherent limitations that directly impact your final sensitivity readings.
Your calibration techniques determine how precisely you’ll measure microphone precision, but environmental factors constantly threaten that accuracy.
The standards themselves create specific challenges you’ll encounter:
- Reference condition variations – Temperature, humidity, and pressure changes between calibration and actual use can shift sensitivity by several decibels.
- Electrical measurement precision – Voltage and current measurement accuracy directly affects your calculated sensitivity values.
- Acoustic coupler modeling – Transfer impedance calculations in reciprocity calibration depend heavily on precise acoustic modeling.
These limitations mean you’re working within acceptable tolerances, not absolute perfection. Since measurement microphones require periodic testing to maintain their accuracy, you’ll need to establish regular calibration schedules to account for potential sensitivity drift over time. Microphone sensitivity serves as an indicator of overall health and stability over time, making it essential to monitor these values as part of your ongoing measurement quality assurance program.
Environmental Conditions Effects
Three primary environmental factors—temperature, humidity, and atmospheric pressure—constantly work against your microphone’s sensitivity accuracy. I’ve discovered through extensive field measurements that even small environmental changes can shift your readings by several decibels if you’re not accounting for their effects.
Temperature variations create the most dramatic sensitivity shifts because thermal expansion alters your microphone’s diaphragm-backplate spacing while simultaneously changing diaphragm tension and back cavity compliance.
I’ve noticed that humidity effects, though less severe than temperature changes, still matter—a 30% humidity swing equals roughly 1°C of temperature impact on accuracy. Professional microphones can maintain functionality at relative humidity levels up to 90% at standard room temperature before experiencing performance degradation.
Pressure influences become particularly pronounced at low frequencies between 2-5 Hz, where atmospheric density changes modify acoustic impedance.
Your microphone’s frequency sensitivity to environmental factors varies considerably, with frequencies above 6 kHz showing much greater environmental resilience issues than lower ranges.
Preamp Gain Considerations
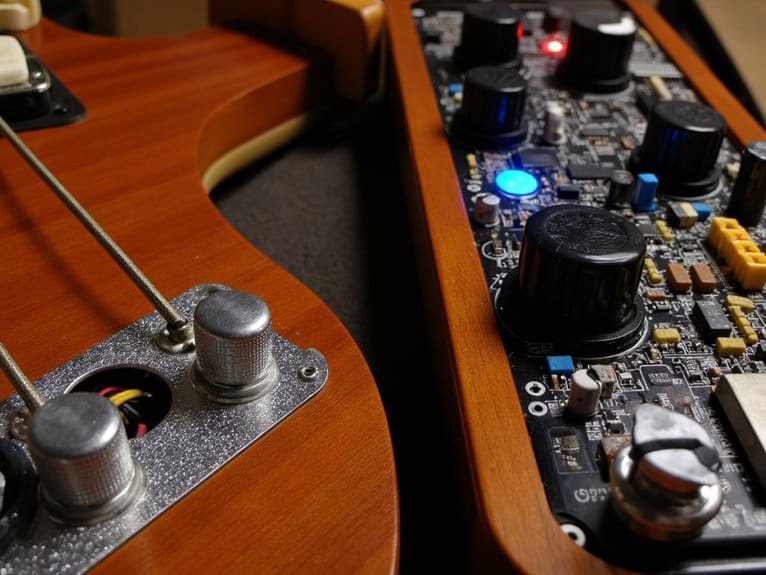
Since every microphone generates different output voltages based on its sensitivity rating, I’ve learned that understanding the relationship between sensitivity and preamp gain becomes essential for achieving ideal recording results.
Higher sensitivity microphones require less gain, which keeps preamp noise minimal and preserves signal clarity, while lower sensitivity dynamics and ribbons demand substantial gain increases that can introduce unwanted hiss.
Here’s what you’ll encounter with different sensitivity levels:
- High sensitivity condensers (8-32 mV/Pa) need minimal gain, avoiding preamp noise issues even with budget equipment
- Low sensitivity dynamics (1-4 mV/Pa) require 50+ dB gain, risking microphone distortion and dull sound quality
- Ribbon microphones demand careful gain staging to balance adequate signal levels against increased noise floor
Proper gain staging prevents both insufficient signal strength and excessive amplification problems.
Industry Standards and Real-World Applications
How do microphone manufacturers ascertain their products deliver consistent performance across different environments and applications? Through rigorous adherence to industry standards like ANSI/ASA S1.1-2013 and IEC 61094-1, which establish universal benchmarks for testing and measurement protocols.
These standards define sensitivity measurements using a 1 kHz sine wave at 94 dB SPL (1 pascal), creating a common reference point across different microphone types. Acoustic engineering principles guide manufacturers in implementing pressure equalizing tubes and environmental resistance features that maintain performance stability.
| Application | Sensitivity Range | Max SPL |
|---|---|---|
| Professional Audio | -26 to -30 dBV | 130+ dB |
| Consumer MEMS | -35 to -42 dBV | 120 dB |
| Studio Recording | -28 to -34 dBV | 140+ dB |
| Mobile Devices | -38 to -45 dBFS | 110 dB |
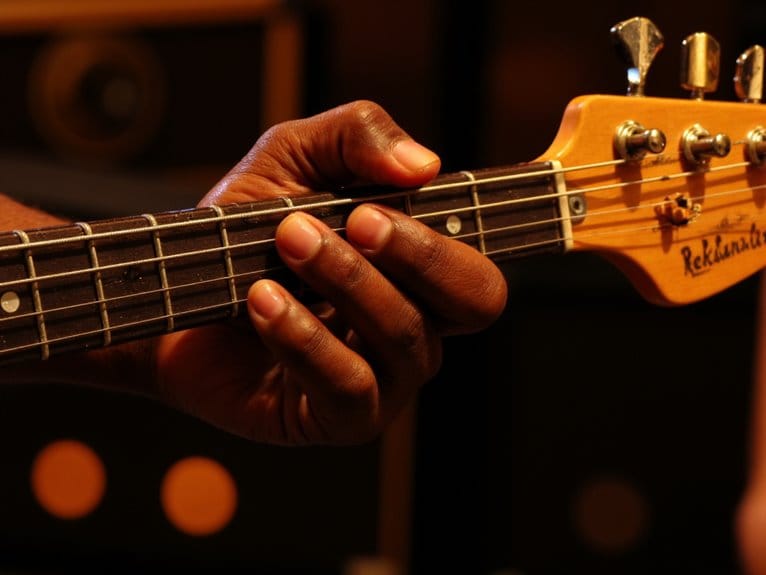
For classical guitar recording, microphones with high signal-to-noise ratios above 80 dB ensure the instrument’s expressive dynamics are captured without background interference. Professional audio interfaces typically feature ultra-low-noise preamps with up to 69 dB gain to maximize the microphone’s sensitivity performance. This standardization guarantees you’ll get predictable results regardless of manufacturer.
Choosing the Right Microphone Based on Sensitivity and SPL Requirements
When you’re standing in front of a wall of microphones at the music store, or scrolling through endless spec sheets online, the numbers can feel overwhelming—but here’s what I’ve learned after years of making both brilliant and questionable microphone purchases.
Different microphone types excel in specific application scenarios, and matching sensitivity with SPL requirements determines your recording success.
Here’s my practical approach to microphone selection:
- Studio vocals and acoustic instruments: Choose high-sensitivity condensers (-30 to -40 dBV) with moderate SPL handling (120-130 dB) for detailed capture.
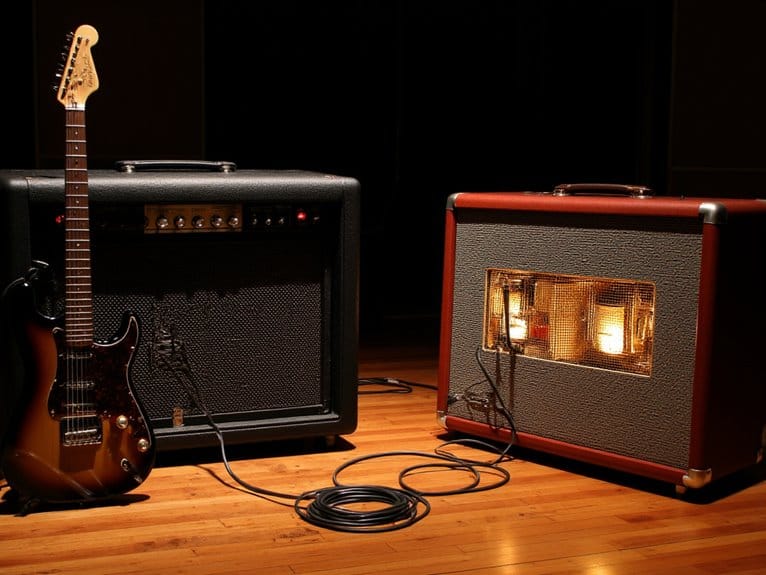
- Live drums and guitar amps: Select dynamic mics with lower sensitivity but higher SPL tolerance (140+ dB) to prevent distortion.
- Versatile recording situations: Consider small-diaphragm condensers that balance reasonable sensitivity with robust SPL handling for multiple sources.
The cardioid polar pattern found in many professional microphones effectively isolates the intended sound source while minimizing unwanted background noise pickup.
Dynamic microphones excel at rejecting background noise while handling high sound pressure levels, making them particularly advantageous for untreated recording environments and loud sources.
Frequently Asked Questions
Can I Repair a Microphone That Has Lost Sensitivity Due to Age?
You can often restore an aging microphone’s performance through careful cleaning of internal microphone components, which removes dust accumulation that commonly causes sensitivity degradation.
I’ve found that gentle compressed air application, contact cleaner on switches, and systematic component reconditioning frequently achieve successful sensitivity restoration.
However, you’ll need to assess whether diaphragm replacement or professional servicing is necessary, since some age-related damage exceeds DIY repair capabilities.
How Do I Measure My Microphone’s Actual Sensitivity at Home?
You’ll need specific measurement tools for accurate sensitivity testing at home, including a calibrated sound source generating 94 dB SPL at 1 kHz, plus a voltmeter to measure your mic’s output.
I’ve found that positioning your microphone exactly where a reference mic was placed, then comparing voltage readings gives you reliable sensitivity calculations.
Most home setups can achieve reasonable accuracy with careful attention to consistent positioning and multiple measurements.
Will Using a Windscreen or Pop Filter Affect My Microphone’s Sensitivity?
Your microphone’s sensitivity will experience minimal changes with proper accessories, since windscreen impact typically measures less than 1 dB attenuation when dry, which you honestly won’t notice.
Pop filter effectiveness maintains transparency while dispersing plosives, so I’ve found sensitivity remains virtually unchanged.
However, wet or clogged windscreens create problematic 3-4 kHz resonances that’ll reduce clarity, making regular maintenance essential for consistent performance.
On a final note
You’ve now got the essential knowledge to make informed microphone decisions based on sensitivity ratings and SPL handling capabilities. Whether you’re recording whispered vocals in a studio or capturing thunderous drums on stage, matching your mic’s specifications to your specific application will dramatically improve your results. Don’t overthink it—focus on the environment you’ll be working in, consider your signal chain’s gain structure, and choose accordingly.