Introduction to Mixing: Getting Started
Audio mixing starts with understanding frequency masking, where louder sounds obscure quieter ones at similar frequencies, making proper EQ and panning essential for clarity. You’ll need to configure your DAW correctly with ASIO drivers, enable all inputs/outputs, and set conservative gain levels around -6 dBFS for adequate headroom. Clean your raw tracks by removing unwanted artifacts, then balance levels strategically while positioning elements across the stereo field. Master these fundamentals, and you’ll discover advanced techniques that elevate amateur recordings into professional productions.
We are supported by our audience. When you purchase through links on our site, we may earn an affiliate commission, at no extra cost for you. Learn more.
Notable Insights
- Set up your DAW properly with correct audio interface drivers, input/output configuration, and adequate headroom around -6 dBFS.
- Organize and clean raw tracks by labeling clearly, removing unwanted noise, and aligning timing for proper groove.
- Balance levels strategically, determining which elements need prominence while maintaining consistent headroom throughout your mix.
- Position instruments across the stereo field to prevent frequency masking and create spatial dimension in your mix.
- Apply EQ to carve out distinct frequency spaces for each instrument, preventing competition and maintaining mix clarity.
Understanding the Core Principles of Audio Mixing
When you’re first diving into audio mixing, I’ve found that understanding five core principles will dramatically improve your results, even if you’re working with basic equipment and limited experience.
First, you’ll need to grasp frequency masking, which occurs when louder sounds obscure quieter ones at similar frequencies, robbing your mix of clarity.
When instruments compete for the same frequency space, the louder ones win and your mix loses definition and punch.
Second, pan positioning creates spatial dimension by placing instruments across the stereo field, giving each element breathing room.
Third, effective EQ strategies help you carve out frequency spaces for individual instruments while managing audio dynamics through compression and level adjustments.
Finally, building spatial dimension through reverb and delay effects adds depth that transforms flat recordings into immersive soundscapes that guide listeners through your artistic vision.
Setting Up Your Digital Audio Workstation for Success
The foundation of successful mixing starts with your digital audio workstation setup, and I’ve learned through countless hours of troubleshooting that getting this right from the beginning saves you from the frustration of chasing mysterious audio glitches, latency issues, and workflow bottlenecks that can derail even the most promising recording sessions.
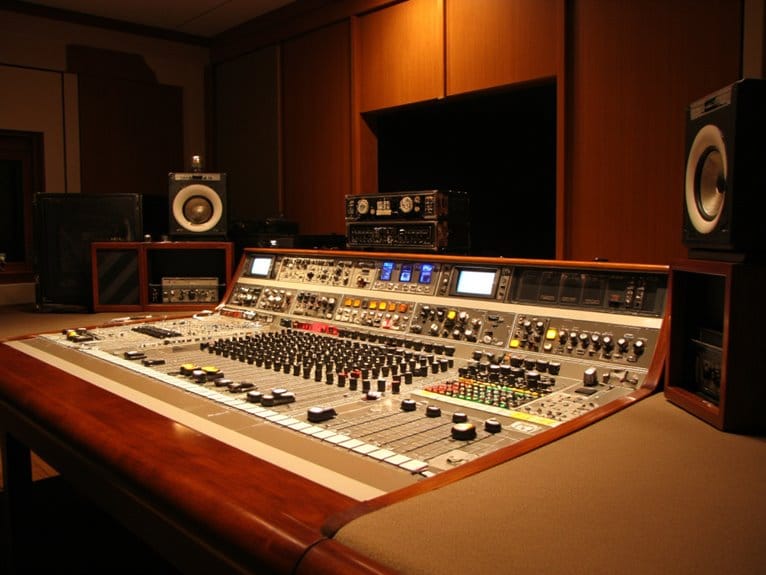
Your audio interface serves as the critical bridge between your physical gear and software, requiring proper driver installation and ASIO configuration for peak performance. I recommend enabling all available inputs and outputs in your DAW preferences to maximize hardware access.
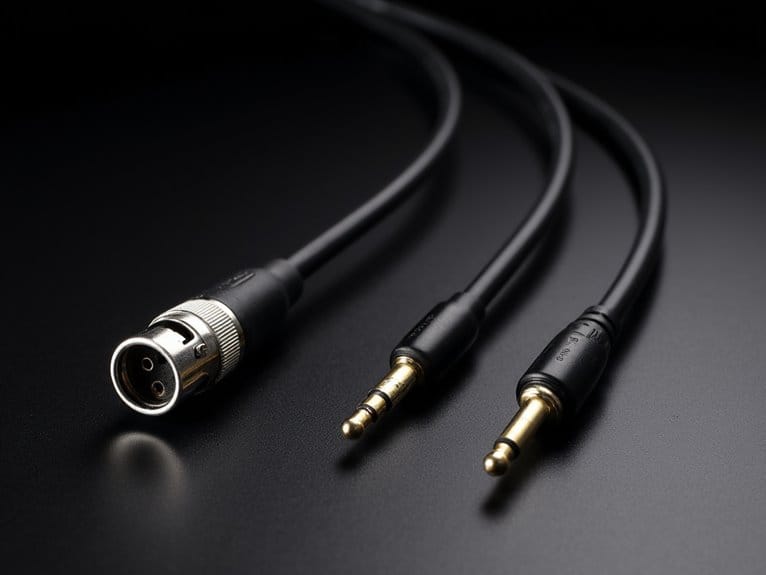
Track routing becomes infinitely easier when you’ve assigned correct inputs to specific tracks, armed them for recording, and configured separate headphone mixes for performers through direct monitoring. When working with condenser microphones, ensure your interface provides 48V phantom power to achieve optimal microphone performance and capture the full detail of your recordings.
Preparing and Cleaning Your Raw Audio Tracks
Picture opening a mixing session where every track label reads “Audio 01” through “Audio 47,” and you’ll understand why I’ve developed an almost obsessive approach to track preparation that transforms chaotic recording sessions into organized, workable projects.
Effective track organization starts with clear labeling and grouping similar elements, like routing all drum mics to a dedicated bus for streamlined processing. I systematically address cleaning techniques by removing background hum, mic bleed, and unwanted artifacts during silent sections, which prevents these issues from masking important elements later.
Setting conservative gain levels around -6 dBFS provides essential headroom for mixing adjustments, while careful timing alignment guarantees proper groove and phase coherence. Thorough noise reduction and meticulous preparation create the foundation for professional-sounding mixes.
When working with live performance recordings, digital mixers like PreSonus and Behringer models typically outperform analog counterparts in noise reduction and clarity, making the track cleaning process more efficient.
Mastering Level Balance and Stereo Placement Techniques
Achieving proper level balance and stereo placement requires three critical decisions that’ll make or break your mix: determining which elements deserve prominence, positioning them strategically across the stereo field, and maintaining consistent headroom throughout the process. It’s essential to remember that louder isn’t always better; sometimes, softer elements can add an unexpected depth to a mix. By carefully evaluating the dynamics and ensuring that every element serves a purpose, you create a more engaging listening experience. Additionally, regularly stepping back to listen to your mix on different sound systems can provide invaluable insights into how well your level balance and stereo placement translate.
I’ve learned that starting with gain staging before touching faders prevents the headaches that come from chasing your tail later. You’ll want to pull down other tracks’ faders rather than pushing everything up, which preserves headroom and prevents clipping.
For stereo imaging, distribute elements evenly across the field while keeping low-frequency content centered to avoid phase issues. Regular mono checks guarantee your level adjustment decisions translate across different playback systems, maintaining mix integrity regardless of where your audience listens.
Applying Effects Processing and Quality Control Methods
Once you’ve nailed your level balance and stereo placement, effects processing becomes your sonic paintbrush, transforming raw tracks into polished, professional-sounding elements that work cohesively within your mix.
Smart effects selection starts with understanding what each tool brings to your sonic palette, while quality monitoring guarantees you’re enhancing rather than destroying your carefully balanced foundation.
| Effect Type | Primary Function | Quality Control Focus |
|---|---|---|
| EQ/Compression | Shape tone and dynamics | Monitor for over-processing artifacts |
| Modulation | Add movement and texture | Check phase coherence when blending |
| Time-Based | Create spatial depth | Balance wet/dry signals appropriately |
I’ve learned that frequently bypassing effects to compare processed versus unprocessed signals keeps your ears honest, preventing that common trap where more processing feels like better processing, when often it’s quite the opposite.
On a final note
You’ve now grasped mixing’s fundamental building blocks, from DAW configuration through track preparation, balance optimization, and effects implementation. While I won’t pretend these concepts become second nature overnight, you’re equipped with practical frameworks that’ll elevate your productions markedly. Don’t expect perfection immediately-even seasoned engineers constantly refine their approach. Start applying these techniques systematically, trust your ears over visual meters, and remember that effective mixing serves the song’s emotional core, not technical showmanship.

