How to Troubleshoot Audio Interface Connection Issues
When your audio interface won’t connect, I’d recommend starting with the basics: inspect cables for damage, test different USB ports, and verify you’re providing adequate power—USB 2.0 offers 500mA while USB-C can deliver 27W+ for phantom power needs. Next, uninstall and reinstall drivers as administrator, restart your system, then check Device Manager for recognition errors. Beyond these fundamentals, several advanced optimization techniques can resolve persistent connectivity issues.
We are supported by our audience. When you purchase through links on our site, we may earn an affiliate commission, at no extra cost for you. Learn more.
Notable Insights
- Inspect all cables for physical damage and test ports for debris while swapping suspected faulty cables with known working ones.
- Verify power requirements by checking if your interface needs external power or adequate USB power from computer ports.
- Update or reinstall audio interface drivers from manufacturer’s website, running installer as administrator and restarting system afterward.
- Check Device Manager for interface recognition and error symbols, then test different USB ports or computers if issues persist.
- Eliminate electromagnetic interference by separating equipment from dimmer switches, monitors, and wireless devices during recording sessions.
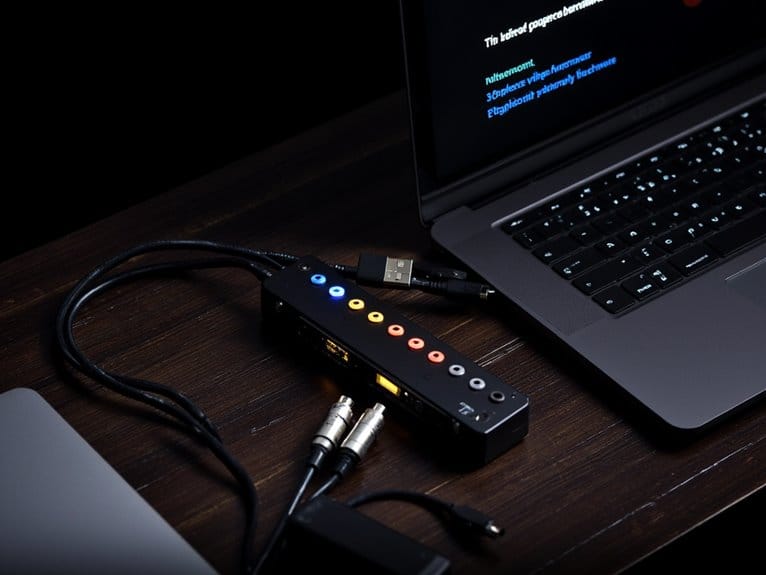
Inspecting and Testing Physical Cable Connections
The foundation of any successful audio interface setup begins with the most overlooked component—your physical connections.
Poor connections can destroy even the most expensive studio gear—start your troubleshooting with the cables, not the settings.
I’ve seen countless studio sessions derailed by a simple cable issue that could’ve been caught with proper cable maintenance. Start by visually inspecting every cable for fraying, cracks, or bent connectors that indicate internal wire breaks.
You’ll want to examine ports on both your interface and connected equipment for debris buildup or corrosion. Test suspected faulty cables by swapping them with known working ones, and always use cable shielding to minimize electromagnetic interference from nearby power supplies.
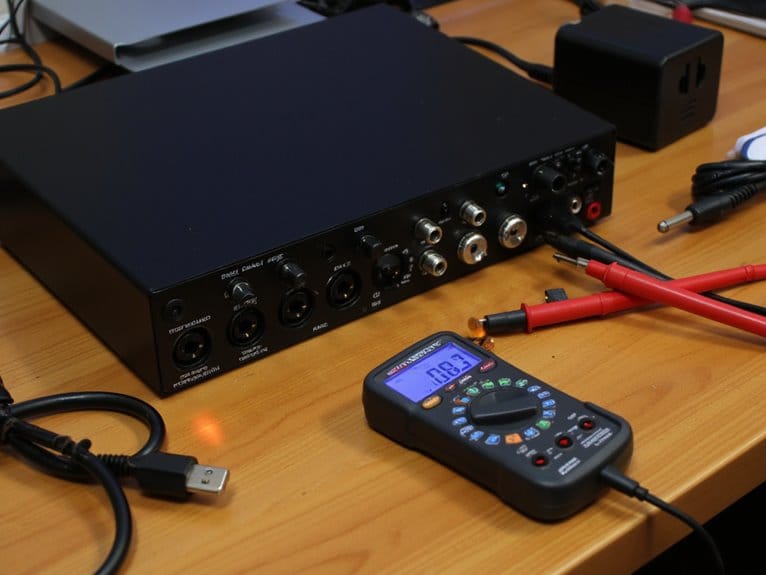
When possible, employ cable testers or multimeters to verify continuity and signal path integrity for thorough troubleshooting. Connect your interface directly to ports instead of using USB hubs to ensure optimal signal transmission and avoid potential conflicts. Remember to avoid overloading computer ports with multiple devices, as this can compromise signal quality and create connection instability.
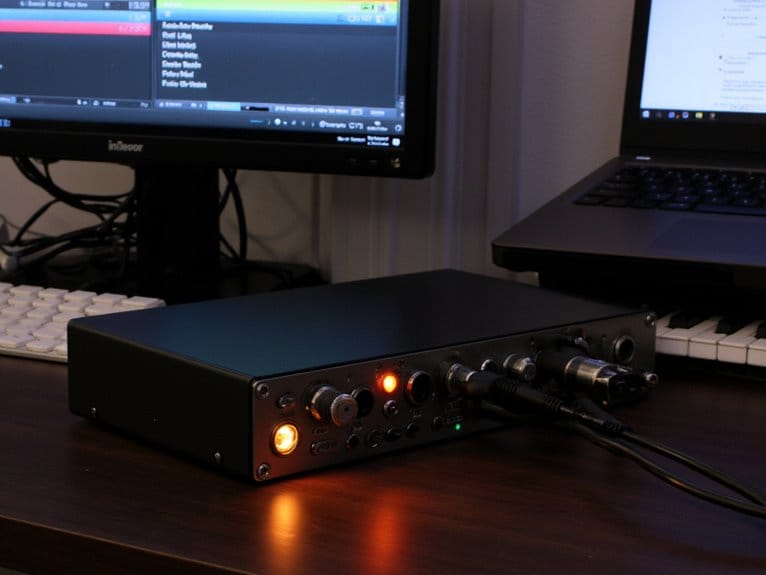
Verifying Power Requirements and Supply Issues
When your audio interface isn’t responding or behaving erratically, you’ll need to examine whether it’s receiving adequate power, particularly since modern interfaces typically fall into two categories: bus-powered units that draw energy directly from your computer’s USB port, and those requiring external power adapters.
I’ve found that many connection problems stem from insufficient USB port power output, especially when you’re using older computers or USB hubs that can’t deliver the standard 500 mA current that most bus-powered interfaces demand. Many quality interfaces like the PreSonus AudioBox 96 are USB bus-powered, eliminating the need for bulky power adapters while providing studio-grade quality at an affordable price point.
Understanding your specific interface’s power requirements, whether it operates via bus power or external supply, will help you identify if inadequate power delivery is the root cause of your connectivity issues. Professional-grade interfaces with 32-bit conversion often maintain stable operation even when power fluctuations occur, though consistent power delivery remains essential for optimal performance.
For enhanced performance and reduced latency issues, consider upgrading to interfaces with USB-C connectivity which provide faster data transfer rates and more reliable power delivery compared to standard USB connections.
If power issues persist, perform a reset procedure by completely powering off the audio interface and then turning it back on to restore proper functionality.
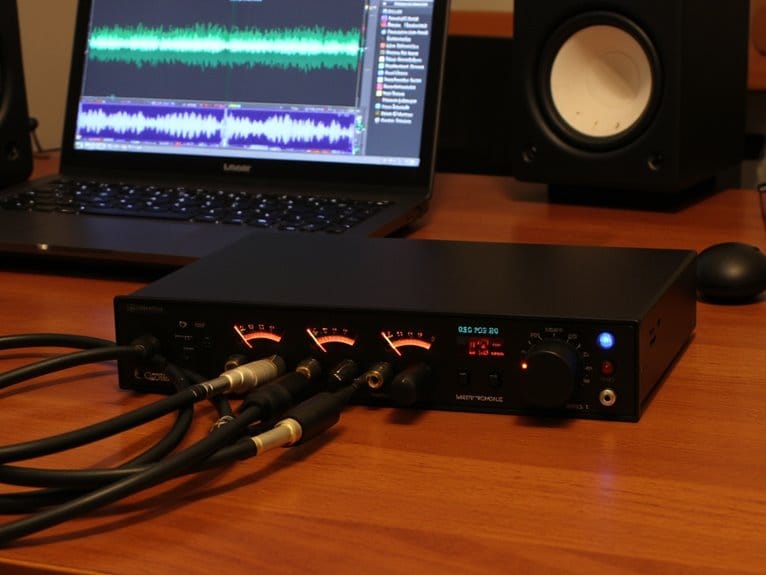
Bus-Powered Vs External
Many audio interface connection problems stem from power-related issues that I’ve encountered countless times in my years of troubleshooting. Understanding whether your device uses bus power or requires an external supply can save you hours of frustration.
Bus powered advantages include exceptional portability since you’ll eliminate the need for carrying additional adapters, though you’ll face limitations when driving high-impedance headphones or demanding studio monitors.
External power stability becomes critical when you’re running multiple inputs simultaneously, as these supplies deliver consistent voltage levels that prevent those annoying dropouts I’ve seen plague countless recording sessions. AC powered interfaces can provide over 100 mW per channel for headphone outputs, dramatically improving performance compared to their USB counterparts.
While external power reduces portability, it markedly improves your interface’s ability to handle professional workloads without compromising audio quality or introducing latency issues. Always verify that your interface includes phantom power capability if you plan to use condenser microphones, as this 48V supply is essential for proper microphone operation.
USB Port Power
As someone who’s diagnosed countless USB power issues over the years, I can tell you that verifying your audio interface’s power requirements against your computer’s USB capabilities often reveals the root cause of mysterious dropouts, crackling sounds, and complete device failures. USB voltage drops from insufficient power delivery standards create audio performance fluctuations that’ll drive you crazy during recording sessions.
| USB Standard | Power Output | Interface Compatibility | Phantom Power Support |
|---|---|---|---|
| USB 2.0 | 5V @ 500mA (2.5W) | Basic interfaces only | Limited/unreliable |
| USB 3.0 | 5V @ 900mA (4.5W) | Mid-range interfaces | Marginal support |
| USB-C PD | Up to 27W+ | Professional interfaces | Full capability |
| External Adapter | Manufacturer specified | All compatible models | Complete reliability |
Phantom power demands greatly impact USB interface compatibility, while USB hub effects often worsen power supply issues. When connectivity problems persist, powered USB hubs can provide the additional power delivery needed for stable interface operation. Modern audio interfaces with dual USB-C connectivity provide more reliable power delivery and better compatibility across different devices. External adapter benefits include eliminating these frustrations entirely.
Installing and Updating Audio Interface Drivers
When your audio interface isn’t communicating properly with your computer, you’ll often find that outdated, corrupted, or missing drivers are the culprit behind these frustrating connection failures.
I’ve learned through countless troubleshooting sessions that knowing where to find reliable driver downloads, following the correct installation sequence, and implementing proper update verification methods can transform a seemingly dead interface back into a fully functional recording tool. Always ensure you run as administrator when installing driver files to avoid permission-related installation failures that can prevent proper communication between your interface and system.
You’ll need to master these three essential areas to establish rock-solid communication between your interface and DAW, ensuring consistent performance during those vital recording sessions when everything needs to work flawlessly. For optimal performance, connect your interface using a direct connection to your machine rather than going through hubs that can compromise signal quality and stability. Focusrite interfaces are Mac and Windows compatible, making them versatile options for studios running different operating systems.
Most budget-friendly interfaces feature plug-and-play setups that simplify the installation process, though some models may still require manual driver configuration for full functionality.
Driver Download Sources
While I’ve seen countless audio interface connection headaches over the years, most stem from driver issues that you can prevent by knowing where to safely download the right software.
Your manufacturer’s official website remains the gold standard for authentic drivers, offering searchable product sections and bundled control software for streamlined installations. You won’t need device registration, and you’ll get the latest versions addressing software compatibility issues.
| Source Type | Pros | Cons |
|---|---|---|
| Official Manufacturer | Authentic, latest versions, bundled software | Limited to specific brands |
| Universal Drivers | Broad compatibility, fallback option | Limited ecosystem support |
| Update Tools | Automated scanning, driver rollback features | May miss niche products |
| Community Forums | Discontinued product support | Security risks possible |
| Third-Party Sites | Wide selection | High malware risk |
Universal drivers like Steinberg’s ASIO provide reliable fallbacks when proprietary versions fail, while automated update tools offer convenient driver rollback capabilities.
Installation Process Steps
Five critical steps separate you from a properly functioning audio interface, and I’ve watched too many users skip the preparation phase only to wrestle with corrupted installations later.
Driver compatibility becomes your foundation here, requiring you to match your operating system version with manufacturer specifications before proceeding.
I’ll break down the essential installation verification process:
- Disconnect your interface completely and close all running applications to prevent conflicts during installation
- Run the installer as administrator by right-clicking the downloaded file and selecting the elevated permissions option
- Follow each installation prompt methodically without interrupting the process once it begins running
- Restart your system completely after installation completes, then reconnect your interface for proper recognition
This systematic approach eliminates most installation headaches I’ve encountered.
Update Verification Methods
After completing your initial installation, verifying that you’ve got the correct driver version becomes your next critical checkpoint, and I’ve seen countless users assume their newly installed drivers are current when they’re actually running outdated versions.
Navigate to your device manager, locate your audio interface, and compare the displayed driver version against what’s listed on the manufacturer’s website – this simple installation verification step catches most compatibility issues before they escalate.
I recommend creating a system restore point before updating, then downloading fresh drivers exclusively from official sources.
After installation, reboot completely and check your DAW software to confirm proper device recognition, because sometimes Windows thinks everything’s fine when your audio software disagrees entirely.
Configuring DAW and System Audio Settings
Getting your hardware connected properly becomes meaningless if your DAW and operating system can’t communicate with your audio interface, which I’ve learned the hard way after spending countless hours wondering why my perfectly functional gear remained stubbornly silent.
Following proper DAW configuration tips starts with selecting your interface as both input and output device in your DAW’s preferences menu, while ensuring you’re using the ASIO driver for ideal latency performance.
| Setting Category | Action Required |
|---|---|
| Audio Driver | Select interface-specific ASIO driver |
| Input/Output | Activate all available physical channels |
| Sample Rate | Match across DAW, OS, and interface |
| Buffer Size | Adjust for latency vs. stability balance |
Input routing best practices include mapping DAW tracks to corresponding physical inputs, disabling software monitoring when using direct monitoring, and maintaining conservative gain levels around -12 dBFS to prevent clipping. Most modern audio interfaces are class-compliant, which means they work seamlessly with your operating system without requiring additional driver installations.
High-end interfaces should support 24-bit/192kHz resolution for professional-grade audio capture, ensuring maximum fidelity throughout your signal chain.
Optimizing Buffer Size and Latency Parameters
Why does your perfectly configured audio interface still feel sluggish during recording sessions, leaving you frustrated with delayed responses that throw off your musical timing? The culprit’s often improper buffer size settings, which I’ve learned can make or break your recording experience through years of troubleshooting these exact issues.
Buffer size directly controls how much audio data processes before output, affecting both latency compensation and system stability.
Here’s what I recommend for different scenarios:
- Live recording: Use 128-256 samples for under 3ms latency, though this demands more CPU power.
- Mixing sessions: Opt for 512-1024 samples to improve stability and reduce processor strain.
- Monitor CPU usage: Watch performance meters while adjusting to prevent audio dropouts.
- Stick to powers of two: Use 64, 128, 256 values for ideal DAW compatibility.
Frequently Asked Questions
Can I Use Multiple Audio Interfaces Simultaneously on the Same Computer?
You can achieve a multiple interface setup, though it depends on your operating system and available audio routing options.
On macOS, you’ll create aggregate devices natively, while Windows requires third-party drivers like ASIO4ALL for simultaneous operation.
I’ve found that clock synchronization between devices becomes essential to prevent audio glitches, and you’ll need compatible ASIO drivers that cooperate well together for best performance.
Why Does My Audio Interface Work With Some DAWS but Not Others?
DAW compatibility issues typically stem from audio driver conflicts, where different applications handle your interface’s drivers differently.
Some DAWs use ASIO exclusively, while others rely on Windows’ native drivers, creating inconsistent performance.
I’ve found that manufacturers like Focusrite and RME offer better multi-client driver support, but you’ll need to verify your interface supports ASIO4ALL or FlexASIO for broader DAW compatibility across your studio setup.
Should I Keep My Audio Interface Powered on All the Time?
You shouldn’t keep your audio interface powered continuously, as constant power consumption affects both device lifespan and your electricity bills.
While I’ve found that leaving interfaces on provides instant access and maintains stable connections, the heat buildup from 24/7 operation can degrade internal components over time.
Instead, you’ll get better longevity by powering down when not actively recording or monitoring audio sessions.
On a final note
You’ll find that most audio interface issues stem from simple oversights, whether it’s a loose USB connection, outdated drivers, or incorrect buffer settings in your DAW. I’ve seen countless musicians struggle with problems that disappear after checking power supplies or eliminating interference sources. By systematically working through cable connections, driver updates, and configuration adjustments, you’ll restore your recording setup’s functionality and get back to creating music without technical distractions.