How to Match Studio Monitors With Your Audio Interface
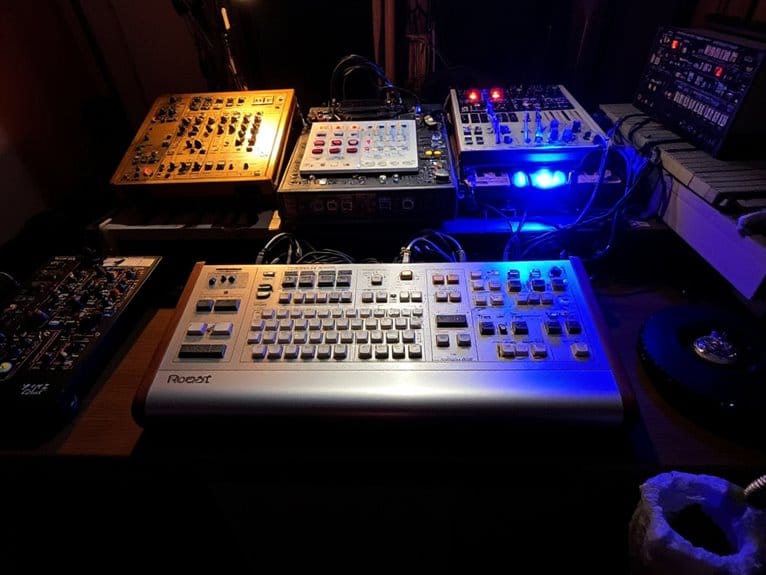
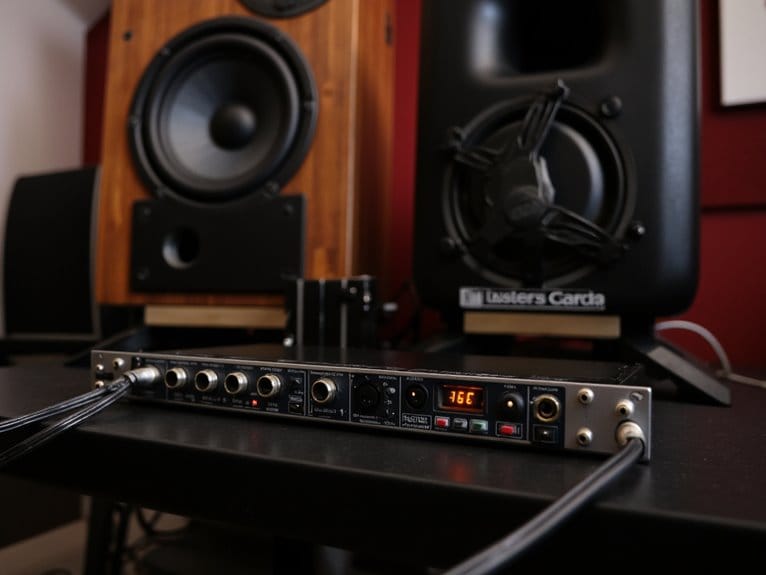
You’ll need to match your audio interface’s output level with your monitors’ input expectations—professional interfaces output +4 dBu while consumer models use -10 dBV, so check your specifications first. Use balanced TRS or XLR cables to minimize noise, guarantee equal cable lengths for stereo consistency, and position your monitors in an equilateral triangle with your listening spot. Install manufacturer drivers, configure your DAW to recognize the interface, and adjust buffer sizes for ideal performance—there’s more to optimizing this setup than these fundamentals.
We are supported by our audience. When you purchase through links on our site, we may earn an affiliate commission, at no extra cost for you. Learn more.
Notable Insights
- Ensure output levels match by checking if your interface outputs +4 dBu (professional) or -10 dBV (consumer) levels.
- Use balanced XLR or TRS cables with equal lengths to minimize noise and ensure consistent audio delivery.
- Choose active monitors for plug-and-play simplicity or passive monitors if you prefer external amplifier control and customization.
- Install manufacturer-specific drivers first, then configure your DAW to recognize the interface as the primary audio device.
- Position monitors in an equilateral triangle with your listening spot and align tweeters at ear level.
Understanding Output and Input Level Compatibility
When you’re connecting studio monitors to your audio interface, the most critical factor I’ve learned to check first is whether the output levels from your interface actually match what your monitors expect to receive.
Professional audio interfaces typically deliver +4 dBu through balanced outputs, which works perfectly with studio monitors designed for that same input sensitivity level.
However, if you’re using a consumer-grade interface that outputs at -10 dBV, you’ll need monitors that can handle this lower signal strength, or you’ll find yourself cranking volumes uncomfortably high just to achieve adequate playback levels. Many studio monitors also include high and low-frequency adjustments that should be set to 0 dB initially to establish a neutral starting point for your room acoustics.
Before making any connections, always turn down the output volume on your audio interface to zero to prevent damaging loud spikes when first establishing the signal path.
I’ve made this mistake before, and the resulting poor gain structure created unnecessary noise and limited my overall dynamic range during critical mixing sessions. For optimal performance, interfaces with Thunderbolt connectivity provide superior signal transmission compared to USB alternatives, resulting in cleaner monitor output. Quality interfaces feature zero-latency monitoring capabilities that ensure your studio monitors deliver accurate real-time feedback without timing delays that could interfere with your recording workflow.
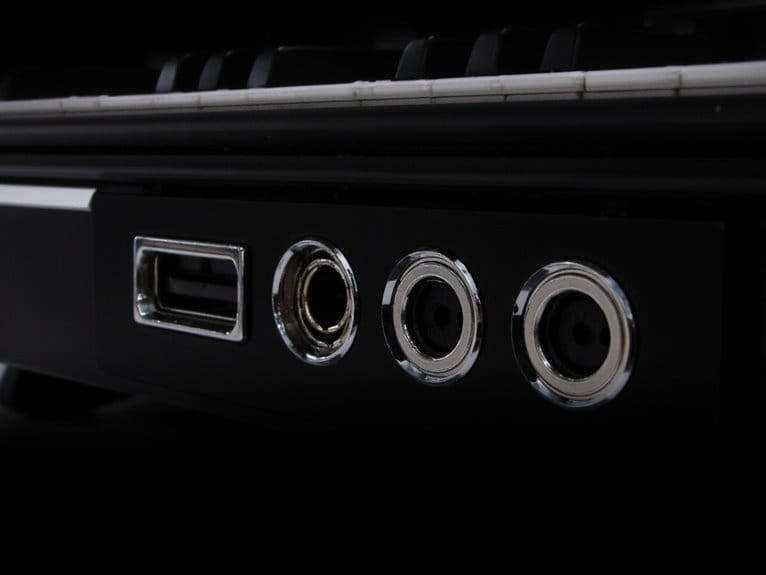
Choosing the Right Cables and Connectors
Once you’ve confirmed that your interface and monitors are compatible at the signal level, selecting the proper cables becomes your next crucial decision, and I’ve found that this choice directly impacts both your audio quality and long-term reliability.
You’ll want to prioritize balanced cable types like XLR or TRS 1/4″ connections, which effectively minimize noise and interference that can plague your monitoring setup.
I typically recommend TRS-to-TRS cables since most interfaces feature TRS outputs, though XLR connections offer superior durability in professional environments.
Connector compatibility requires careful attention—verify that your gear matches before purchasing, and avoid chaining adapters whenever possible since they introduce potential signal degradation.
Mismatched connectors and unnecessary adapters create weak points in your signal chain that compromise audio quality and system reliability.
Invest in quality cables with proper shielding and gold-plated connectors, keeping runs between three to ten feet for ideal performance. When setting up left and right monitors, use equal cable lengths to ensure simultaneous audio delivery and maintain consistency in your monitoring environment.
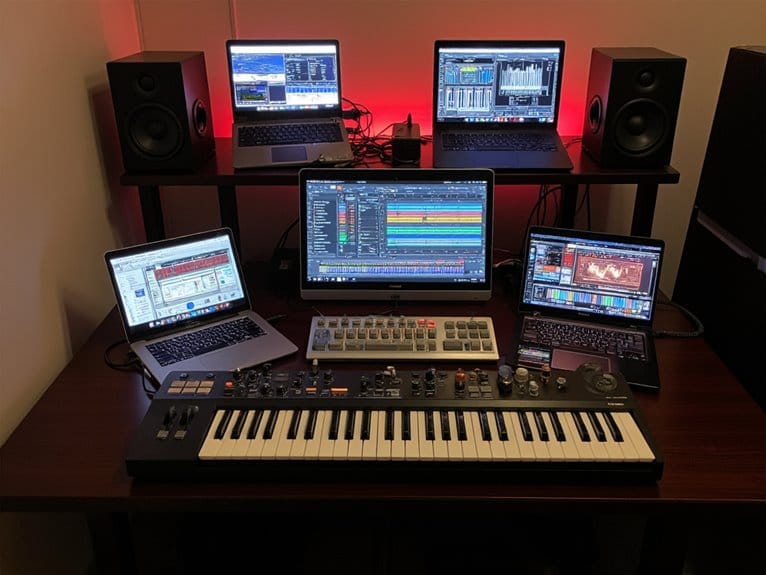
Active Vs Passive Monitor Requirements
After countless studio setups, I’ve learned that understanding the fundamental distinction between active and passive monitors will dramatically shape your entire monitoring system’s complexity, performance, and budget requirements.
Active monitors contain built-in amplifiers that manufacturers specifically tune and match to each driver, creating an optimized, plug-and-play solution that connects directly to your audio interface.
Passive monitors require external amplification, demanding careful power matching and additional equipment investments.
Your active monitor setup simplifies everything—just connect XLR or TRS cables from your interface and you’re operational.
However, passive monitor upgrades offer flexibility for customizing amplifiers independently, though they introduce complexity through speaker cables, power calculations, and potential signal degradation points that active systems elegantly avoid.
- Active monitors include manufacturer-matched amplifiers with built-in driver protection circuits.
- Passive systems require external amplifier power calculations and careful component matching.
- Active designs minimize cable complexity and potential signal degradation sources.
- Passive setups allow independent amplifier upgrades and customization flexibility.
- DSP integration in active monitors enables onboard tone shaping capabilities.
Optimal Physical Positioning and Room Setup
Since even the most expensive studio monitors become worthless if you position them incorrectly, I’ve discovered that proper physical placement fundamentally determines whether you’ll hear accurate mixes or costly deceptions that translate poorly outside your studio.
Create an equilateral triangle with your monitors and listening position, ensuring each side measures equal distance for ideal stereo imaging. Position monitor height so tweeters align with your ear level, typically 1.2 to 1.4 meters from the floor, tilting them no more than 15 degrees if elevated.
Maintain room symmetry by centering your setup along the left-right axis, keeping monitors at least one meter from walls to minimize boundary reflections.
Use isolation pads to decouple monitors from surfaces, reducing mechanical vibrations and surface reflections. Strategic acoustic treatment at first reflection points will dramatically improve your monitoring accuracy. For optimal sound reproduction, select monitors with frequency response ranging from 40Hz to 20kHz to ensure you capture the full spectrum of audio details in your workspace.
Software Configuration and Driver Setup
While perfect monitor placement sets the foundation for accurate sound, I’ve learned that improper software configuration can sabotage even the most meticulously positioned studio setup, turning your expensive monitors into glorified computer speakers that won’t reveal mix problems.
Driver installation represents the essential first step that I can’t stress enough, requiring manufacturer-specific software before connecting your interface to prevent recognition issues and guarantee peak performance.
Once installed, you’ll need to configure your DAW settings, selecting the interface as your primary input/output device while adjusting buffer sizes for latency management.
Important software configuration steps include:
- Installing manufacturer drivers before connecting the interface
- Setting the interface as default playback device in system preferences
- Configuring DAW routing to match physical monitor connections
- Enabling low-latency monitoring features when available
- Keeping software updates current for compatibility and performance improvements
Frequently Asked Questions
Can I Use Multiple Different Monitor Brands Together With One Audio Interface?
You can use multiple different monitor brands with one audio interface, but monitor compatibility requires careful management. Different brands affect audio quality through varying impedance and sensitivity, so you’ll need proper output management.
What’s the Maximum Cable Length I Can Use Without Signal Degradation?
Different cable types have varying limits for maintaining signal integrity. You can run balanced XLR or TRS cables up to 100 meters, but keep unbalanced cables under 5-10 feet to avoid interference.
Do I Need a Separate Subwoofer Controller When Connecting Monitors to My Interface?
You don’t necessarily need a separate subwoofer controller since many subs have built-in crossover controls. However, dedicated controller options provide better subwoofer benefits like precise frequency management and improved integration with your monitors.
Can I Connect Both Nearfield and Midfield Monitors to the Same Audio Interface?
You can connect both nearfield and midfield monitors to the same audio interface if it has enough outputs. This setup accommodates different monitor preferences and flexible setup configurations for cross-referencing your mixes effectively.
On a final note
You’ve now got the essential knowledge to properly match your studio monitors with your audio interface, and honestly, getting this right from the start will save you countless hours of troubleshooting later. I’ve learned that taking time to verify your output levels, select appropriate cables, position your monitors correctly, and configure your software properly creates a foundation that’ll serve your recordings well for years to come.