How to Match Microphones With Preamps
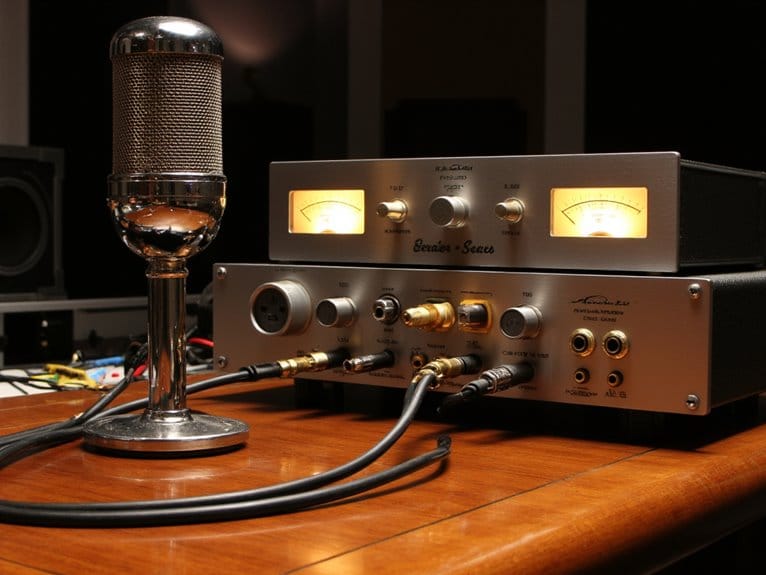
To match microphones with preamps effectively, you’ll need to verify three key specifications: impedance compatibility, gain requirements, and phantom power needs. Maintain a 10:1 ratio between preamp input impedance and microphone output impedance—dynamic mics need 1500-2000Ω preamp inputs, while ribbon mics require 2000-5000Ω for superior performance. Calculate your maximum gain needs based on microphone sensitivity and expected SPL levels, ensuring your preamp provides adequate headroom without introducing noise. The technical details below reveal how proper matching transforms your audio quality.
We are supported by our audience. When you purchase through links on our site, we may earn an affiliate commission, at no extra cost for you. Learn more.
Notable Insights
- Match preamp input impedance to be 10 times higher than microphone output impedance for optimal voltage transfer.
- Ensure preamp gain range (60-80dB) accommodates microphone sensitivity levels, especially for low-output ribbon and dynamic mics.
- Verify phantom power compatibility: +48V for most condensers, with some requiring +12V or +24V specifications.
- Choose preamps with low Equivalent Input Noise (EIN below -125 dBu) to maintain signal-to-noise ratio.
- Test impedance compatibility, headroom matching, and noise floor interaction through A/B comparisons before final selection.
Understanding Microphone Sensitivity and Output Specifications
Understanding how microphones convert sound waves into electrical signals requires grasping the fundamental concept of sensitivity, which I’ve found to be one of the most misunderstood specifications in audio engineering.
You’ll encounter sensitivity expressed as mV/Pa for analog microphones, representing the voltage output at 94 dB SPL reference level. These microphone characteristics directly impact your preamp selection, as dynamic mics typically produce 1-4 mV/Pa while condensers deliver 8-32 mV/Pa.
What matters most isn’t just the numbers, but how they affect your signal chain’s output linearity and noise performance. I’ve learned that higher sensitivity reduces required preamp gain, which improves your overall system’s signal-to-noise ratio and prevents that dull sound you get when pushing low-quality preamps too hard. Always check your maximum SPL rating to ensure your microphone won’t overload the preamp input under worst-case conditions.
Remember that ribbon microphones typically exhibit lower sensitivity levels compared to other dynamic microphones, requiring more careful consideration when matching with preamps.
Calculating Maximum Signal Levels and Headroom Requirements
Once you’ve identified your microphone’s sensitivity characteristics, the next step involves calculating the actual voltage levels you’ll encounter in real-world scenarios, which I’ve found requires more math than most engineers initially expect.
You’ll need to determine your microphone’s maximum output voltage by combining its sensitivity rating with expected SPL variations, then guarantee your preamp settings can handle these levels without signal overload.
I always calculate headroom by considering transient peaks that exceed average levels, since dynamic sources often produce unexpected spikes that’ll cause distortion if you’re not prepared. Remember that SPL decreases by 6 dB with each doubling of distance from your sound source, which directly impacts your microphone sensitivity requirements.
Proper gain staging between output voltage and preamp noise becomes critical here, as excessive headroom can degrade audio fidelity while insufficient headroom compromises mic performance during loud passages. The Max Mic Input Level represents the highest microphone signal your preamp can process before introducing distortion into your recording chain.
Evaluating Preamp Input Specifications and Gain Range
The preamp’s gain range becomes your primary consideration when matching microphones, since I’ve discovered that mismatched specifications here will compromise your entire signal chain regardless of how perfectly you’ve calculated your headroom requirements.
When establishing preamp comparison criteria, I focus on three essential specifications that determine compatibility:
- Maximum gain capacity – typically 60dB for studio work, though 80dB suits quiet ribbon mics
- Minimum gain settings – vital for high-output condensers that might already produce line-level signals
- Equivalent Input Noise (EIN) – lower figures preserve your microphone’s original dynamic characteristics
Your gain adjustment techniques should balance amplification needs with available headroom, since excessive gain reduces input headroom and increases clipping risk.
I’ve learned that checking manufacturer specs for maximum input levels guarantees proper matching. Professional applications require EIN values of -125 dBu minimum to maintain acceptable noise performance across your signal chain. Demanding dynamic microphones like the Shure SM7B particularly benefit from preamps offering 72dB gain to reach optimal recording levels. Additionally, phantom power specifications ranging from 12-48 VDC must be verified for condenser microphones to ensure proper functionality.
For professional studio environments, consider that high-quality preamps with TotalMix FX software can provide unlimited routing flexibility and real-time monitoring capabilities that enhance your microphone-to-preamp workflow.
Impedance Matching Between Microphones and Preamps
When you’re pairing microphones with preamps, understanding impedance matching becomes essential for achieving ideal signal quality, though the term “matching” can be misleading since you actually want a deliberate mismatch.
Most microphones output low impedance signals around 150-200 ohms, while quality preamps feature input impedances roughly ten times higher at 1.2-2kΩ, creating the proper ratio that maximizes voltage transfer without the 6dB signal loss you’d experience with true impedance matching.
I’ve learned that this strategic impedance relationship not only prevents unnecessary signal degradation but also minimizes noise floor issues, ensuring your microphone’s full dynamic range reaches the preamp without compromise. The sound source significantly affects overall audio quality, making proper impedance relationships even more critical for preserving the original performance. Additionally, targeting signal-to-noise ratios of 70dB or higher helps maintain clear recordings by minimizing unwanted hiss during amplification. Ribbon microphones require careful preamp selection since their extremely low output impedance of around 0.1 ohms demands specific impedance considerations to avoid loading effects that could compromise their delicate transduction mechanism.
Low Impedance Microphone Standards
Professional audio engineers rely on established impedance standards that define how microphones and preamps interact electrically. I’ve found that understanding these specifications prevents the common matching mistakes that can compromise your recordings.
When you’re selecting microphone types, you’ll encounter different impedance ranges that determine compatibility with your preamp. Low impedance microphones follow these industry standards:
- Professional microphones typically output between 50Ω and 600Ω, with most clustering around 150Ω to 250Ω for peak performance.
- Condenser microphones usually fall between 50Ω and 200Ω, while dynamic mics can reach up to 600Ω depending on their design.
- Your preamp’s input impedance should be at least 5 times higher than the microphone’s output impedance to guarantee proper voltage transfer.
These standards guarantee consistent signal quality across different manufacturers and recording situations. The low output impedance design maintains signal integrity when transmitting audio over the long cable runs commonly found in professional recording environments. Professional setups rely on XLR connections to ensure balanced transmission and eliminate interference in these impedance-matched systems.
Preamp Input Impedance Requirements
Understanding these standards sets the foundation for examining how your preamp’s input impedance actually interacts with microphone outputs, and I’ve learned that the conventional wisdom about “matching” impedances can be misleading when you’re trying to optimize your signal chain.
Modern preamp design typically targets input impedances around 1.2 kΩ to 2 kΩ, which works well with most dynamic and condenser microphones. You’ll want at least five times your microphone’s output impedance, though ten times is better for preserving frequency response and reducing loading effects.
| Microphone Type | Output Impedance | Minimum Preamp Input | Recommended Input |
|---|---|---|---|
| Dynamic | 150-200Ω | 750-1000Ω | 1500-2000Ω |
| Condenser | 50-200Ω | 250-1000Ω | 500-2000Ω |
| Ribbon | 200-500Ω | 1000-2500Ω | 2000-5000Ω |
| Vintage Ribbon | 30-300Ω | 150-1500Ω | 300-3000Ω |
These impedance variations affect your signal’s integrity more than achieving perfect electrical matches.
Signal Loss Prevention Methods
Despite what you might expect from traditional electrical theory, achieving perfect impedance matching between your microphone and preamp will actually cost you about 6 dB of signal level and degrade your signal-to-noise ratio.
This is why I’ve learned to focus on impedance bridging instead of matching when preventing signal loss.
Here are three essential methods I use to prevent signal loss while avoiding impedance pitfalls:
- Maintain the 10:1 ratio – Keep your preamp’s input impedance approximately ten times your microphone’s output impedance (typically 1.2kΩ to 2kΩ for most mics).
- Leverage transformer benefits – Use transformer-coupled preamps for impedance conversion and isolation without sacrificing signal integrity.
- Prioritize voltage transfer – Focus on clean voltage transfer rather than power matching for ideal noise performance.
Noise Performance and Signal-to-Noise Ratio Considerations
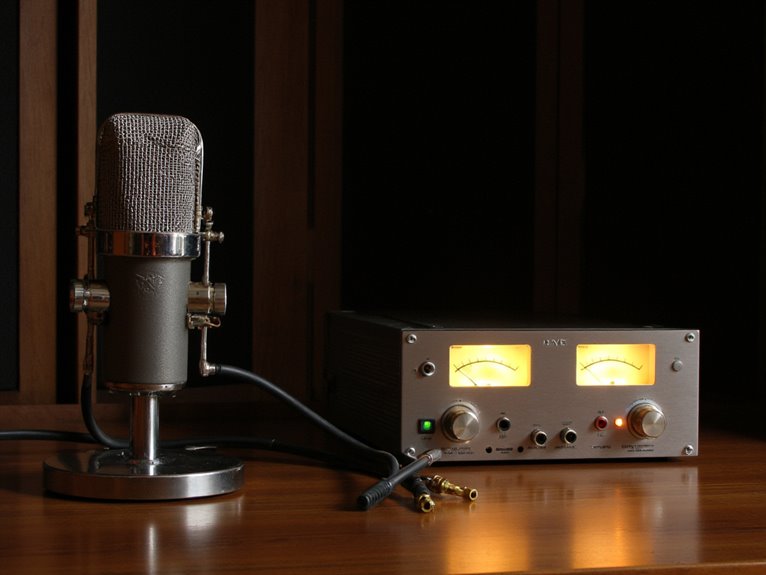
When I’m helping engineers match microphones with preamps, I’ve found that noise performance often becomes the make-or-break factor that separates professional-grade recordings from amateur results. You’ll need to understand that ultra-low noise preamps can improve your signal-to-noise ratio by 3-6 dB compared to standard audio interfaces, making quiet sources more audible without distortion.
| Microphone Type | Output Level | Preamp Requirements |
|---|---|---|
| Dynamic | Low | High gain, ultra-low noise |
| Condenser | High | Moderate gain acceptable |
| Ribbon | Very Low | Maximum headroom needed |
For effective preamplifier calibration and peak noise reduction, you’ll want to compare Equivalent Input Noise specifications measured with 150-ohm loads, which removes gain from the equation and provides objective performance metrics. Professional condenser microphones typically require self-noise ratings between 4-20 dB to maintain optimal signal clarity when paired with quality preamps. Dynamic microphones excel at handling high sound pressure levels while maintaining low noise floors, making them particularly forgiving when matched with various preamp configurations.
Channel Strip Features and Additional Processing Capabilities
Beyond optimizing noise floors and signal chains, I’ve discovered that modern channel strips offer an integrated approach to signal processing that can fundamentally change how you approach microphone and preamp matching.
The channel strip benefits extend beyond simple amplification, providing thorough signal shaping that eliminates the need for multiple outboard processors.
When selecting channel strips for dynamic processing, consider these essential features:
- Compressor integration with soft/hard knee options and sidechain filtering for frequency-selective compression
- Multi-band EQ capabilities offering parametric and shelving controls with switchable characteristics
- Expander/gate functionality with adjustable attack times for noise control and signal cleanup
I’ve found that these integrated processors work interactively, allowing you to shape your sound during tracking rather than relying heavily on post-processing, which streamlines your entire recording workflow considerably.
Many professional mixers now include studio-quality preamps with built-in DSP effects that provide this same channel strip functionality in live performance environments.
Frequently Asked Questions
Can I Use Multiple Microphones With One Preamp Simultaneously?
You generally can’t use multiple microphones with one preamp simultaneously due to preamp channel limitations, though I’ve found some exceptions.
Multi-channel preamps like the SPL Pre One handle multiple microphone setups through separate inputs, but typical single-channel units aren’t designed for this.
Directly connecting multiple mics to one input causes impedance mismatches, frequency response changes, and signal degradation that’ll compromise your audio quality considerably.
Do Tube Preamps Require Different Matching Considerations Than Solid-State Preamps?
Yes, tube characteristics create distinct matching deliberations compared to solid-state designs.
You’ll need to contemplate how tubes naturally round transient peaks and add harmonic warmth, which means bright or harsh microphones often pair beautifully with tubes for smoothness.
However, solid-state preamps offer cleaner amplification, so darker mics benefit from their clarity.
The sound coloration from tubes requires careful evaluation of whether it complements your microphone’s natural voice.
How Does Cable Length Affect Microphone and Preamp Performance?
Longer cables introduce cable capacitance effects that roll off high frequencies, while signal degradation factors like resistance reduce your microphone’s output level before reaching the preamp.
I’ve found that runs over three meters start showing noticeable clarity loss, though balanced XLR connections help maintain signal integrity.
You’ll want to keep cables under three meters when possible, since longer runs increase electromagnetic interference susceptibility and can compromise your recording quality.
On a final note
You’ve now got the technical foundation to make informed microphone and preamp pairings, though honestly, specs only tell part of the story. While impedance matching, gain staging, and noise floors matter greatly, your ears should make the final decision. Don’t overthink the process—if you’ve covered the electrical compatibility basics and the combination sounds good to you, you’re probably on the right track for your specific recording needs.

