How to Eliminate Microphone Handling Noise
You can eliminate microphone handling noise by maintaining a relaxed grip on the handle while avoiding contact with the microphone body, using proper shock mounts that match your mic’s diameter, and choosing dynamic microphones over sensitive condensers when possible. Secure XLR connections, route cables away from power sources, and position your microphone vertically at 6-12 inches from your mouth to minimize vibration transmission. Real-time noise filtering software and high-pass filters further reduce unwanted artifacts, though mastering these techniques reveals additional optimization strategies.
We are supported by our audience. When you purchase through links on our site, we may earn an affiliate commission, at no extra cost for you. Learn more.
Notable Insights
- Hold the microphone with a relaxed grip on the handle, avoiding direct contact with the body or head to minimize vibration transmission.
- Use shock mounts and choose dynamic microphones over condensers, as they’re more resistant to handling noise due to robust construction.
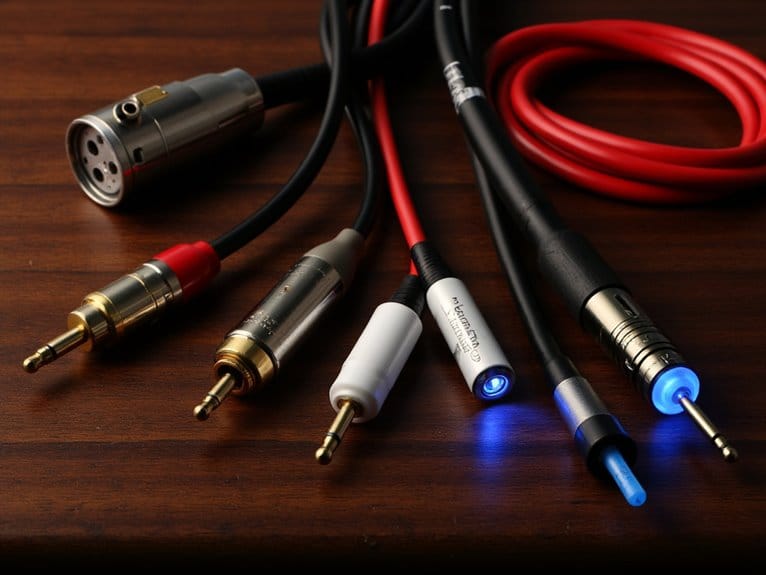
- Secure all XLR cable connections and route cables away from power sources while holding the microphone and cable together in one hand.
- Position the microphone vertically 6-12 inches from your mouth and point its least sensitive side toward potential noise sources.
- Enable high-pass filters on audio interfaces and use real-time noise filtering software to reduce low-frequency handling rumbles during recording.
Understanding the Root Causes of Handling Noise
When I first started investigating why my recordings kept picking up those annoying thumps and scratches, I discovered that handling noise isn’t just one problem—it’s actually a complex web of mechanical, acoustic, and design factors that all conspire to turn your pristine audio into a percussion show you didn’t ask for.
Handling noise transforms your careful recording session into an unwanted percussion performance you never intended to create.
The primary handling noise sources include vibrations transmitted directly to your microphone capsule through mechanical impacts, loose cable connections, and inadequate internal shock mounting systems.
These microphone vibrational effects occur when your housing absorbs impacts that then vibrate the diaphragm, creating unwanted noise.
Additionally, rubbing sounds from surface contact, air molecule movement around the diaphragm, and rigid cable transmission all contribute to the problem, making proper technique essential for clean recordings. High-quality mic preamps with features like switchable Air mode can enhance clarity and help distinguish between actual audio signals and handling noise artifacts. Proper microphone placement at 6-8 inches from your mouth can help minimize handling noise while maintaining optimal audio capture. Research shows that handling noise becomes perceptible when the signal-to-noise ratio drops below approximately 4.2 dBA. The thermal noise from circuitry components can also add to the overall noise floor during handling, especially when combined with mechanical vibrations.
Microphone Types and Their Susceptibility to Noise
When I first started recording, I discovered that not all microphones handle physical contact the same way, and understanding these differences can save you countless hours of frustration during post-production.
Dynamic microphones, with their robust construction and lower sensitivity ratings around -70 dBV, naturally resist handling noise better than their condenser counterparts, which feature higher sensitivity and integrated preamps that can amplify even subtle mechanical vibrations. Some dynamic microphones like the Shure PGA48 include an integrated shock mount that specifically reduces handling noise through mechanical isolation. Low-output dynamic microphones like the SM7B require +60 dB of clean gain from your audio interface to perform optimally while maintaining their inherent noise resistance.
The pickup pattern you choose also plays a significant role, since cardioid microphones reject off-axis noise by up to 67%, meaning handling disturbances from behind the capsule won’t register as prominently in your recordings. The surface friction of the microphone handle affects your ability to maintain a stable grip without creating unwanted rubbing noise against the housing. Digital microphones offer another advantage for handling noise reduction, as they can connect directly to DSP without intermediate gain stages that might otherwise amplify mechanical vibrations during the analog signal path.
Dynamic Vs Condenser Mics
Two fundamental microphone designs handle noise in dramatically different ways, and I’ve learned through countless recording sessions that understanding these differences can save you from hours of frustration in post-production.
Dynamic microphones excel in noisy environments due to their robust construction and lower sensitivity, while condensers deliver superior detail but demand careful handling. The sensitivity comparison reveals striking differences: In addition, dynamic microphones typically perform better in live settings where background noise is prevalent, as they pick up less ambient sound. On the other hand, the intricacies of condenser microphones require tools like microphone windscreens explained to prevent unwanted plosive sounds and wind interference, ensuring clarity in recordings. Ultimately, the choice between the two types hinges on the specific requirements of the recording environment and the desired sound quality.
- Dynamic mics generate less handling noise through their heavy moving-coil design, which naturally dampens mechanical vibrations and reduces unwanted contact sounds.
- Condensers require phantom power and shock mounting because their lightweight diaphragms and sensitive electronics pick up every bump, rustle, and environmental disturbance.
- Construction durability favors dynamics for handheld applications, since their rugged metal housing withstands rough treatment that would damage delicate condenser components. Dynamic mics also utilize electromagnetic conversion to transform sound waves into electrical signals, which contributes to their inherent resistance to handling interference.
The polar pattern of your microphone also significantly influences how much handling noise gets transmitted to your recording, making directional characteristics another crucial factor in microphone selection.
Pickup Pattern Differences
Beyond the fundamental differences between dynamic and condenser designs, the pickup pattern you choose dramatically affects how much handling noise infiltrates your recordings.
I’ve discovered that many creators overlook this critical factor when selecting microphones. The pickup pattern impact becomes immediately apparent when you compare omnidirectional mics, which capture sound equally from all directions and consequently pick up every fumble and touch, against cardioid patterns that reject rear noise sources.
I’ve found that supercardioid and hypercardioid patterns offer even better directional sensitivity, focusing on frontal sound sources while minimizing ambient interference, though their narrow rear lobes require careful positioning. Understanding these pickup patterns positions videographers ahead in the industry when dealing with challenging audio environments.
Figure-8 patterns reject side handling noise effectively, making them surprisingly useful for controlled recording environments. Omnidirectional microphones are notably less susceptible to wind noise and plosive attacks compared to their directional counterparts.
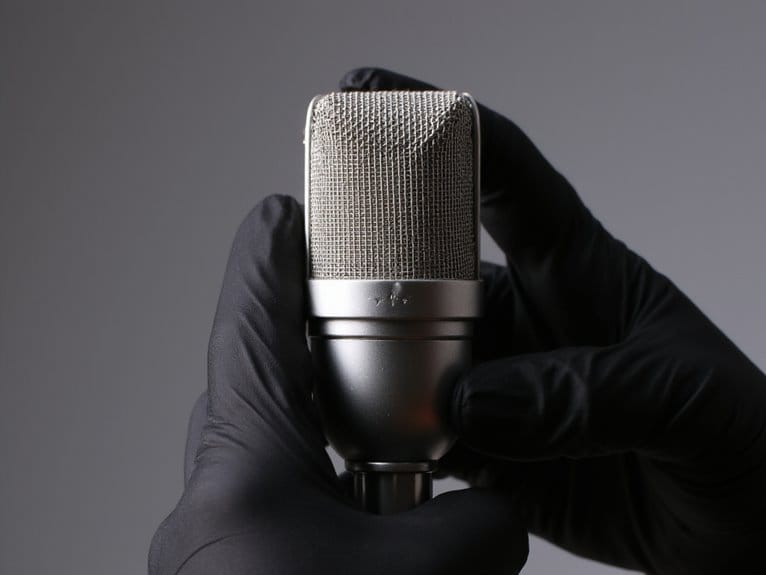
Proper Grip and Handling Techniques
Mastering proper grip and handling techniques forms the foundation of professional microphone use, and I’ve learned through countless recording sessions that even the smallest adjustments in how you hold a mic can dramatically reduce unwanted handling noise.
Your grip adjustments and finger positioning matter more than you might realize, since excessive tension transmits vibrations directly to the capsule.
Here’s what I’ve found works consistently:
- Maintain a relaxed, comfortable grip that minimizes contact with the microphone body while keeping your hand stable.
- Position your fingers carefully to avoid direct contact with the capsule or diaphragm area.
- Practice proper thumb placement so it doesn’t rub against the microphone surface during movement.
Professional-grade handheld microphones handle these techniques better, but even budget mics respond well to proper handling practices. Another effective technique involves holding the microphone and cable with the same hand to prevent cable movement from creating additional unwanted noise.
Always hold the microphone by the handle rather than cupping the head, as this maintains the proper directional pick-up pattern and prevents feedback issues. Some microphones may experience noticeable handling noise despite proper technique, making it essential to understand your equipment’s limitations. Dynamic microphones are particularly effective at reducing handling noise due to their robust construction and ability to handle vibrations better than more sensitive microphone types.
Shock Mounts and Isolation Solutions
How does a simple elastic band system transform even the most sensitive condenser microphone into a vibration-immune recording powerhouse?
Elastic suspension systems mechanically decouple sensitive condensers from vibrations, creating professional-grade isolation that eliminates handling noise and structural interference completely.
I’ve discovered that proper shock mount materials and elastic suspension systems create the mechanical decoupling your microphone desperately needs to eliminate handling noise completely.
Here’s what you need to take into account when selecting isolation solutions:
- Match your microphone’s diameter – Most mounts accommodate specific ranges like 55mm-60mm, so measure carefully before purchasing.
- Choose appropriate shock mount materials – Metal construction offers superior durability over plastic alternatives, especially for heavier broadcast microphones.
- Consider your recording environment – Spider mounts excel in controlled studios while clip-on versions work better for mobile applications.
DIY Cushioning and Padding Methods
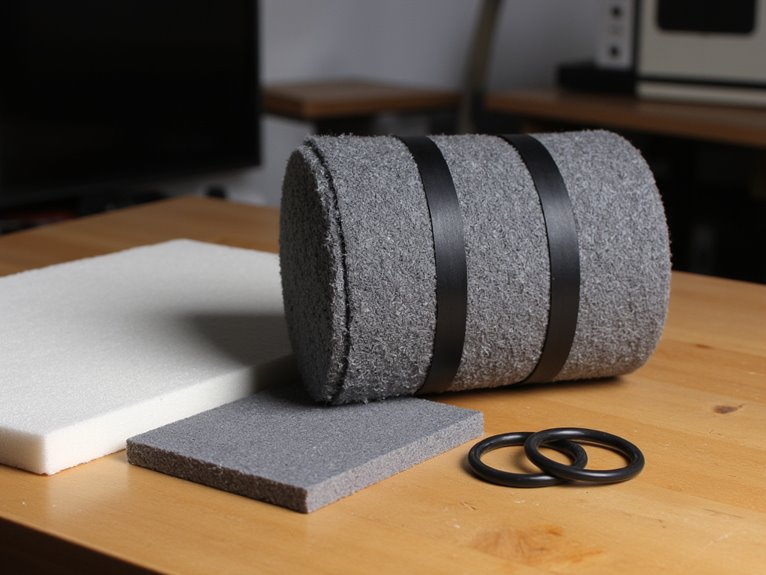
When professional shock mounts aren’t in your budget or simply don’t fit your specific microphone setup, creating effective DIY cushioning systems can deliver surprisingly robust handling noise reduction at a fraction of the cost. You’ll find that custom foam inserts, crafted from Kaizen foam or repurposed pet bed materials, can be precisely shaped to cradle your microphone while dampening mechanical vibrations. I’ve discovered that layering different DIY padding materials—combining dense felt with soft foam sheets, for instance—creates thorough isolation across multiple frequency ranges.
| Material Type | Cost Range | Effectiveness Rating |
|---|---|---|
| Kaizen Foam | $15-25 | Excellent |
| Pet Bed Foam | $8-15 | Good |
| Household Sponges | $3-8 | Fair |
| Craft Store Felt | $5-12 | Good |
Cut materials to match your microphone’s exact dimensions, ensuring snug fits without compression that restricts movement or creates additional friction points.
Professional Accessories for Noise Reduction
Professional shock mounts represent the gold standard for eliminating handling noise, and after years of testing various models across different recording scenarios, I can confidently say they’re worth every penny when you need reliable, consistent isolation.
The shock mount benefits extend far beyond basic vibration control, creating an elastic suspension system that effectively decouples your microphone from stand-transmitted disturbances.
Professional shock mounts create an elastic suspension system that effectively decouples microphones from stand-transmitted vibrations and handling disturbances.
For thorough noise control, consider these essential accessories:
- Acoustic reducers like Hide-a-mic Re:pose – These lightweight aluminum devices provide exceptional acoustic barrier effectiveness against low-frequency rumble.
- Professional boom arms with vibration dampening – Heavy-duty construction minimizes handling transfer while maintaining stability.
- Multi-layered windscreens and pop filters – Reduce both environmental wind noise and speech-related mechanical disturbances.
When selecting microphones for your studio setup, ensure they connect to mixing consoles with 48V phantom power to maintain optimal signal integrity and minimize noise floor interference. Room acoustics also play a crucial role in overall recording quality, particularly when working with sensitive condenser microphones that may capture unwanted ambient noise. Additionally, it’s important to consider your specific recording needs when choosing microphones. For those focusing on online content creation or gaming, finding the best microphone for streaming can greatly enhance audio clarity and audience engagement. Investing in a quality microphone not only improves your setup but also ensures that your voice is heard clearly, making your recordings more professional.
On a final note
You’ve now got an extensive toolkit for tackling microphone handling noise, from proper grip techniques and shock mounts to strategic cable management and software solutions. I’ve found that combining multiple approaches—like using isolation hardware while maintaining good handling form—typically yields the best results. Start with the basics of proper technique and environmental setup, then add technical solutions as needed, and you’ll notice dramatically cleaner recordings.