How to Choose the Right Microphone for Your Needs
You’ll want to match your microphone type to your specific application: dynamic mics like the Shure SM58 excel in live performances due to their durability and high SPL handling, while large-diaphragm condensers capture vocal detail in studios but require phantom power and careful placement. Consider your environment—controlled studios benefit from sensitive condensers, outdoor locations need rugged shotgun mics, and podcasting typically favors dynamic models for voice isolation. Understanding these fundamental differences, along with polar patterns and power requirements, will guide you toward the perfect microphone choice for your unique audio needs.
We are supported by our audience. When you purchase through links on our site, we may earn an affiliate commission, at no extra cost for you. Learn more.
Notable Insights
- Consider your intended use: dynamic mics for live performance, condenser mics for studio recording, shotgun mics for film production.
- Evaluate your recording environment: cardioid patterns reduce background noise, omnidirectional captures ambient sound, figure-8 suits dual-source recording.
- Check power requirements: condenser mics need phantom power, dynamic mics don’t require external power, USB mics simplify setup.
- Balance audio quality with durability: condensers offer detailed capture but are fragile, dynamics provide ruggedness for demanding conditions.
- Factor in your budget and experience level: USB mics suit beginners, XLR systems offer professional flexibility and scalability.
Understanding Dynamic Microphones and Their Applications
When choosing your first microphone or upgrading your current setup, I’d argue that understanding dynamic microphones represents one of the most practical starting points, since these workhorses have dominated live sound and studio applications for decades through their remarkably simple yet effective design.
The dynamic microphone benefits become immediately apparent once you consider their electromagnetic induction principle, where a diaphragm-attached coil moves within a magnetic field, creating few moving parts that translate to exceptional durability. Dynamic microphones generally operate well in various temperatures and do not require regular maintenance. Additionally, dynamic microphones excel with their cardioid polar patterns that effectively minimize feedback and reduce background noise during live performances.
Dynamic microphones excel through electromagnetic induction’s elegant simplicity: fewer moving parts mean superior durability and reliability in demanding conditions.
Their prowess in handling loudness sets them apart, managing high sound pressure levels without distortion while withstanding drops, moisture, and temperature fluctuations that would damage delicate condensers. These microphones offer excellent value for money due to their straightforward construction and reliable performance. Dynamic microphones are preferred for louder instruments specifically because of their robust design and ability to handle extreme sound pressures.
This ruggedness, combined with their 200Ω output impedance and 40Hz-15kHz frequency response featuring a vocal-enhancing 2.5kHz presence peak, makes them indispensable for live performances and studio work.
Condenser Microphones: When Detail and Sensitivity Matter
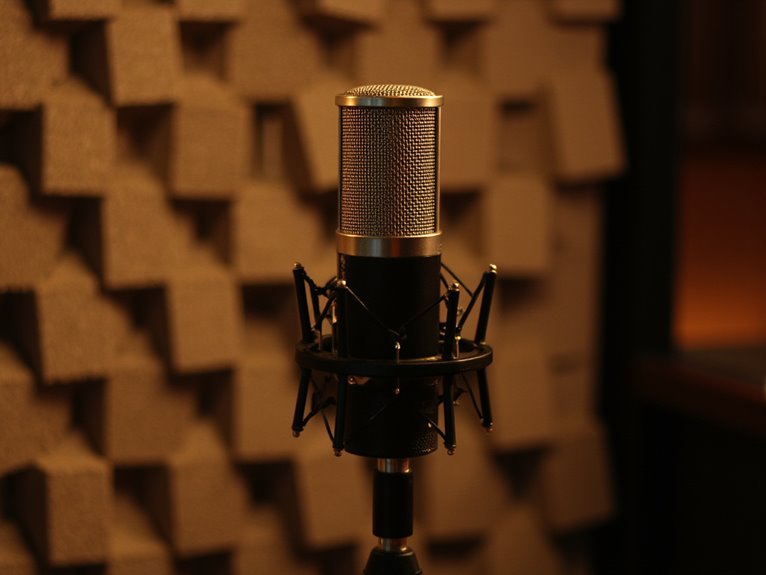
When you’re ready to capture every nuance of a vocal performance or the delicate shimmer of acoustic guitar strings, condenser microphones deliver the exceptional detail and sensitivity that’ll elevate your recordings from good to professional.
Unlike their dynamic counterparts, these precision instruments require phantom power and careful setup considerations, but they’ll reward you with studio-quality results that showcase why they’re the go-to choice for serious recording applications. Achieving optimal performance also requires proper room treatment to reduce unwanted reflections and echoes that can compromise your recording quality.
I’ve found that understanding their power requirements and ideal placement techniques is essential for accessing their full potential in controlled studio environments. Many quality condenser microphones feature switchable bass-cut filters that help you tailor the sound to your specific recording environment and eliminate unwanted low-frequency rumble. Their cardioid pickup pattern focuses on capturing sound from the front while effectively minimizing background noise interference.
For professional-grade recordings, look for microphones with a signal-to-noise ratio of at least 70dB, which ensures cleaner audio capture with minimal background interference.
Studio Recording Excellence
I’ve spent countless hours in recording studios, and there’s one truth I can’t escape: condenser microphones consistently deliver the kind of detailed, sensitive audio capture that transforms good recordings into exceptional ones.
When you’re implementing professional studio recording techniques, condensers become indispensable tools that capture every vocal nuance, string vibration, and atmospheric detail with remarkable precision.
Their superior transient response means you’ll capture sharp attacks from percussive instruments without distortion, while their wide frequency range preserves everything from deep bass fundamentals to crisp cymbal shimmer.
Smart microphone placement becomes vital since condensers pick up ambient noise alongside your desired source, but this sensitivity rewards you with studio-quality recordings that dynamic mics simply can’t match in controlled environments. The capacitor mechanism with its vibrating diaphragm and backplate creates the electrical variations that translate sound waves into remarkably accurate audio signals.
To get the most from these sensitive instruments, you’ll need phantom power from your audio interface or preamps to energize the internal capacitor and amplify the delicate electrical signals.
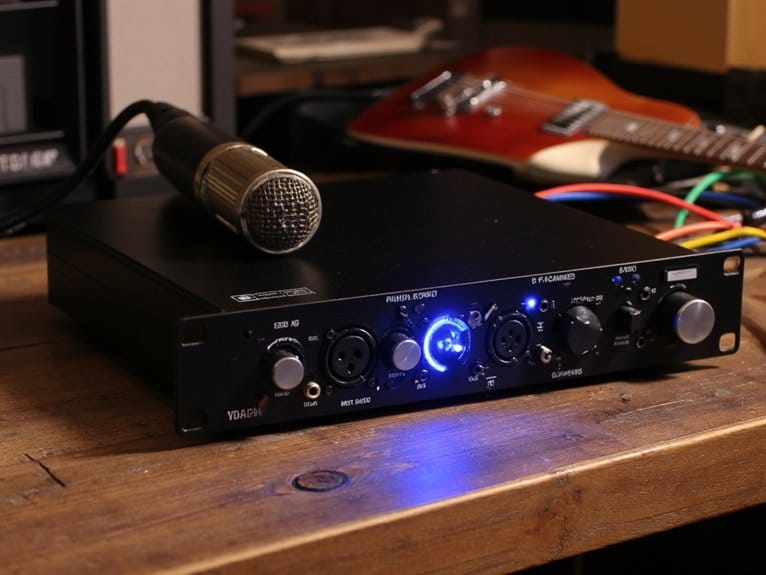
Power and Setup Requirements
Three key factors determine whether your condenser microphone setup will deliver professional results or frustrate you with technical limitations: phantom power compatibility, connectivity requirements, and power consumption management.
Phantom power voltages range from 12V to 48V, with 48V being the industry standard, though I’ve found that using lower voltages can notably extend battery life in portable recording situations. Your microphone’s power category matters—some operate consistently from 9V to 48V, while others demand the full 48V to function properly.
Connectivity options center around XLR cables for professional balanced signals, though USB condensers offer built-in power management for simplified setups. When troubleshooting phantom power issues, verify that voltage measurements show identical levels between pin-2 and pin-3 on your XLR connection.
Professional devices typically provide 10mA per input, but phantom powering remains the largest battery drain in portable equipment, so choosing microphones with lower voltage requirements or internal batteries can considerably extend your field recording sessions. Some condensers include internal battery options as an alternative power source when phantom power is unavailable or when you want to preserve your recording device’s battery life.
Ribbon Microphones for Vintage Warmth and Character
While condenser and dynamic microphones dominate most modern recording setups, I’ve found that ribbon microphones offer something uniquely compelling that’s difficult to replicate with any other transducer technology. Their vintage sound comes from a thin metal ribbon suspended in a magnetic field, creating that distinctive warmth and mellowness I’ve come to appreciate. These ribbon advantages become apparent when you’re dealing with harsh or overly bright sources that need taming. The delicate nature of these microphones requires careful handling, as the thin aluminum ribbon can be damaged by extreme temperatures, humidity, or direct air blasts. The inherent high-frequency roll-off creates their signature sound character, which begins gently and becomes more pronounced at higher frequencies.
| Application | Tonal Quality | Technical Benefit |
|---|---|---|
| Electric guitar amps | Natural warmth | High SPL handling |
| Brass instruments | Smooth character | Figure-8 rejection |
| Soprano vocals | Reduced harshness | Wide frequency response |
| String sections | Vintage mellowness | Natural blending |
| Percussion | Enhanced resonance | Low distortion |
Shotgun Microphones for Directional Audio Capture
When you’re capturing audio in challenging environments where background noise threatens to overwhelm your subject, shotgun microphones offer the most effective solution through their highly specialized directional pickup patterns that focus intensely on sounds directly in front of the capsule.
I’ve found that these mics excel particularly in film production applications, where their narrow acceptance angle and superior off-axis rejection allow you to isolate dialogue from actors even when they’re positioned several feet away from the microphone.
You’ll discover that shotgun mics shift from hypercardioid patterns at lower frequencies to increasingly focused lobar patterns at higher frequencies, creating that signature tight directional response that makes them indispensable for professional video work.
For optimal performance in outdoor recording scenarios, you’ll want to pair your shotgun microphone with windscreens to mitigate wind interference that can otherwise compromise audio quality during field recordings.
Directional Pickup Patterns
If you’ve ever wondered how boom operators manage to capture crystal-clear dialogue on a bustling movie set while rejecting the chaos happening just feet away, shotgun microphones and their sophisticated directional pickup patterns deserve the credit.
These remarkable devices create narrow, highly focused pickup zones that dramatically improve your ability to isolate specific sound sources from background noise.
Different shotgun microphone types employ varying pickup patterns, shifting from hypercardioid at lower frequencies to tight lobar patterns as frequency increases.
The interference tube’s length determines the lowest frequency where off-axis rejection begins, with longer tubes providing better low-frequency directivity.
This frequency-dependent behavior makes shotgun mics incredibly versatile for directional audio applications, whether you’re recording dialogue, wildlife sounds, or conducting interviews in challenging acoustic environments.
Film Production Applications
Setting up on location for my first documentary shoot years ago, I quickly learned that shotgun microphones don’t just capture dialogue—they solve the fundamental challenge of isolating your intended audio source from the chaotic symphony of real-world filmmaking environments.
These directional workhorses excel in film production scenarios where you’re dealing with everything from bustling street interviews to intimate indoor conversations, thanks to their narrow pickup patterns that focus on sounds directly in front while rejecting off-axis noise.
The shotgun microphone features that make them invaluable include their adaptable mounting options on boom poles or camera rigs, smooth polar responses that add natural warmth to dialogue, and varying lengths that let you match directionality to your specific shooting conditions and budget constraints.
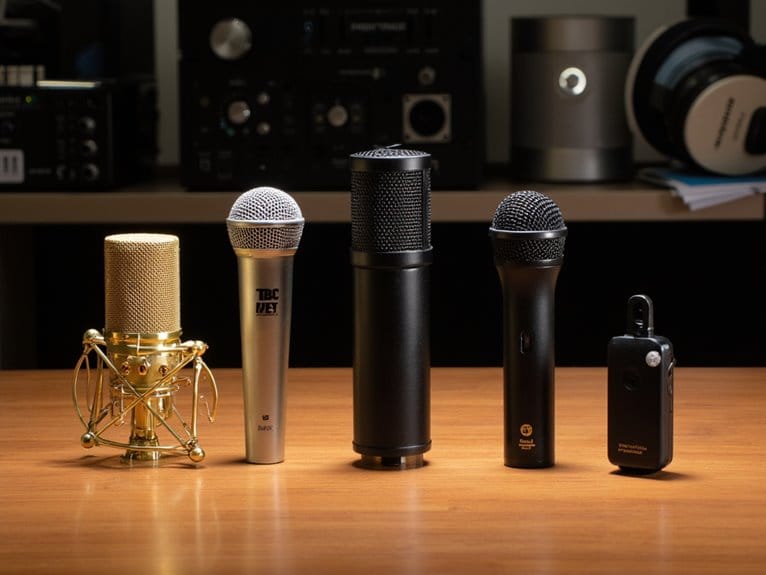
Microphone Selection for Studio Music Recording
What makes the difference between a professional-sounding recording and an amateur one often comes down to selecting the right microphone for your specific studio situation.
Large diaphragm condenser microphones excel for vocal recording, offering wide frequency response and exceptional sensitivity, while small diaphragm condensers capture acoustic instruments with precise transient response.
Large diaphragm condensers deliver superior vocal clarity while small diaphragm models provide exceptional precision for acoustic instrument recording.
Dynamic microphones handle loud sources like guitar amplifiers without distortion, making them invaluable for high SPL scenarios.
Your microphone placement strategies greatly impact sound quality, with cardioid patterns providing excellent isolation in untreated rooms.
Verify audio interface compatibility by checking phantom power requirements for condenser microphones, and confirm maximum SPL ratings match your recording needs to avoid distortion during dynamic performances. Professional audio interfaces with 48V phantom power ensure stable operation for condenser microphones during extended recording sessions.
Studio-quality options like the Shure SM7B are particularly valued for their superior noise rejection capabilities, making them ideal for professional broadcasting and podcasting applications.
Essential Tips for Making Your Final Microphone Decision
How do you navigate the overwhelming array of technical specifications, marketing claims, and professional recommendations to find the microphone that’ll truly serve your specific needs?
I’ve learned that successful microphone selection requires balancing multiple factors against your actual recording environment and performance requirements.
Consider these essential decision-making factors:
- Test polar patterns against your recording space’s acoustics and ambient noise levels
- Evaluate frequency response curves to match your voice’s natural characteristics and tonal preferences
- Assess maximum SPL capabilities relative to your loudest anticipated sound sources
Your environmental adaptability strategies should include understanding how different polar patterns perform in various acoustic settings, while microphone maintenance tips become vital for preserving your investment’s performance over time.
Frequently Asked Questions
How Do I Properly Maintain and Clean Different Types of Microphones?
You’ll need different approaches for each microphone type, though I’ve learned that moisture prevention remains your top priority across all models.
Dynamic mics tolerate more aggressive cleaning with isopropyl alcohol wipes, while condensers demand gentler care since their electronics are sensitive.
For ribbon mics, clean only the exterior casing, and remember that filter replacement for windscreens should happen monthly in heavy-use environments to maintain peak performance.
Can I Use Multiple Microphones Simultaneously Without Interference Issues?
You can definitely use multiple microphones simultaneously, though different microphone types require specific interference solutions to work properly together.
I’ve found that XLR mics with audio interfaces work best since they allow independent channel control, while USB mics typically cause recognition issues when used together.
You’ll want directional mics with strategic spacing, proper frequency coordination for wireless systems, and adequate channel separation to eliminate signal interference and audio bleed between sources.
What Cables and Accessories Are Essential for My Microphone Setup?
You’ll need XLR cable types as your foundation, specifically 3-pin male-to-female for standard mics, though tube condensers require 7-pin versions for power circuits.
I recommend shock mounts to eliminate vibration noise, pop filters for plosive reduction, and sturdy boom stands for positioning.
Don’t overlook cable management tools and quality preamps, since phantom power delivery through proper shielding prevents interference that’ll compromise your recordings.
How Do I Troubleshoot Common Microphone Problems Like Static or Low Volume?
For effective static noise diagnosis, I’d recommend checking your cable connections first, since loose XLR connections cause most interference issues.
You’ll want to separate audio cables from power cords, test different ports systematically, and adjust input gain settings carefully to prevent clipping while maintaining adequate levels.
These microphone interference solutions, combined with consistent positioning and updated drivers, typically resolve volume inconsistencies.
Should I Buy New or Used Microphones for Professional Applications?
For professional applications, I’d recommend weighing new microphone benefits like warranty protection, latest technology, and guaranteed performance consistency against used microphone risks including potential hidden damage, repair costs, and reliability concerns.
You’ll find that professional-grade models from reputable sellers can work well used, but new units offer peace of mind for critical workflows where consistent audio fidelity matters most.
On a final note
You’ll find the perfect microphone by matching your specific needs with the right technology, whether that’s a dynamic mic for live vocals, a condenser for studio detail, or a ribbon for vintage character. Don’t overthink it—consider your environment, budget, and primary use case first. Trust your ears during testing, prioritize build quality for long-term value, and remember that technique often matters more than expensive gear.