How to Build a Basic Guitar Pedalboard
To build your first pedalboard, start with one core overdrive or distortion pedal, then select a sturdy aluminum board that matches your pedal count. Position your tuner first in the signal chain, followed by dynamics like compressors, drive pedals, modulation effects, and finally delays and reverbs. Use an isolated power supply matching each pedal’s voltage requirements, secure everything with Velcro, and route patch cables underneath for clean organization. Master these fundamentals, and you’ll discover advanced techniques that elevate your entire setup.
We are supported by our audience. When you purchase through links on our site, we may earn an affiliate commission, at no extra cost for you. Learn more.
Notable Insights
- Choose a core gain pedal first, then add essential effects like tuner, delay, and reverb based on your musical needs.
- Select an appropriately sized aluminum pedalboard with angled design for better accessibility and ergonomic performance setup.
- Organize signal chain: tuner first, then compressor, overdrive/distortion, modulation effects, and finally delays and reverbs.
- Use isolated power supply matching each pedal’s voltage requirements while calculating total current draw for proper functionality.
- Secure pedals with Velcro tape and route cables underneath using zip ties for clean organization and easy troubleshooting.
Choosing the Right Pedals for Your Setup
Where do you even begin when faced with the overwhelming array of guitar pedals available today, each promising to transform your sound in ways that’ll make your favorite guitarists weep with envy?
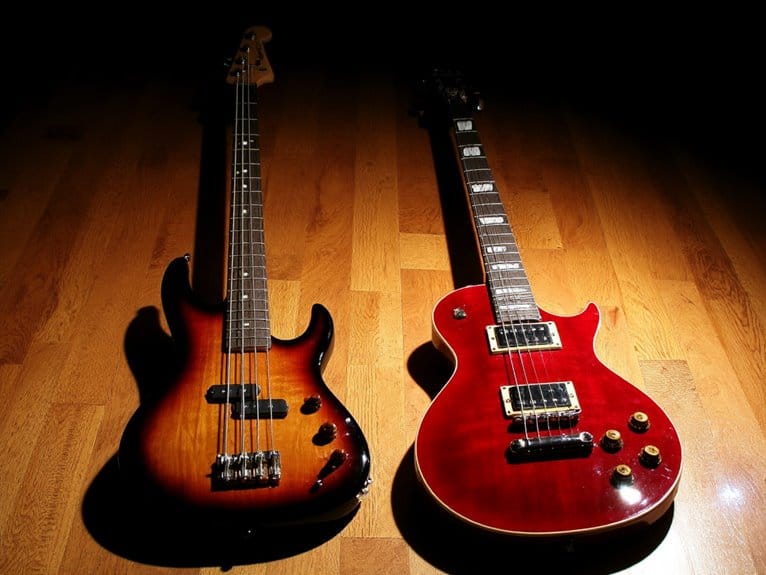
Start with one core gain pedal that’ll establish your foundational tone, whether that’s an overdrive for warm, tube-amp-like breakup or a distortion for more aggressive textures.
Understanding overdrive types helps you match pedals to your amp’s natural voice, while grasping fuzz characteristics guides you toward those compressed, saturated tones perfect for vintage-inspired sounds.
Consider your existing gear’s compatibility first, then focus on versatility over specialty effects. Quality instrument cables with proper shielding and oxygen-free copper conductors ensure your pedal chain maintains clean signal transmission without introducing unwanted noise or interference.
Multi-function pedals combining overdrive, fuzz, and distortion offer budget-friendly experimentation, letting you explore diverse gain textures before committing to individual pedals. For beginners especially, multi-effects processors like the Zoom G1X FOUR or MOOER GE100 provide an affordable way to access dozens of effects and amp models in a single unit. Virtual pedal emulations through audio plugins provide an excellent way to test different effects and find your preferred sounds before investing in physical hardware.
Pedals with true bypass circuitry help maintain signal integrity throughout your chain, preventing unwanted tonal coloration when effects are disengaged.
Remember that Budget considerations can significantly affect your pedal choices, as value varies widely among different models and may influence your decision between individual specialized pedals versus multi-effect units.
Selecting Your Pedalboard and Planning the Layout
The pedalboard itself becomes the foundation that’ll either support your creative ambitions or turn into a frustrating mess of tangled cables and awkwardly placed switches, so choosing the right size and layout requires more strategic thinking than you might expect.
Your pedalboard foundation will either unleash your musical creativity or become a chaotic nightmare of cables and poor switch placement.
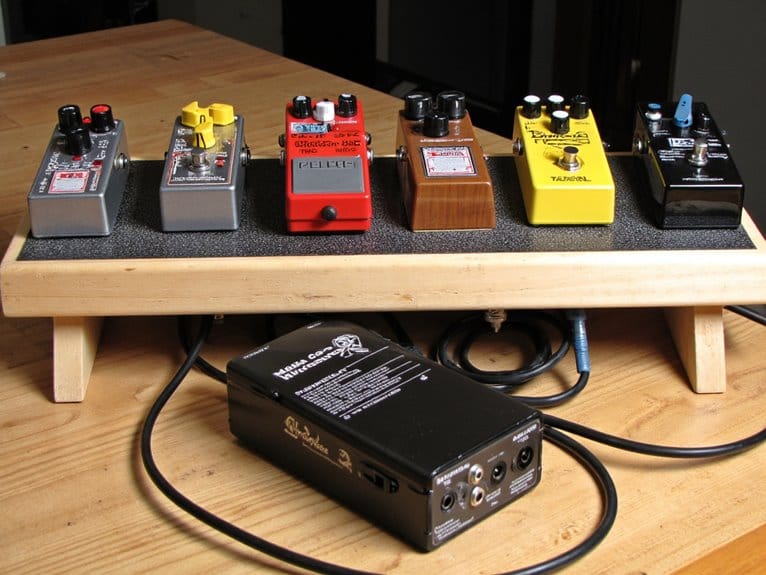
Pedalboard dimensions range from compact 42 x 15 cm boards accommodating 3-4 pedals to larger 82 x 30 cm surfaces handling 10-14 units, and selecting the wrong size means you’ll either outgrow it immediately or lug around unnecessary real estate. Quality pedalboards constructed from durable aluminium provide the structural integrity needed to withstand regular use and transport. Most budget pedals require separate 9V DC adapters, which can add both cost and cable management complexity to your pedalboard setup.
Layout versatility matters tremendously when arranging your effects:
- Place frequently used pedals like volume and wah at easily accessible front positions
- Group similar effects together for logical signal chain organization
- Leave adequate spacing between switches to prevent accidental triggering
- Plan cable routing paths underneath to minimize tangling and interference
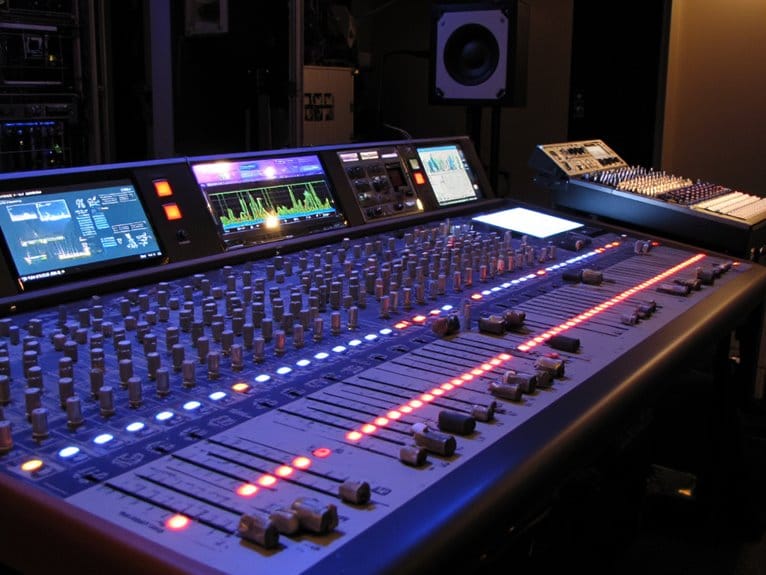
Power Supply Considerations and Setup
Once you’ve mapped out your pedalboard layout, power supply decisions become the make-or-break factor that’ll determine whether your setup hums quietly in the background or buzzes like an angry hornet’s nest.
Voltage compatibility isn’t negotiable—match your pedal’s requirements exactly, whether that’s 9V, 12V, or 18V, because wrong voltage means damaged gear.
Calculate total current draw by adding each pedal’s milliamp rating, then choose a power supply exceeding that sum. Digital pedals typically demand 200-300mA while analog effects sip power more conservatively.
Check polarity symbols carefully since most pedals use center-negative connections, and verify plug sizes match your cables.
Isolated outputs prevent ground loops and noise issues that plague cheaper daisy-chain setups, making them worth the investment for professional results. Similar to how affordable audio interfaces offer professional-grade preamps and sound quality comparable to higher-end models, quality power supplies don’t always require breaking the bank.
Some high-headroom pedals like the Friedman Buxom Boost perform optimally at 18V operation, delivering increased clarity and dynamic range compared to standard 9V power.
Professional audio interfaces feature phantom power at 48V to supply condenser microphones, but guitar pedals operate at much lower voltages for safety and efficiency.
Organizing Your Signal Chain for Optimal Sound
After sorting your power supply situation, signal chain organization becomes the sonic chess game that’ll either release your pedals’ full potential or leave you scratching your head wondering why everything sounds muddy.
Your signal chain follows a logical progression, starting with dynamics pedals like compressors that shape your clean tone, followed by drive pedals for distortion character, then modulation effects such as chorus or phaser, and finally time-based effects like delay and reverb for spatial processing.
- Place tuners first for clean pitch reference and accurate tuning detection
- Position compressors early to maintain signal clarity before gain stages
- Keep drive pedals before modulation to preserve effect integrity and definition
- End with delays and reverbs for ambient processing on your fully shaped tone
Pedal order experimentation yields unique sounds, but this foundation prevents common sonic disasters. Just as lap steel guitarists rely on proper tuning stability for consistent performance across their pedalboard signal path, electric guitarists need stable pitch reference throughout their effects chain.
Mounting Pedals and Cable Management
Solid mounting transforms your carefully planned signal chain from a scattered mess of stomping hazards into a professional, tour-ready rig that’ll survive everything from bedroom noodling to stage diving crowds.
Pedal positioning starts with Velcro tape underneath each unit, though zip ties work when you need bulletproof attachment. I mount effects toward the back row for cleaner cable routing, which honestly makes troubleshooting less frustrating during those inevitable 2 AM recording sessions.
Cable organization relies on Velcro wraps attached to your board’s underside, bundling patch cables into neat looms that separate audio from power lines. Choose aluminum alloy pedals over plastic ones for better durability when building your rig. When planning your signal chain, prioritize pedals with true bypass functionality to maintain optimal tone integrity when effects are disengaged.
Route everything underneath for that clean topside appearance, using shortest possible lengths between pedals to avoid the dreaded spaghetti nest that’ll haunt you later. Many pedalboards feature angled designs that enhance pedal accessibility during performances while preventing accidental stomping on adjacent effects.
Frequently Asked Questions
How Much Should I Budget for a Basic Guitar Pedalboard Setup?
You’ll need $150-500 for basic setups, depending on your gear priorities. Smart budgeting tips include starting with essential pedals like tuner and overdrive, buying used gear, and avoiding expensive custom wiring initially.
How Do I Protect My Pedalboard During Transport to Gigs?
You’ll need quality pedalboard cases with foam padding for gig transportation. Use hard or flight cases to protect against impacts, secure all cables, and consider waterproof options to safeguard your gear during travel.
What’s the Difference Between True Bypass and Buffered Bypass Pedals?
True bypass pedals completely remove circuitry when off, preserving your original tone. Buffered pedals maintain signal integrity through long cable runs but may color your sound, affecting tone preservation in your chain.
On a final note
You’ve now got the essential knowledge to build your first pedalboard, though I’ll admit it’s more complex than simply throwing effects together and hoping for the best. Start with fewer pedals than you think you’ll need, focus on proper power distribution and signal flow, and don’t underestimate the importance of quality cables. Your tone will thank you, and you’ll avoid the frustration that comes with poor planning and hasty decisions.