How to Avoid Microphone Feedback and Echoes
You’ll prevent microphone feedback by positioning mics behind speakers relative to your audience, following the 3:1 distance rule where other sound sources stay three times farther than your mouth from the mic. Start with all faders down, then gradually increase gain while monitoring levels, keeping peaks around -3 to -6 dB. Use cardioid dynamic microphones like the Shure SM58, apply EQ cuts in the 800 Hz to 2 kHz range, and treat room reflections with absorptive materials to control problematic frequencies and echoes that create those embarrassing squeals during performances.
We are supported by our audience. When you purchase through links on our site, we may earn an affiliate commission, at no extra cost for you. Learn more.
Notable Insights
- Position microphones behind speakers relative to the audience and maintain maximum distance between them to prevent sound loops.
- Apply EQ cuts targeting problematic frequencies in the 800 Hz to 2 kHz range using graphic or parametric equalizers.
- Use cardioid or super-cardioid dynamic microphones like the Shure SM58 for better directional control and feedback rejection.
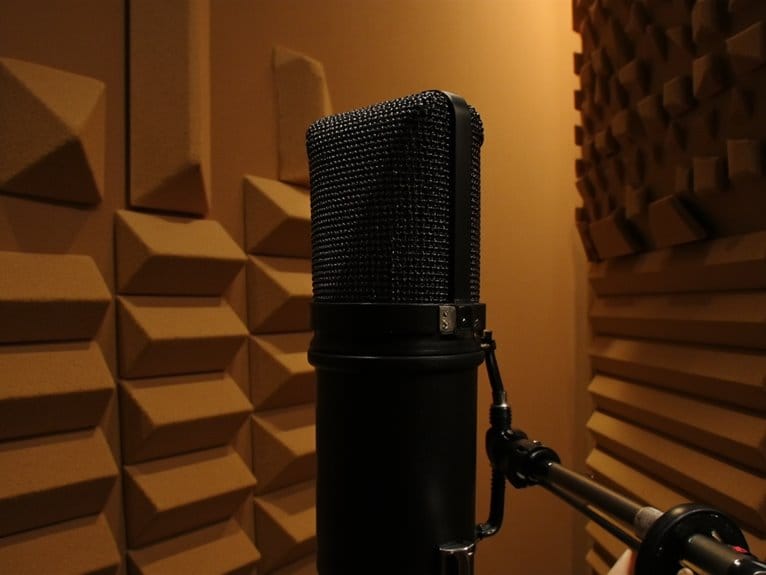
- Install acoustic treatments such as foam panels, bass traps, and diffusers to reduce sound reflections in the room.
- Implement proper gain staging by gradually increasing levels while monitoring meters to stay below feedback thresholds.
Strategic Microphone and Speaker Positioning
When I first started working with audio equipment, I made every rookie mistake in the book, but the most painful lesson came from learning that strategic microphone and speaker positioning is absolutely critical for preventing feedback.
Your microphone placement should always position mics behind speakers relative to your audience, creating a clear barrier that prevents sound loops from forming. Proper speaker alignment means aiming speakers toward the audience while maintaining appropriate distance from microphones—too close creates that ear-piercing squeal we’ve all experienced. Following the 3:1 Rule ensures that if your mouth is one unit away from the microphone, other sound sources should be three units away to prevent interference.
Never point microphones directly toward speakers, and always consider your room’s hard surfaces like walls and floors, which reflect sound back into your setup, amplifying potential feedback issues markedly. Dynamic microphones are particularly effective for this type of setup since they’re less sensitive to background noise and room acoustics compared to condenser mics. Additionally, gain before feedback ratings that are 15-20 dB higher than condensers make dynamic microphones especially valuable for live performances where volume levels need to be maximized without compromising sound quality. Cardioid patterns help minimize interference from unwanted sound sources, making them especially valuable in live sound environments where feedback control is essential.
Proper Gain Structure and Volume Management
Although positioning your microphones correctly forms the foundation of feedback prevention, mastering proper gain structure and volume management will make the difference between amateur hour and professional-quality sound.
Effective gain staging guarantees signal integrity throughout your entire audio chain, from microphone input to speaker output, maintaining ideal levels without distortion or noise.
Proper gain staging maintains clean signal flow from microphone to speaker, preventing distortion while preserving audio quality throughout your entire system.
Start with all faders down, then gradually increase gain until you achieve a strong signal without clipping. I’ve learned that monitoring your signal meters carefully during this process prevents those embarrassing feedback squeals that’ll clear a room faster than a fire alarm.
When feedback does occur, immediately reduce channel volume, then slowly raise it back to just below the feedback threshold, leaving yourself a 1-2 dB safety margin for consistent performance. For optimal clarity and headroom, aim for peak levels around -3 dB to -6 dB rather than pushing signals to their maximum limits.
Maintaining a signal-to-noise ratio above 70 dB effectively minimizes unwanted background hiss and ensures your desired audio cuts through cleanly without interference. Quality audio interfaces with ultra-low-noise preamps can provide up to 69 dB of clean gain, giving you the headroom needed for proper gain staging without introducing unwanted noise.
Remember that close miking reduces the amount of gain needed, which significantly decreases your risk of feedback while improving overall sound quality.
Essential Audio Processing Techniques
Beyond proper gain staging, you’ll need strategic audio processing techniques to create additional barriers against feedback while maintaining sound quality.
Frequency response optimization through targeted EQ cuts, particularly in the problematic 800 Hz to 2 kHz range where feedback typically rears its ugly head, can dramatically reduce your system’s susceptibility to those piercing squeals.
Dynamic range control through careful compression settings helps manage sudden volume spikes that might push your system over the feedback threshold.
Though I’ve learned the hard way that overly aggressive compression can actually make things worse by reducing headroom.
When feedback occurs, use graphic equalizers to cut the offending frequencies by approximately 3dB to effectively interrupt the feedback loop.
For real-time feedback prevention, consider implementing automatic feedback controllers that can detect and suppress feedback frequencies before they become audible to your audience.
Budget audio mixers with built-in DSP effects often include anti-feedback features that can automatically identify and suppress problematic frequencies during live performances.
Professional rack mount mixers offer enhanced processing capabilities and built-in effects that provide superior feedback control compared to standard console mixers.
Frequency Response Optimization
Since frequency response determines how your audio equipment handles different sound frequencies, I’ve found that mastering this fundamental concept becomes your first line of defense against microphone feedback.
Through frequency response analysis, you’ll identify problematic frequency bands that create those ear-piercing squeals and resonant loops that plague live performances.
I recommend starting with parametric EQ to target specific frequencies where feedback typically occurs, usually in the 2-5 kHz range where microphones and speakers interact most aggressively.
Frequency response adjustment using notch filters works exceptionally well for surgically removing narrow problem frequencies without affecting your overall sound quality. Room acoustics play a crucial role in feedback formation, as reflective surfaces can amplify specific frequencies and create resonant conditions that trigger unwanted microphone responses.
Dynamic EQ takes this approach further by automatically adjusting cuts based on your input levels, maintaining tonal balance while suppressing feedback as signal intensity increases. Spectral editing allows you to visually identify and remove specific frequency components that contribute to feedback problems in your recordings.
Dynamic Range Control
While frequency response tackles specific problem areas, dynamic range control becomes your secret weapon for preventing feedback before it starts by managing the volatile relationship between your loudest and quietest audio signals.
Compression techniques work by automatically reducing those sudden volume spikes that trigger microphone feedback loops, fundamentally acting as a vigilant audio guardian that never takes a coffee break.
When you set your compressor’s threshold correctly, it’ll catch problematic peaks before they can reflect back into your microphone and create that dreaded squealing sound.
The attack time determines how quickly compression kicks in after detecting loud signals, while multiband compression lets you target specific frequency ranges prone to feedback prevention issues, giving you surgical precision over your audio’s dynamic behavior.
Limiters serve as an additional safety net by preventing audio signals from exceeding defined thresholds that could trigger feedback or damage your equipment.
Muting unused microphones between performances eliminates unnecessary signal paths that could contribute to feedback issues and reduces potential bleed into active channels.
Room Acoustics and Environmental Optimization
Your room’s acoustic environment plays an essential role in feedback prevention, and I’ve learned through years of troubleshooting that strategic acoustic treatment placement can dramatically reduce those unwelcome squeals and howls.
When you understand how sound reflection control methods work, you’ll realize that hard surfaces like glass, marble, and bare walls act like acoustic pinball machines, bouncing sound waves directly back into your microphone’s pickup pattern.
The key lies in identifying these problematic reflection points and implementing targeted solutions, whether that’s repositioning existing furniture, adding absorptive materials, or installing purpose-built acoustic panels where they’ll have maximum impact on your specific room’s feedback tendencies.
Strategic Acoustic Treatment Placement
When you’re dealing with persistent microphone feedback, the acoustic characteristics of your room often play a more significant role than the microphone itself. I’ve seen countless situations where even the most expensive equipment can’t overcome poor room acoustics.
Strategic acoustic panel placement begins with identifying reflection paths where sound bounces back into your microphones, creating those annoying feedback loops we’re trying to eliminate. I recommend using the mirror technique—position a mirror at your microphone location, and wherever you can see speakers or sound sources represents a critical reflection point requiring treatment.
Sound absorption materials like fiberglass panels work best at these primary reflection points, while bass traps in corners address low-frequency resonances that cause deeper feedback issues.
Sound Reflection Control Methods
Beyond placing acoustic panels at reflection points, you’ll need to understand how sound waves actually behave when they hit different surfaces in your room. The type of surface determines whether those waves come bouncing back to create feedback or get managed in ways that improve your audio quality.
Here are four key sound diffusion techniques and echo reduction methods:
- Absorption treatment using foam panels, heavy curtains, or thick rugs converts sound energy into heat, eliminating persistent echoes that cause microphone feedback loops in your recording space.
- Diffusion placement with textured materials or wooden slats scatters reflected sound waves in multiple directions, reducing concentrated reflections without deadening your room’s natural acoustics.
- Surface disruption through strategically positioned furniture, bookshelves, or irregular wall treatments breaks up flat reflection paths that typically create problematic echo patterns.
- Material combination balancing hard and soft surfaces optimizes your room’s acoustic response for clear audio capture.
Selecting the Right Microphone for Your Setup
The foundation of any feedback-free audio setup lies in choosing the right microphone for your specific environment and application, since different mic types exhibit vastly different susceptibilities to those annoying squeals and howls we’ve all experienced.
Dynamic microphones, with their lower sensitivity levels, naturally reject background noise and handle high sound pressure levels better than their condenser counterparts, making them ideal for live performances where feedback lurks around every corner.
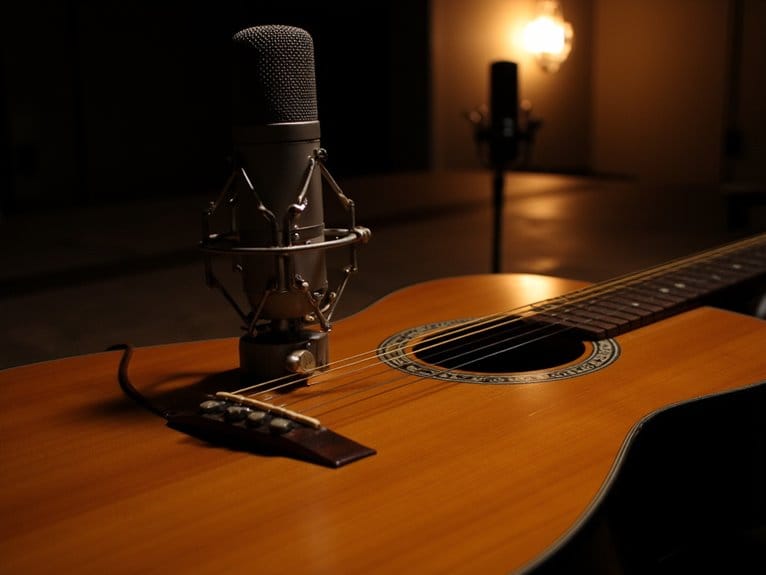
Condenser mics, while offering superior audio quality and frequency response, require more careful positioning due to their higher sensitivity. For live sound reinforcement, you’ll want cardioid or super-cardioid dynamic mics that focus on what’s directly in front while rejecting rear-facing speakers and monitors.
Professional models like the Shure SM58 feature cardioid polar patterns that excel at voice isolation while minimizing unwanted background pickup, making them legendary choices for preventing feedback in live vocal applications.
Many modern dynamic microphones also include internal pop filters and shock mounts that help minimize handling noise and plosives, further reducing the potential for unwanted audio artifacts that can contribute to feedback issues.
Real-Time Monitoring and Feedback Prevention
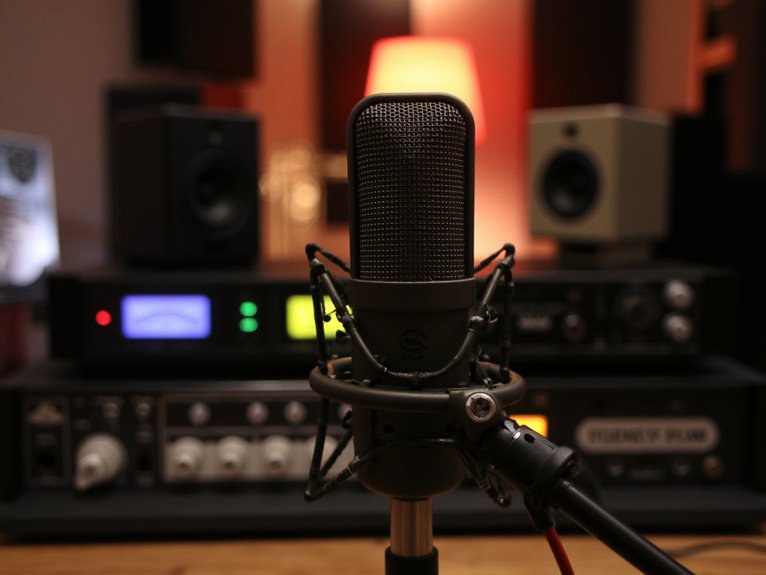
Once you’ve completed your sound check and established those baseline levels, maintaining control during the actual performance becomes a completely different challenge that requires constant vigilance and quick reflexes.
I’ve learned that dedicated audio monitoring units with built-in speakers provide the most accurate real-time adjustments, especially when paired with metering tools that follow international loudness standards. You’ll want to monitor multiple channels simultaneously, watching for those telltale gain level spikes that signal incoming feedback loops.
Remote monitoring capabilities prove invaluable here, letting you respond instantly without rushing to the mixing board. Keep your parametric equalizers ready with narrow Q-factors for precise frequency notching, and don’t hesitate to implement dynamic volume controls when you spot trouble brewing.
Understanding Frequency Response and Problem Areas
Every microphone’s frequency response acts like an acoustic fingerprint, revealing which frequencies it emphasizes or attenuates across the audible spectrum.
I’ve discovered that understanding these characteristics becomes your first line of defense against feedback before it even starts.
Here’s what you need to identify as potential problem areas:
- Speaker positioning – Place speakers where sound won’t directly enter your microphone, preventing those nasty feedback loops that’ll make everyone cringe.
- Room acoustics – Hard surfaces create reflections that bounce back into your mic, so consider adding absorptive materials to tame those echoes.
- Microphone sensitivity levels – Higher sensitivity picks up more detail but also increases feedback risk if you’re not careful with placement.
- Distance and directional alignment – Maintain proper spacing between your microphone and speakers while considering pickup patterns.
Frequently Asked Questions
Do Different Microphone Brands Have Varying Feedback Resistance Capabilities?
Yes, different microphone brands definitely have varying feedback resistance capabilities, and I’ve noticed significant differences in microphone sensitivity during my testing.
Brand comparisons reveal that Shure’s SM58 Beta and Audix’s OM7 excel at feedback rejection, while some condenser mics struggle more.
You’ll find that brands like Sennheiser, Telefunken, and Audix engineer specific models with tighter polar patterns and lower sensitivity ratings specifically designed to minimize feedback loops in live environments.
Can Feedback Damage Speakers or Microphones Permanently?
I’ve witnessed countless feedback loops destroy expensive equipment, and yes, they’ll permanently damage your speakers through overheating, cone strain, and blown tweeters, while amplifiers suffer from signal clipping.
Microphones rarely sustain permanent damage, though sustained high volumes can degrade internal components.
You’ll need proper speaker protection through careful positioning, directional microphones, and immediate intervention when feedback starts, because replacing damaged drivers costs considerably more than prevention.
Why Does Feedback Sometimes Occur Suddenly During Quiet Moments?
During quiet environments, you’ll notice sudden amplification occurs because background noise that normally masks low-level feedback frequencies disappears, making previously inaudible resonance suddenly prominent.
When ambient sound drops, your microphone picks up speaker output more clearly, creating phase alignment at specific frequencies that rapidly escalate into that familiar squeal, seemingly appearing from nowhere despite building gradually below the audible threshold.
On a final note
You’ll master feedback prevention by combining these techniques strategically, though honestly, it took me years to stop panicking when that first squeal emerged during live events. Start with proper mic placement and gain staging, then layer in acoustic treatments and frequency management as your confidence grows. Remember, even experienced sound engineers occasionally battle unexpected feedback, so don’t get discouraged when you’re learning these essential skills.

