Getting Professional Drum Sounds in Untreated Rooms
You can capture professional drum sounds in untreated rooms by positioning dynamic mics like the Shure SM57 close to drums to minimize room reflections, using thick blankets and rugs for temporary acoustic control, and placing your snare mic 4-6 inches above the rim while angling kick mics outside the resonator hole. Strategic gating removes unwanted ambience, while surgical EQ cuts between 200-400 Hz eliminate boominess that plagues untreated spaces. The techniques below will transform your recordings completely.
We are supported by our audience. When you purchase through links on our site, we may earn an affiliate commission, at no extra cost for you. Learn more.
Notable Insights
- Position dynamic mics like SM57s close to drums using cardioid patterns to minimize room reflections and background noise.
- Use temporary treatments like thick moving blankets, rugs under drums, and DIY mineral wool panels to reduce reflections.
- Apply strategic gating with proper threshold settings to eliminate unwanted room noise while preserving natural drum decay.
- High-pass filter below 50Hz and make surgical EQ cuts at 200-400Hz to remove room rumble and muddiness.
- Place stereo room mics 6+ feet away and use ribbon mics in live rooms for controlled ambient capture.
Strategic Microphone Placement and Techniques
While many engineers obsess over expensive preamps and processors, I’ve learned that strategic microphone placement remains the single most vital factor in achieving professional drum sounds, often making the difference between a muddy, lifeless recording and one that punches through a mix with clarity and impact.
Your kick drum benefits from positioning dynamic mics just outside the resonator hole’s opening, delivering greater punch than inside placement, which produces thinner, flatter tones due to reduced sound pressure levels. Microphone angles become essential when working inside the drum, helping minimize wind noise from air movement. Dynamic microphones excel in these high sound pressure environments due to their durability and ability to handle intense volume levels without distortion.
For snare capture, I’ve found that mic distance of 40-60 inches above the drum, with slight positional adjustments over the front rim, allows effective tonal tailoring while maintaining balanced frequency response throughout your recording. Targeting the stick marks on the drum head ensures you capture the optimal sound where the drummer naturally strikes the instrument. When recording kick drums, be prepared for extreme volume levels as drum kits can easily exceed 156 dB at close range, requiring microphones that can handle these intense sound pressures without clipping. Utilizing cardioid pickup patterns effectively minimizes background noise and room reflections that can muddy your drum recordings in untreated spaces.
The choice of drumheads significantly impacts your recorded sound, with thicker heads providing more sustain while thinner options deliver greater brightness and tonal brightness that cuts through dense mixes.
Physical Room Treatment on a Budget
Beyond the microphone techniques I’ve covered, your recording environment plays an equally critical role in achieving professional drum sounds, and fortunately, effective room treatment doesn’t require a massive budget or permanent modifications to your space. DIY acoustic panels made from mineral wool wrapped in breathable fabric can dramatically reduce reflections, while thick moving blankets provide excellent temporary soundproofing solutions that won’t upset landlords or spouses.
| Treatment Type | Budget Solution |
|---|---|
| Absorption | Moving blankets, heavy curtains |
| Bass Control | Corner-placed rockwool traps |
| Diffusion | Stacked books, furniture placement |
| Floor Treatment | Thick rugs under drum kit |
| Ceiling Control | Suspended duvets above drums |
Strategic placement matters more than expensive materials, so focus your efforts on early reflection points and corners where standing waves accumulate. For rooms up to 150 square feet, keeping natural reverb limited becomes especially important since smaller spaces can quickly become muddy without proper acoustic control.
Drummer Performance Adjustments for Small Spaces
Room treatment can only take you so far, and honestly, I’ve learned the hard way that even the best DIY acoustic panels won’t save a recording if the drummer’s performance isn’t adapted to the space.
Dynamic adjustments become your primary weapon against harsh reflections, requiring you to hit softer while maintaining musical expression. Your playing techniques need complete overhaul—smoother stick work, controlled cymbal strikes, and strategic use of brushes when brightness becomes overwhelming.
Sound awareness develops through critical listening to how each hit interacts with room frequencies, enabling technique refinement that addresses specific acoustic problems.
Rhythmic simplicity prevents chaotic reflections from complex fills, while spatial awareness helps you position yourself effectively within the room’s dimensional constraints for cleaner, more professional results.
Smart Use of Ambient and Room Microphones
How exactly do you transform a cramped bedroom recording into something that sounds like it was captured in Abbey Road’s Studio Two? Room sound enhancement starts with strategic ambient mic techniques that capture your space’s natural character. Position stereo room mics about six feet from your kit, elevated 6-7 feet high, angling down at 45° toward the center for balanced ambience capture.
| Mic Pattern | Best Room Type | Character |
|---|---|---|
| Omni Condensers | Dead/Treated Rooms | Spacious clarity |
| Ribbon Figure-8 | Live/Reflective Rooms | Warm midrange focus |
| Spaced Pairs | Medium-sized Rooms | Wide stereo image |
| Blumlein Setup | Any Room Size | Natural phase coherence |
| Space Pair High | Large Rooms | Lush ambient capture |
Check phase relationships constantly—even I’ve learned this lesson the hard way after countless sessions with muddy, out-of-phase room tracks that destroyed otherwise solid recordings. If you’re using XLR microphones for your room mics, ensure your audio interface provides 48V phantom power to properly drive condenser microphones for optimal signal strength and clarity. For producers working in smaller spaces, consider the portability and design advantages of compact recording setups that allow you to easily move equipment between different rooms to find the most favorable acoustic environment. Just as musicians understand how tonal clarity affects their instrument choice, engineers must recognize that proper room mic placement dramatically impacts the perceived quality of drum recordings.
Post-Production Solutions for Room Problems
When you’re stuck with drum recordings from less-than-ideal rooms, you don’t have to accept muddy, undefined sounds as your final product.
Strategic gating and noise reduction can eliminate unwanted room reflections between hits, while surgical EQ cuts address problematic frequencies that make your drums sound boxy or unclear.
Adding high-quality artificial reverb gives you the controlled ambiance that your recording space couldn’t provide, transforming amateur-sounding tracks into polished, professional drum sounds. Many modern amplifiers feature headphone outputs that allow for silent monitoring during the recording process, which can help you better evaluate your drum mix without room interference.
Modern noise cancellation technology can also help clean up drum recordings by filtering out unwanted background noise and room ambiance during post-production processing. Remember that hardware stability is crucial during recording sessions, as any movement or vibration from unstable stands can create unwanted artifacts that complicate your post-production work.
Gating and Noise Reduction
Even after you’ve done everything right during recording, sometimes you’ll find yourself staring at drum tracks that carry unwanted room noise, mic bleed, or that boomy reverb tail that seemed charming during tracking but now muddles your mix.
This is where gating techniques and noise suppression become your best friends in post-production cleanup.
I’ve salvaged countless drum recordings using strategic gating, which allows signals through only when they exceed your set threshold, effectively eliminating low-level ambient noise between hits.
The key lies in setting your gate just above the room noise floor while preserving natural drum decay—over-gating creates that choppy, unnatural sound we’ve all heard in amateur productions.
Combine this with spectral noise reduction plugins that analyze consistent background hums, and you’ll transform problematic recordings into professional-sounding tracks.
Advanced noise reduction technologies help eliminate common hiss and ensure cleaner sound quality, similar to what high-end audio equipment provides for live performance applications.
EQ for Room Correction
The harsh reality of mixing drums recorded in untreated rooms is that you’ll often spend more time fighting acoustic problems than enhancing the actual performance.
However, strategic EQ techniques can transform even the most problematic recordings into polished, professional-sounding tracks. Start your frequency balancing with high-pass filtering below 50 Hz to eliminate room rumble.
Then tackle muddiness reduction by sweeping narrow cuts between 200-400 Hz where boominess typically accumulates.
Mid-side EQ techniques offer exceptional clarity enhancement, allowing you to maintain kick and snare focus in the center while adding width to the sides.
Target resonance management with precise cuts around 400-600 Hz for ringing toms, and employ tonal shaping through selective boosts at 2-5 kHz for attack presence and above 8 kHz for brightness.
Adding Quality Reverb
While EQ can fix frequency problems in poorly recorded drums, I’ve found that adding quality reverb serves as your secret weapon for transforming lifeless, dead-sounding recordings into something that feels like it was captured in a world-class studio.
Your reverb selection becomes critical here, as different types address specific deficiencies in your room acoustics. I typically start with room reverbs at 20-30% wet mix for balanced spatial effects, then layer plate reverbs around 50% wet specifically on snares and toms for added depth.
Using send channels instead of inserts keeps your dry signal punchy while allowing independent wet/dry control. Don’t forget 50-millisecond pre-delay on kick drums to prevent muddiness, and always high-pass your reverb returns below 300Hz to maintain clarity. When working with compact digital mixers, built-in effects can provide professional-grade reverb processing without requiring additional outboard gear.
For snare drums specifically, consider that your microphone’s frequency response characteristics will significantly impact how well the reverb sits in the mix, as the ideal 50Hz to 18kHz range preserves both the drum’s body resonance and the subtle high-frequency details that make artificial reverb sound more natural. Many modern multi-effects processors offer studio-quality reverb algorithms that rival expensive outboard units, making professional drum production more accessible than ever.
Essential Equipment Selection for Untreated Environments
When recording drums in untreated spaces, I’ve learned that strategic equipment selection becomes your first line of defense against unwanted room reflections, poor acoustics, and the muddy sound that plagues home studios and garage setups.
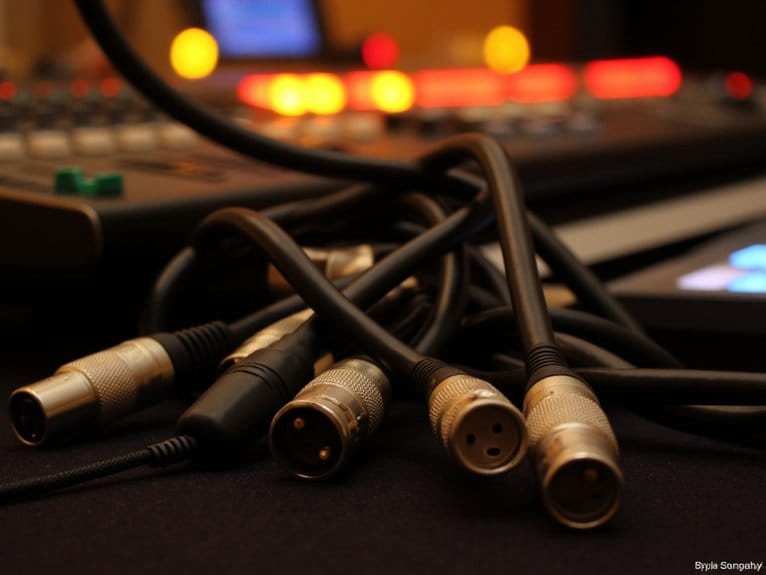
Dynamic microphones like the AKG D112 and Shure SM57 capture focused sound while rejecting ambient noise, making them essential for kick drums and snares in reflective environments.
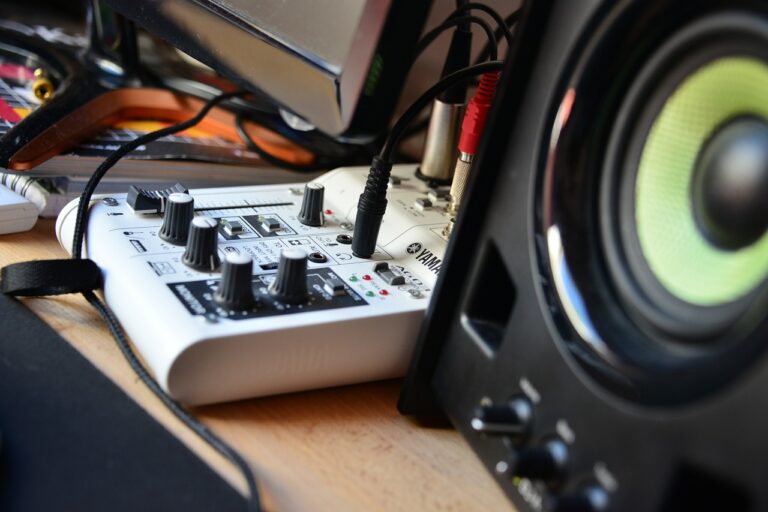
I’ll choose stereo condensers such as the Rode NT4 for overheads, which cut through room coloration effectively. Your audio interface matters too—quality preamps from devices like the Digidesign 002 guarantee clean signal capture despite challenging acoustics.
Accurate monitors like Mackie HR624s help you judge drum tunings and mic types during tracking, while their consistent mid-range response reveals how your room affects the recording. Understanding the polar pattern characteristics of your chosen microphones helps optimize their positioning to minimize unwanted room sound pickup.
For playback reference during drum tuning and monitoring sessions, small guitar amplifiers with headphone outputs provide silent monitoring capabilities that prevent feedback issues in acoustically problematic spaces. Maintaining extended battery life for wireless monitoring systems ensures uninterrupted sessions during long recording periods in spaces without convenient power access.
Frequently Asked Questions
Can I Record Quality Drums in an Apartment Without Soundproofing?
You can record quality drums in apartments without soundproofing by using strategic acoustic treatment like blankets and foam, plus close microphone placement techniques that capture direct sound while minimizing problematic room reflections.
On a final note
You don’t need a million-dollar studio to capture professional drum sounds. I’ve shown you that strategic mic placement, budget-friendly room treatments, and smart performance adjustments can transform your untreated space. Whether you’re using ambient mics creatively or fixing issues in post-production, the right equipment and techniques matter more than your room’s acoustics. Start with these fundamentals, and you’ll be amazed at what’s possible.