Fixing Phase Issues in Multi-Mic Recordings
You’ll fix phase issues in multi-mic recordings by following the 3:1 rule for microphone placement, positioning mics three times farther from each other than from the sound source. When problems occur, establish a reference microphone with rich frequency content, then flip polarity on secondary mics while listening for improved low-end response. Use visual transient alignment in your DAW, or try Auto-Align plugins for correlation detection, though manual adjustment often yields better results. Advanced techniques reveal even more sophisticated solutions.
We are supported by our audience. When you purchase through links on our site, we may earn an affiliate commission, at no extra cost for you. Learn more.
Notable Insights
- Follow the 3:1 rule for microphone placement distances to prevent timing differences and phase cancellation issues.
- Use zero-latency monitoring and headphones to identify hollow sounds and tonal shifts during recording setup.
- Flip polarity on secondary microphones while keeping one reference mic to enhance low-end frequency response.
- Employ visual transient alignment and null search methods by inverting tracks to locate destructive interference points.
- Utilize phase correlation meters and Auto-Align plugins for real-time visualization and automated correction of timing issues.
Identifying and Preventing Phase Problems During Recording
When you’re setting up multiple microphones to capture a single source, phase issues become an inevitable challenge that can transform your pristine recording into a hollow, frequency-cancelled mess if you don’t address them from the start. To mitigate phase issues, it’s essential to carefully position each recording studio microphone and ensure proper alignment with the sound source. Additionally, using techniques such as time alignment and phase inversion can help to reinforce the desired frequencies and eliminate any cancellations. By paying attention to these details, you can maintain clarity and depth in your recordings. Moreover, experimenting with different microphone types and polar patterns can further enhance your recording quality. Implementing strategies for effective microphone positioning can also lead to a more balanced sound, allowing you to capture the essence of the performance. Ultimately, the combination of thoughtful placement and advanced techniques will elevate your recordings to a professional standard.
Smart microphone placement prevents these problems before they contaminate your tracks, saving you countless hours of post-production headaches.
Proper mic positioning eliminates phase disasters upfront, preventing frequency cancellation nightmares that would otherwise destroy your recording quality.
Apply the 3:1 rule religiously-position each mic three times farther from other microphones than its distance from the sound source. This minimizes timing differences that create phase cancellation.
Listen carefully through headphones while adjusting placement, toggling between mics to detect tonal shifts or level drops.
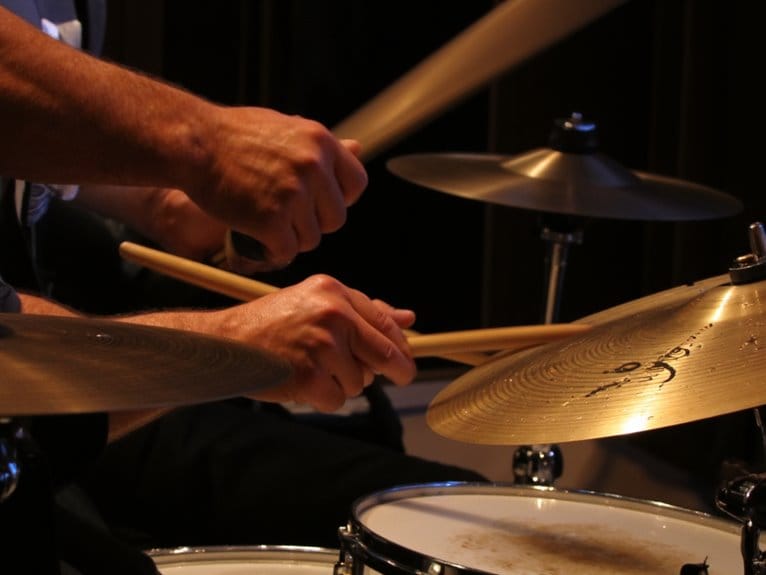
Watch for opposing motion scenarios like top and bottom drum heads, where signals naturally arrive out of phase, requiring deliberate polarity attention during setup.
Use zero-latency monitoring during your multi-mic setup to hear timing issues immediately without the delay that can mask phase problems in real-time.
When recording drums specifically, consider using practice pads during initial mic placement tests to maintain consistent sound levels while fine-tuning your positioning without disturbing neighbors or bandmates.
Manual and Software Correction Techniques for Phase Alignment
Despite your best efforts during recording, phase issues will inevitably slip through, and that’s where manual correction techniques become your primary defense against frequency cancellation and hollow-sounding mixes.
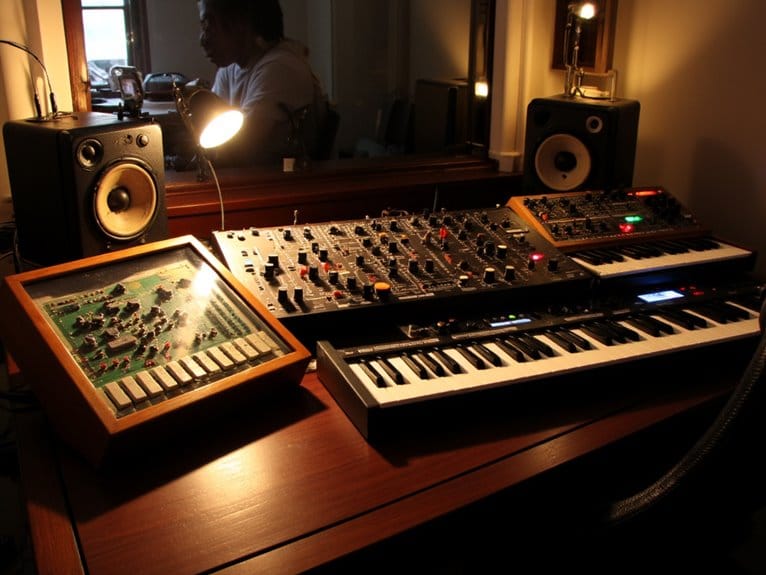
I’ve found that establishing proper phase coherence starts with selecting your reference microphone-typically the one with the richest frequency content and most central placement, which serves as your tracking accuracy foundation.
Your essential manual correction toolkit includes:
- Polarity flipping on individual tracks, particularly bottom or secondary mics, for immediate low-end improvement
- Visual transient alignment by dragging audio regions or applying millisecond delay shifts for precise syncing
- Null search method where you invert one track, find the strongest destructive interference, then flip polarity back
Software solutions like Auto-Align plugins streamline this process through correlation detection, though careful listening remains essential for best results.
Advanced Monitoring Tools and Creative Phase Applications
While manual correction techniques will always remain fundamental to phase management, I’ve discovered that advanced monitoring tools transform phase work from reactive problem-solving into proactive creative decision-making.
Modern phase correlation meters and vectorscopes provide real time visualization of signal relationships, allowing you to catch cancellations before they ruin takes. I particularly value mid-side monitoring setups that enable simultaneous spatial manipulation while checking mono compatibility-something that’s saved me countless hours in post-production.
Desktop applications like Shure MOTIV Mix offer integrated phase inversion toggles for instant A/B comparisons, while wireless solutions maintain synchronized monitoring across multiple channels.
These tools don’t just fix problems; they release creative possibilities through deliberate phase shifting that enhances stereo width and creates artificial depth effects.
On a final note
You’ve now got the tools to tackle phase issues head-on, whether you’re preventing them during tracking or fixing them in post. I’ve found that developing good monitoring habits saves more time than any plugin ever will, though software correction certainly has its place. Don’t forget that phase problems can actually become creative opportunities-sometimes that slightly out-of-phase sound is exactly what your mix needs.