Entering the World of Home Recording
You’ll need a quad-core computer with 16GB RAM, an audio interface like the Focusrite Scarlett 2i2, and the right microphone for your recording style-large-diaphragm condensers for vocals, dynamic mics for instruments. Room acoustics matter more than expensive gear, so position your speakers in an equilateral triangle and treat reflection points with acoustic panels. Master your DAW shortcuts, create templates, and label tracks immediately to maintain workflow efficiency. The fundamentals below will transform your recordings from amateur to professional.
We are supported by our audience. When you purchase through links on our site, we may earn an affiliate commission, at no extra cost for you. Learn more.
Notable Insights
- Start with essential gear: quad-core computer with 16GB RAM, audio interface like Focusrite Scarlett 2i2, and appropriate microphones.
- Choose microphones based on source: large-diaphragm condensers for vocals, dynamic mics like Shure SM57 for loud instruments.
- Position speakers in equilateral triangle at 38% room length and treat acoustic reflection points with panels.
- Establish clear recording priorities, label tracks immediately, and create DAW templates to maintain efficient workflow organization.
- Break recording sessions into focused chunks and build a personal sound library to prevent fatigue and enhance creativity.
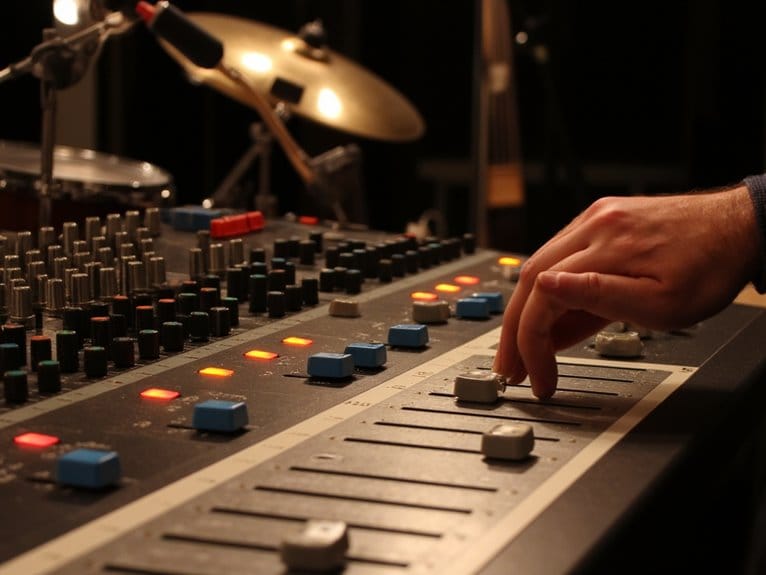
Essential Equipment for Your Home Studio
Five core components form the foundation of any effective home recording setup, and I’ve learned through years of building studios that skipping even one of these essentials will create frustrating bottlenecks in your creative process. Each component-microphones, audio interfaces, monitors, cables, and acoustic treatment-plays a vital role in ensuring high-quality sound capture and playback. Understanding these essential features of recording gear can significantly enhance your workflow and sound quality. Investing in the right tools right from the start will prevent you from hitting unexpected roadblocks later on.
Your computer needs quad-core processing power, preferably an Intel i7 with 16GB RAM, because DAW software demands serious horsepower for multi-track sessions. An audio interface converts analog signals to digital, with Focusrite Scarlett 2i2 offering excellent budget-friendly preamps for beginners. For professional results, consider the Audient iD14, which delivers high sound quality with low latency operation and flexible I/O options. Using ASIO drivers instead of generic Windows drivers significantly reduces latency and improves real-time performance during recording sessions.
DAW software demands serious computer horsepower-invest in quad-core processing with 16GB RAM to avoid frustrating session crashes.
Understanding microphone types proves pivotal-large-diaphragm condensers like the Rode NT1 excel for vocals, while dynamic mics such as the Shure SM57 handle loud instruments. Professional recordings typically use 24-bit/192kHz conversion to capture maximum detail and dynamic range for superior sound quality.
Quality headphones and studio monitors complete your monitoring chain, ensuring accurate playback during recording and mixing sessions.
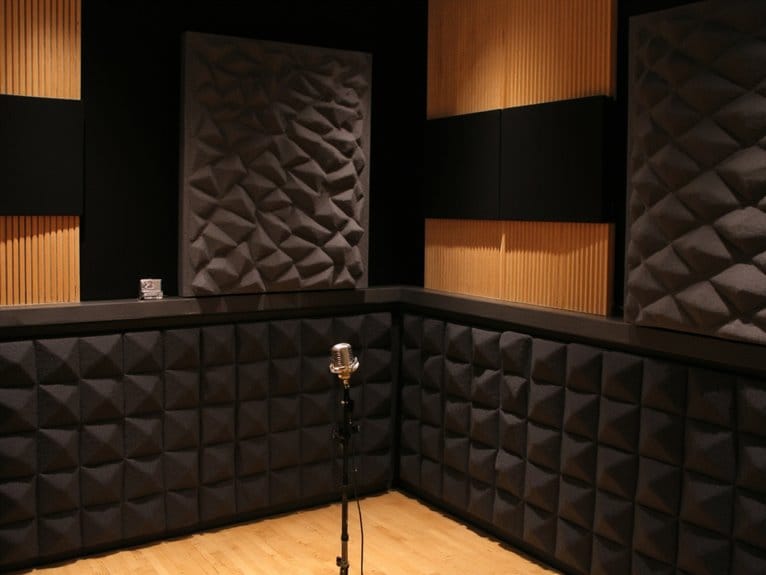
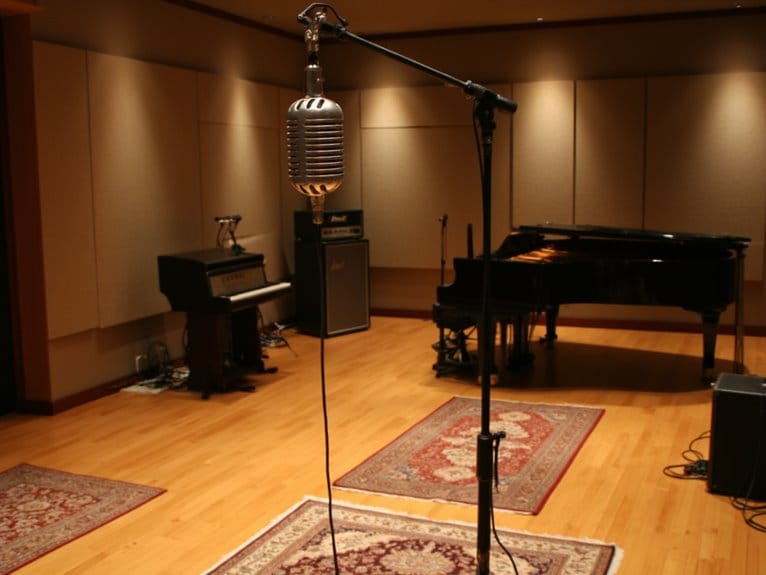
Room Setup and Acoustic Considerations
Having the right gear won’t guarantee professional-sounding recordings if your room’s acoustics work against you, and I’ve witnessed countless home producers struggle with muddy mixes that could’ve been avoided with proper room treatment.
Your speaker placement should form an equilateral triangle with your listening position, positioned about 38% into the room’s length to balance direct and reflected sound.
Install acoustic treatments at reflection points using the mirror method, where you’d see your speakers reflected from your listening spot. Bass traps in corners tame low-frequency buildup, while ceiling panels reduce overhead reflections.
Hard floors need rugs, and windows require acoustic curtains to minimize unwanted reflections that’ll muddy your recordings.
Recording Techniques and Workflow Optimization
While proper room acoustics lay the foundation for quality recordings, your actual recording techniques and workflow habits will determine whether you capture inspired performances or spend countless hours fixing preventable mistakes in post-production.
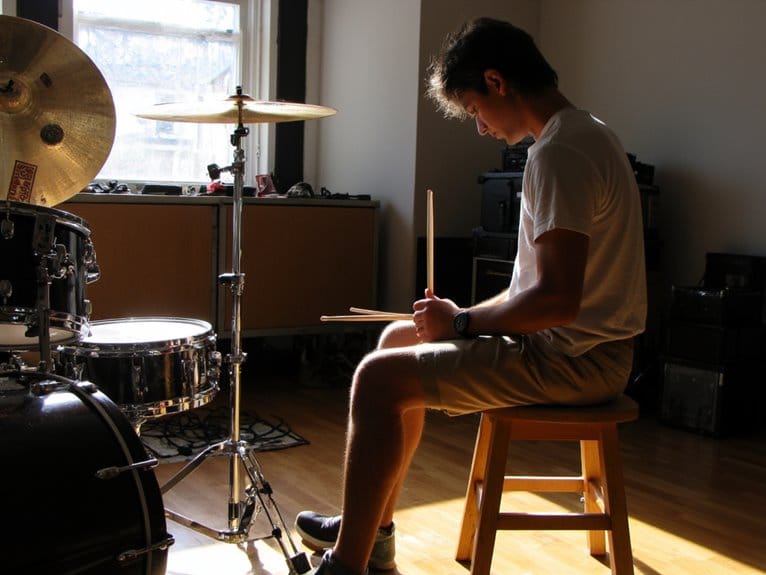
I’ve learned that establishing clear priorities before hitting record prevents the all-too-familiar scenario of drowning in endless takes without direction.
Master your DAW’s shortcuts and create templates with your go-to microphone techniques already configured, because fumbling through menus kills creative momentum faster than anything.
Label every track immediately-trust me, “Guitar Thing 7” won’t make sense next week.
Develop mixing strategies early by saving channel strips and effect chains that work, building your personal sound library.
Break sessions into focused chunks rather than marathon attempts that lead to decision fatigue.
On a final note
You’ve now got the foundation to start your home recording journey, though I’ll admit the learning curve can feel steep at first. Remember, you don’t need every piece of gear immediately-start with quality basics like a decent interface, monitors, and microphone, then expand as your skills develop. Focus on understanding your room’s acoustics and developing consistent recording techniques, because even expensive equipment won’t fix poor fundamentals. As your confidence grows, consider investing in an audio interface for Mac, which will greatly enhance your recording quality and connectivity options. Experiment with different mic placements and settings to find what works best in your space, and don’t hesitate to seek out online tutorials and communities. The more you practice and explore, the more your skills will flourish, allowing your unique sound to shine through.