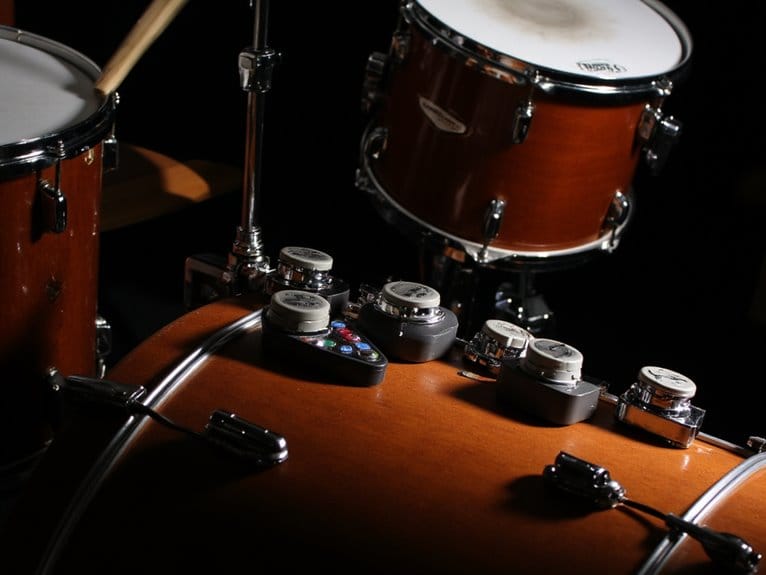
Budget Studio Building: $500, $1500, $5000 Complete Setups
You can build effective studios at $500 with an Audio-Technica AT2020 microphone and Focusrite Scarlett 2i2 interface, focusing heavily on DIY acoustic treatment using rockwool panels. At $1,500, you’ll upgrade to dynamic mics like the Shure SM7B while expanding your acoustic treatment coverage. The $5,000 tier allows premium interfaces with superior converters, extensive room treatment including bass traps and diffusers, plus multiple microphone options for versatile recording capabilities-and there’s specific equipment recommendations that’ll maximize every dollar.
We are supported by our audience. When you purchase through links on our site, we may earn an affiliate commission, at no extra cost for you. Learn more.
Notable Insights
- $500 setup: Audio-Technica AT2020 microphone ($90), Focusrite Scarlett 2i2 interface ($200), plus DIY rockwool acoustic panels ($15-30 each).
- $1500 setup: Upgrade to Shure SM7B microphone ($399), premium audio interface, and comprehensive room treatment targeting reflection points.
- $5000 setup: Professional foundation with high-end converters, multiple microphones, extensive acoustic treatment including bass traps and ceiling clouds.
- Prioritize acoustic treatment over expensive gear upgrades, as room treatment provides greater impact than microphone improvements alone.
- Focus on 24-bit resolution, 96 kHz sampling rates, and strategic placement before investing in premium equipment beyond your tier.
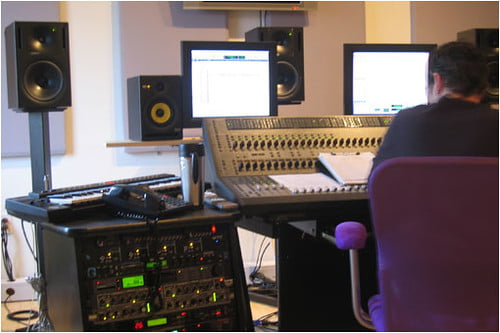
Essential Equipment and Setup Costs for Three Budget Tiers
While many aspiring producers dream of high-end recording facilities, I’ve discovered that building an effective home studio doesn’t require emptying your savings account.
Understanding the three distinct budget tiers can help you make informed decisions that match your current needs and future aspirations.
Your microphone choices range from the reliable Audio-Technica AT2020 at £90 for entry-level setups, to the professional Shure SM7B at £399 for mid-tier builds, up to the coveted Neumann U87 at £2,512 for advanced configurations.
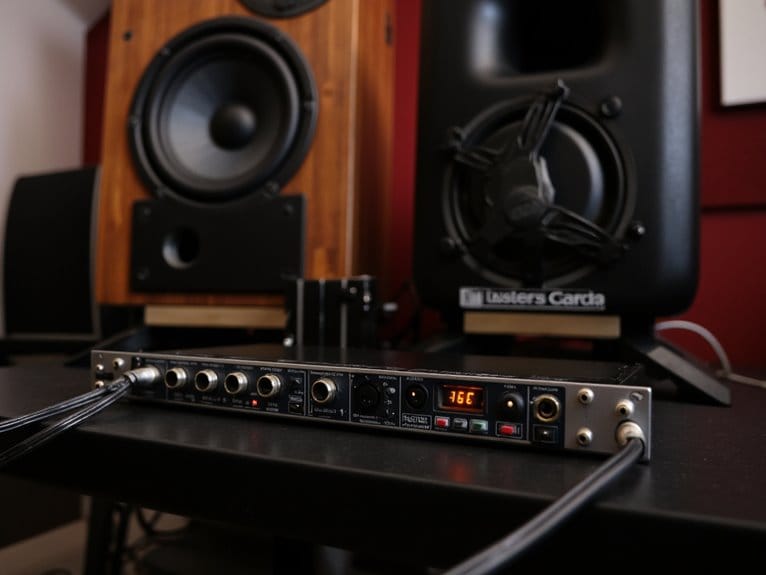
Audio interfaces follow similar progression, starting with the dependable Focusrite Scarlett 2i2 under $200, advancing to Universal Audio Apollo Twin for enhanced connectivity, and culminating in premium Persona Quantum interfaces with superior converters that’ll honestly make your wallet weep but your recordings shine.
Budget-conscious producers can achieve professional results with condenser microphones under $200 that offer cardioid polar patterns for effective background noise reduction in untreated home studios.
Remember that different microphone types require varying amounts of preamp gain, with dynamic microphones typically needing more amplification than condensers to achieve optimal recording levels.
Maximizing Sound Quality Within Your Price Range
Even if you’re working with a modest budget, I’ve learned that strategic acoustic treatment delivers far more impact on your recordings than expensive gear upgrades, and the difference between a $500 microphone in an untreated room versus a $150 microphone in a properly acousticized space will honestly surprise you.
Your room dimensions dictate everything, so focus on speaker placement first-position them away from walls to minimize sound reflections that create phase issues. DIY solutions using budget materials like rockwool or dense foam work incredibly well for absorption panels.
| Treatment Type | Budget Materials | Cost Range |
|---|---|---|
| Bass Traps | Rockwool, corner frames | $15-30 each |
| Absorption Panels | Fiberglass, fabric covers | $10-25 each |
| Ceiling Clouds | Hanging foam panels | $20-40 each |
| Diffusers | Wood slats, geometric shapes | $25-50 each |
Target primary reflection points methodically rather than randomly placing treatments everywhere. For microphone selection, consider dynamic microphones like the Shure SM7B since they naturally reject ambient noise and require less post-processing than condensers in untreated spaces. Remember that electromagnetic induction allows dynamic microphones to generate their own power from sound waves, eliminating the need for phantom power supplies that add to your equipment costs.
Smart Investment Strategies for Studio Growth
Once you’ve got your basic studio setup dialed in, I’ve discovered that thinking strategically about growth investments will make or break your long-term success. Honestly, most home studio owners approach this backwards by chasing gear upgrades instead of focusing on revenue-generating improvements first.
I’ve learned that allocating 5-15% of your studio revenue toward marketing builds clientele faster than expensive microphone upgrades, especially when you’re establishing credibility in competitive markets.
Portfolio diversification means considering both equipment investments and location advantages, since studios near universities or transport hubs maintain higher demand regardless of economic fluctuations. Focus on value over features when selecting core equipment, as budget-friendly options often deliver professional results without the premium price tag.
Your long-term viability depends on balancing upfront renovation costs, which range from $5,000 to $50,000, against projected income streams while maintaining consistent workflow that actually builds your professional reputation. When selecting foundational equipment, prioritize audio interfaces that offer 24-bit resolution and 96 kHz sampling rates to ensure your recordings meet industry standards without breaking your initial budget.
Frequently Asked Questions
What Room Size Works Best for Home Studio Recording?
You’ll want ideal dimensions following proportional ratios like 1:1.6:2.6, which means an 8-foot ceiling works well with 13-foot width and 21-foot length.
I’ve found that rooms between 10-15 feet wide, 15-20 feet long, and 8-12 feet high provide excellent room acoustics for home recording.
You should avoid cube shapes or exact multiples in dimensions, as they’ll create problematic standing waves that’ll muddy your recordings.
How Do I Treat Sound Issues From Neighbors or Apartment Living?
You’ll need targeted soundproofing techniques addressing both airborne and impact noise transmission through shared walls, ceilings, and floors.
I recommend isolation solutions like resilient clips with additional drywall layers, Green Glue damping compound, and mineral wool insulation for structural improvements.
Seal gaps around doors with weatherstripping, replace hollow doors with solid-core versions, and apply acoustic sealant to cracks preventing sound leakage between units.
Should I Buy Used Equipment or Stick to New Gear?
I’ve found used gear benefits include substantial cost savings, often 50% less than new, allowing you to acquire more equipment within your budget.
However, new equipment advantages encompass full warranties, guaranteed condition, and reliable customer support.
For critical items like audio interfaces, I’d recommend buying new, while microphones, monitors, and outboard gear can be excellent used purchases if you carefully assess their condition and service history.
What’s the Minimum Computer Specs Needed for Recording Software?
You’ll need at least an Intel i5 processor running 2.4GHz, 16GB RAM, and a 500GB SSD for reliable recording software performance.
I’ve found that these specs handle multiple tracks and plugins without frustrating crashes or latency issues.
While onboard sound might work temporarily, investing in quality audio interfaces guarantees proper software compatibility and professional results.
Don’t skimp on RAM, since sample libraries and virtual instruments demand significant memory allocation.
How Long Does It Take to Set up a Studio?
Your studio setup time varies dramatically depending on complexity and preparation, ranging from several days to multiple weeks.
I’ve found that acquiring studio essentials like audio interfaces, monitors, and DAW software typically consumes the initial phase, while space preparation, acoustic treatment, and cable management often extend timelines unexpectedly.
Equipment configuration, software installation, and workflow optimization require additional days of testing and refinement.
On a final note
Whether you’re starting with $500 or investing $5,000, you’ve got the foundation for creating quality recordings that’ll serve your musical journey well. I’ve seen countless artists begin with basic setups and gradually expand their studios as their skills and budgets grow. Remember, your talent and creativity matter more than expensive gear-though decent equipment certainly doesn’t hurt your cause.