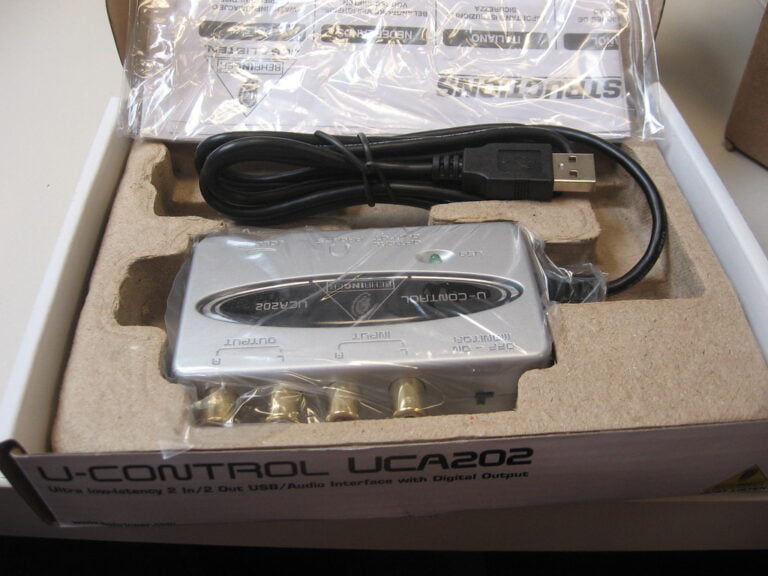
DIY Audio Interface Upgrades: Enhancing Performance on a Budget
Hey there! So, you're looking to give your audio interface a boost without burning a hole in your wallet? Well, you've come to the right place! In this article, we're going to talk about some awesome DIY upgrades that can take your interface's performance to the next level.
We are supported by our audience. When you purchase through links on our site, we may earn an affiliate commission, at no extra cost for you. Learn more.
Now, let's dive right in and explore how you can enhance the performance of your interface on a budget. We'll show you simple step-by-step methods to optimize the signal flow, upgrade those preamps and converters, and achieve an overall improved sound quality.
But that's not all! We'll also discuss how you can customize your input and output options, modify the power supply to ensure stable performance, and even upgrade the enclosure and cables for added durability and convenience. Trust me, these upgrades will revolutionize your audio experience!
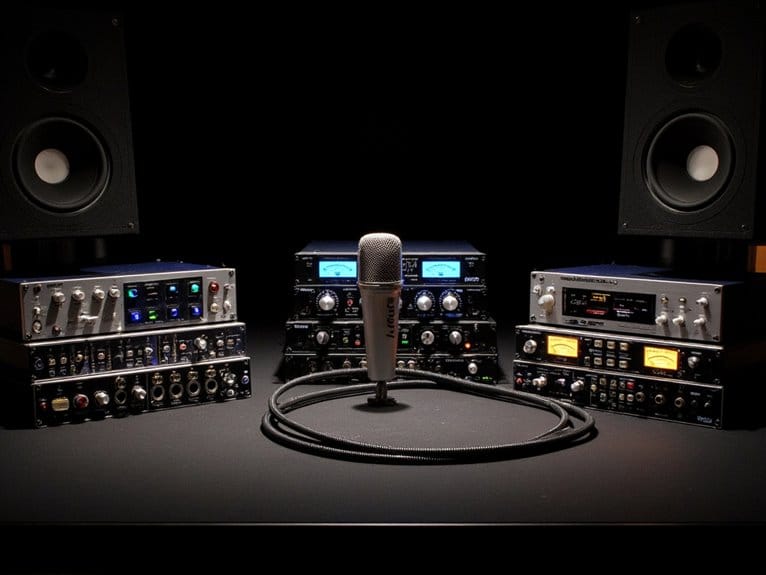
Imagine having a sleek, powerful audio interface that delivers top-notch sound quality without costing you an arm and a leg. It's like turning a regular car into a turbocharged beast, ready to take on any audio recording or production task with ease. With this audio interface on the go, you can easily set up your studio anywhere, whether you’re in a coffee shop or a park. Its compact design and lightweight structure make it the perfect companion for those who crave high-quality sound without the hassle of bulky equipment. Now, you can capture your creative ideas anytime inspiration strikes.
And the best part? You don't need to be a tech wizard to pull off these upgrades. We'll break down each step in a way that's easy to understand, so you can confidently embark on this DIY journey.
So, what are you waiting for? Get ready to take your audio interface to new heights without breaking your budget. With these budget-friendly DIY upgrades, you'll be amazed at the difference they can make in your audio production. Let's get started and unleash the true potential of your audio interface!
Choosing the Right Audio Interface
When choosing the right audio interface, consider the features and connectivity options that best suit your recording needs. Look for an interface that offers a high-resolution audio quality, such as a sample rate of 24-bit/192kHz, to ensure accurate and detailed sound reproduction. Additionally, pay attention to the number and type of inputs and outputs available. If you work with multiple microphones or instruments, opt for an interface with multiple XLR or quarter-inch inputs. For those who prefer to work with MIDI devices, choose an interface that includes MIDI input and output ports. Moreover, consider the connectivity options that the interface offers, such as USB or Thunderbolt, to ensure compatibility with your computer or other devices. By carefully considering these factors, you can select an audio interface that will meet your recording needs and provide the innovative capabilities you desire. Ultimately, the right audio interface for your home studio will not only enhance your recording experience but also streamline your workflow. It’s essential to balance your budget with the features you require to avoid compromises on audio quality or functionality. Investing in a reliable audio interface ensures that your creative projects can flourish without technical hindrances.
Optimizing Signal Flow for Better Performance
To enhance the performance of your audio interface on a budget, optimize the signal flow for better performance. By carefully managing the path that audio signals take within your setup, you can minimize interference and maximize the quality of your recordings. Start by using short, high-quality cables to connect your audio devices. Longer cables can introduce noise and signal degradation. Additionally, consider using balanced connections whenever possible, as they help reject common-mode noise and interference. Properly grounding your equipment is crucial as well, as it can eliminate hum and other unwanted noises. Furthermore, take advantage of digital signal processing tools to fine-tune your audio signals and enhance their clarity. By optimizing the signal flow in your DIY audio interface, you can achieve better performance without breaking the bank.
Upgrading Preamps for Improved Sound Quality
To improve the sound quality of your DIY audio interface on a budget, consider upgrading the preamps with a higher-quality model. Preamps play a crucial role in capturing and amplifying audio signals, ensuring that the final output is clean and professional. Upgrading your preamps can result in improved clarity, reduced noise, and enhanced overall sound quality. Look for preamps that offer low noise levels, high gain, and wide frequency response for accurate audio reproduction. Consider models with advanced features like phantom power for condenser microphones or built-in analog-to-digital converters for direct recording. Additionally, pay attention to the type of connection and compatibility with your existing setup. By upgrading your preamps, you can take your audio interface to the next level and achieve professional-grade sound without breaking the bank.
Enhancing A/D and D/A Converters on a Budget
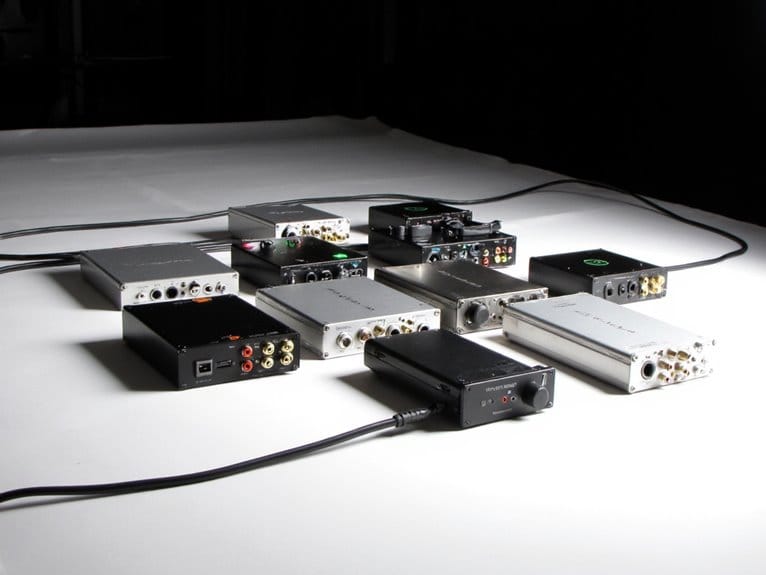
Upgrade your DIY audio interface's A/D and D/A converters on a budget with the use of external digital converters. By utilizing these devices, you can enhance the performance of your audio interface without breaking the bank. External converters, such as those with USB or Thunderbolt connectivity, offer improved signal conversion and higher resolution, resulting in clearer and more accurate audio recordings and playback. Additionally, some external converters come with advanced features like sample rate conversion and clock synchronization, further enhancing the overall audio quality. These converters are often compact and portable, making them convenient for on-the-go recording or mixing. With the ability to upgrade your A/D and D/A converters on a budget, you can achieve professional-level audio performance without the need for expensive equipment.
DIY Power Supply Modifications for Cleaner Power
One way to improve the performance of your DIY audio interface on a budget is by making DIY power supply modifications for cleaner power. The quality of the power supply can greatly impact the audio signal, and by reducing noise and interference, you can achieve better overall sound quality. Start by replacing the stock power supply with a higher-quality one that has lower ripple and noise levels. You can also add additional filtering components, such as capacitors and inductors, to further reduce noise. Another option is to implement a voltage regulator to ensure a stable and clean power supply. It is important to carefully research and select the right components for your specific audio interface to ensure compatibility and optimal performance. With these DIY power supply modifications, you can enhance the performance of your audio interface and enjoy cleaner power for improved audio quality.
Customizing Input and Output Options
Enhance the performance of your DIY audio interface on a budget by customizing input and output options for a more versatile and tailored audio experience. By customizing your audio interface's input options, you can ensure compatibility with a wide range of audio sources. Consider adding additional XLR or TRS inputs to accommodate different types of microphones or instruments. This will allow you to capture high-quality audio from various sources without the need for additional adapters or converters. On the output side, customizing options can provide flexibility in connecting your audio interface to different devices or systems. Adding additional outputs, such as balanced TRS or RCA connectors, allows you to connect to studio monitors, headphones, or external audio equipment with ease. Customizing input and output options allows you to optimize your DIY audio interface to suit your specific audio recording or production needs.
DIY Enclosure and Cable Upgrades for Durability and Convenience
To further enhance the performance of your DIY audio interface, consider making DIY enclosure and cable upgrades for increased durability and convenience. Upgrading the enclosure can protect your audio interface from physical damage and improve its overall longevity. You can use materials such as aluminum or carbon fiber for a sturdy and lightweight enclosure. Additionally, adding cable management features like cable clips or Velcro straps can help keep your cables organized and prevent them from tangling or getting damaged. When it comes to cables, upgrading to higher quality options can significantly improve the audio signal transmission and reduce interference. Look for cables with better shielding and connectors that provide a secure and reliable connection. These enclosure and cable upgrades will not only enhance the durability and convenience of your DIY audio interface but also contribute to better overall performance.
Conclusion
In conclusion, upgrading your audio interface on a budget can greatly enhance its performance. By carefully choosing the right interface, optimizing signal flow, upgrading preamps and converters, modifying the power supply, and customizing input and output options, you can achieve improved sound quality and convenience. DIY enclosure and cable upgrades can also enhance durability. With these DIY audio interface upgrades, you can elevate your audio production without breaking the bank.