How to Troubleshoot Common Microphone Problems
When your microphone stops working, start by checking physical connections—ensure cables are firmly plugged into the correct input ports and inspect for visible damage like cuts or frayed wires. Next, verify your operating system recognizes the device in sound settings, update audio drivers through Device Manager, and check for accidentally activated mute switches indicated by red or orange LEDs. Test different USB ports, adjust microphone positioning 6-12 inches from your mouth, and explore advanced troubleshooting techniques for persistent issues.
We are supported by our audience. When you purchase through links on our site, we may earn an affiliate commission, at no extra cost for you. Learn more.
Notable Insights
- Check physical connections by ensuring cables are firmly plugged in and inspecting for visible damage or loose pins.
- Verify the microphone is connected to the correct input port and test functionality using recording software.
- Look for accidentally activated mute switches indicated by red or orange LED lights on the microphone.
- Update or reinstall microphone drivers through Device Manager and run Windows’ built-in audio troubleshooter.
- Position the microphone 6-12 inches from your mouth and minimize background noise in your recording environment.
Checking Physical Connections and Hardware Components
When I’ve encountered microphone problems over the years, I’ve learned that the vast majority of issues stem from surprisingly simple physical connection problems rather than complex technical failures.
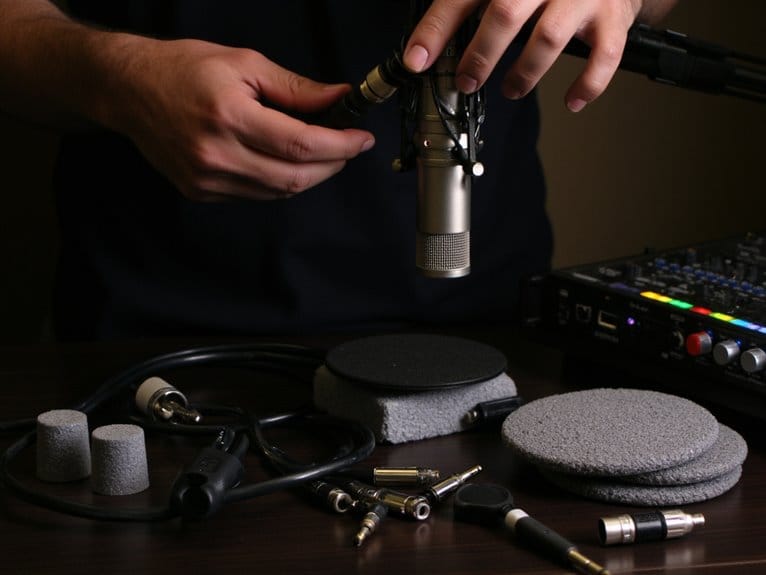
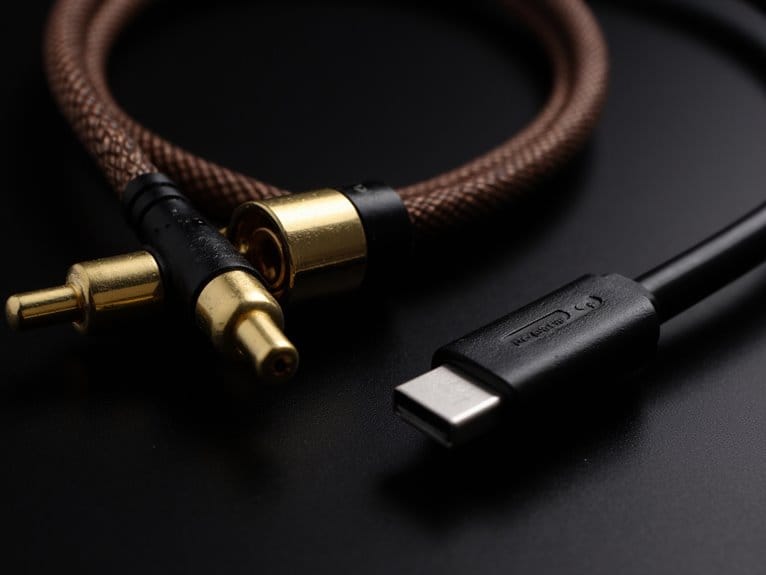
Start by confirming your microphone cable is firmly plugged into the correct input port, then examine the cable for visible damage like cuts, kinks, or frays that disrupt signal transmission. Check connector pins on 3.5mm, XLR, or USB plugs for straightness, cleanliness, and corrosion-free surfaces.
Test your microphone on different devices to isolate whether issues originate from the microphone itself or your host system. For wireless microphones, ensure proper pairing and check for Bluetooth interference from other nearby devices that might disrupt connectivity. Additionally, verify that your microphone isn’t simply muted or disabled, as this common oversight can prevent audio capture entirely.
Proper cable management and consistent microphone care, including regular cleaning with compressed air and isopropyl alcohol wipes, prevents most connection-related failures before they occur. XLR microphones require phantom power from an audio interface to function properly, so always verify this power source is enabled when troubleshooting connection issues. For wireless systems, maintain line-of-sight between the microphone and receiver since walls and other obstructions can significantly limit effective signal transmission.
Verifying Port Functionality and Device Compatibility
After you’ve confirmed your physical connections are solid, I’ve found that verifying whether your ports and devices actually work together becomes the next critical step in microphone troubleshooting.
Start by confirming your microphone connects to the correct input port, whether that’s a microphone jack or USB port designed for audio input, not output or line-level signals.
Test basic functionality by recording audio clips in Audacity or Windows Voice Recorder to verify signal transmission and microphone consistency.
Check your operating system’s sound settings to ascertain hardware recognition occurs properly, then perform compatibility checks by verifying your microphone’s sample rate and bit depth settings match your system’s specifications to avoid detection issues or poor audio quality. Ensure your microphone supports at least 24-bit resolution for optimal audio capture and detail. For condenser microphones, ensure phantom power is enabled through your interface or mixer settings since these sensitive microphones require this external power source to function properly.
If you’re using a USB microphone, try connecting it to a different USB port to eliminate potential port-specific issues that could affect audio performance. Many modern microphones offer plug-and-play functionality that simplifies setup without requiring complex driver installations.
Examining Built-in Mute Controls and Wireless Settings
Before you assume your microphone’s broken, you’ll want to check if there’s a simple mute switch that’s been accidentally activated, since many devices include physical mute buttons or LED indicators that can easily be overlooked during troubleshooting.
I’ve seen countless users spend hours adjusting software settings, only to discover their wireless headset had a tiny mute button pressed, or their USB microphone featured an indicator light they hadn’t noticed was glowing red.
If you’re using a wireless microphone or Bluetooth headset, you’ll also need to verify that your connection settings are properly configured, as pairing issues, interference, or low battery levels can create symptoms that mimic muting problems. Check that your wireless microphone is operating on clear channels to avoid interference from other devices. You should also right-click on the speaker icon to access Recording Devices settings, where you can check if your microphone has been disabled or disconnected within the system. Many wireless lapel microphones feature automatic device pairing with plug-and-play functionality, but connection failures can still occur if the initial setup wasn’t completed properly.
Check Mute Switch Status
Why does your microphone suddenly go silent when you’re certain it’s powered on and connected? The culprit is often a simple mute switch that’s been accidentally engaged, something I’ve witnessed countless times during live presentations and recording sessions.
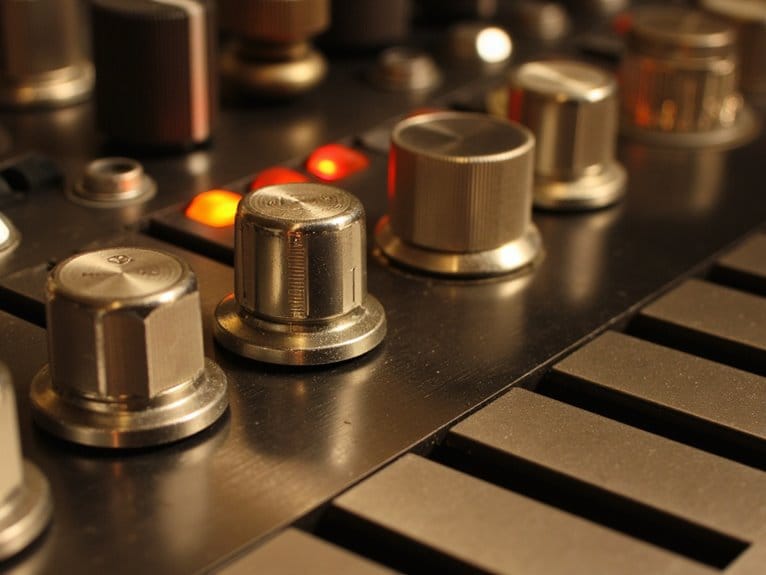
Most wireless microphones feature a dedicated mute button on the transmitter, typically accompanied by an LED indicator that glows red or orange when activated. Some models require holding the button for several seconds to prevent accidental triggering, while others toggle instantly with a single press.
Professional receivers often have their own mute settings that can be overlooked, with AF Level controls that may be set too low or menu options showing channel-specific mute status. To prevent accidental shutdowns during performance, enable the power lock feature on your wireless microphone according to your device’s manual instructions.
| Mute Status | Immediate Action |
|---|---|
| Red/Orange LED Active | Press mute button to disengage |
| No Visual Indicator | Check device settings for software mute |
| LED Off, No Sound | Verify receiver connection and channel sync |
Effective mute troubleshooting involves checking both physical mute button functions and device-level audio settings simultaneously.
Verify Wireless Connection Settings
Beyond physical mute switches, wireless microphone failures often stem from connection settings that’ve somehow shifted, corrupted, or simply never matched properly between your transmitter and receiver in the first place.
I’ve seen countless users wrestling with channel interference when their devices are broadcasting on crowded frequencies, competing with Wi-Fi routers and Bluetooth gadgets for airspace.
Start by confirming both units share identical channel settings, then power cycle everything before entering pairing modes simultaneously. Clear any saved connections that might create conflicts, and don’t forget to check battery levels—weak power causes erratic behavior that mimics connection problems.
For Bluetooth microphones, verify that your device is paired and actively connected through your system’s Bluetooth settings, as connection drops can occur without obvious warning signs.
Finally, physically separate your receiver from other wireless devices to minimize RF interference in your immediate environment. In multi-microphone setups, proper frequency coordination becomes essential to prevent overlapping signals that can disrupt your entire audio system.
Updating and Reinstalling Audio Drivers
When your microphone stops working properly, you’ll often find that outdated or corrupted audio drivers are the culprit. This means checking your driver status becomes your first line of defense against persistent audio issues.
I’ve seen countless cases where a simple driver update resolves everything from intermittent microphone recognition to complete audio failure. Though sometimes you’ll need to take the more drastic step of completely reinstalling the audio drivers.
You can approach this process through multiple methods, including Windows Update’s built-in functionality, Device Manager’s driver management tools, or manufacturer-specific utilities that often catch driver issues the standard Windows tools miss.
Check Driver Status
Since audio drivers serve as the critical bridge between your microphone hardware and Windows operating system, checking their status should be your first systematic approach when troubleshooting input problems.
I’ve found that driver compatibility issues often manifest as muted input, distorted audio, or complete microphone failure, making this step absolutely essential.
Open Device Manager through Windows search, then expand “Sound, video and game controllers” to locate your audio device.
Right-click your microphone or integrated audio chipset, select Properties, and navigate to the Driver tab.
Here, you’ll see the driver version, installation date, and current status—critical information for effective driver troubleshooting.
Outdated drivers from six months ago often cause modern microphone problems, so note these details carefully.
Reinstall Audio Drivers
After ruling out basic driver issues, I’ve learned that completely wiping out and reinstalling audio drivers often resolves stubborn microphone problems that simple updates can’t fix. This thorough approach addresses driver compatibility issues that cause system stability problems, particularly after Windows updates create conflicts between manufacturer drivers and Microsoft’s generic versions.
| Method | Steps | Success Rate |
|---|---|---|
| Device Manager | Uninstall device → Delete driver software → Scan for changes | High |
| Manufacturer Download | Visit support page → Download specific drivers → Manual install | Very High |
| Windows Built-in | Restart computer → Automatic reinstall → Update through Windows | Moderate |
| External Troubleshooting | Test different ports → Verify on other devices → Re-pair Bluetooth | Variable |
You’ll want to prioritize manufacturer-specific drivers over Windows automatic installations for best microphone performance.
Testing Across Multiple Applications and Programs
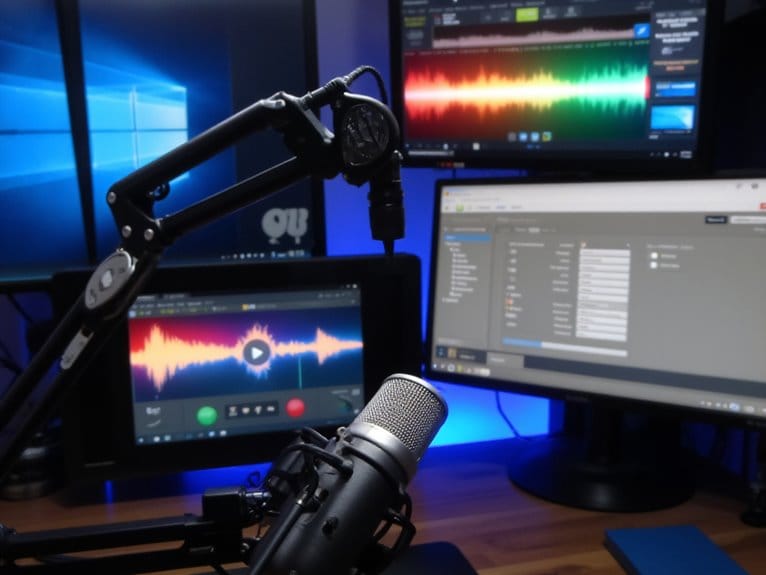
When your microphone works perfectly in one application but fails completely in another, you’re likely dealing with app-specific configuration issues rather than hardware problems. This means testing across multiple programs becomes your most valuable diagnostic tool.
I’ve found that running the same microphone through Google Meet, Zoom, Discord, and a basic voice recorder app will quickly reveal whether you’re troubleshooting a system-wide issue or just wrestling with stubborn application permissions.
Cross-platform compatibility testing, where you check the same microphone on different devices or operating systems, helps isolate whether the problem stems from your hardware setup, software conflicts, or platform-specific driver issues. Testing with DAW compatibility across different operating systems can also reveal platform-specific audio routing problems.
If you’re using XLR microphones with audio interfaces, verify that your interface drivers are properly installed and that the microphone receives adequate phantom power for optimal performance across all applications.
Frequently Asked Questions
How Often Should I Clean My Microphone to Maintain Optimal Performance?
You’ll want to establish a solid microphone maintenance routine based on your specific usage patterns, with cleaning techniques varying considerably depending on how frequently you’re using your equipment.
I’d recommend weekly cleaning for high-use scenarios like podcasting or live performances, monthly for personal studio work, and immediate disinfection after every use when sharing microphones with multiple users.o
How Do I Prevent Microphone Feedback and Echoing During Live Calls?
I’ll help you eliminate feedback and echo during live calls by addressing positioning and technology together.
Use headphones instead of speakers to prevent audio loops, position your microphone close to your mouth while keeping it away from speakers, and leverage noise cancellation features in your audio software.
Poor room acoustics amplify these issues, so consider adding soft furnishings or relocating to a less reverberant space for cleaner audio transmission.
How Do I Sync Multiple Microphones for Simultaneous Recording Setups?
I’ve learned that effective sync techniques for recording setups require avoiding USB microphones on single computers, since they’ll cause recognition issues you don’t want.
You’ll need audio interfaces with multiple XLR inputs and unified clocks to prevent drift. I recommend positioning mics close to sources, enabling drift correction in your DAW, and testing sync stability before critical sessions to guarantee your multi-channel recordings stay perfectly aligned.
On a final note
You’ve now got an extensive toolkit for diagnosing microphone issues, from basic cable checks to complex driver conflicts. I’ve found that most problems stem from simple connection issues or outdated drivers, though acoustic positioning can make surprisingly dramatic differences in recording quality. While troubleshooting can feel tedious, working through these systematic steps methodically will resolve the vast majority of microphone problems you’ll encounter in typical recording scenarios.

