How Microphone Preamps Affect Your Sound
Your microphone preamp doesn’t just boost weak signals from 0.01 to 1.2 volts—it fundamentally shapes your recording’s tonal character, noise floor, and dynamic response. With 30-60 dB of gain required, tube preamps add harmonic warmth while solid-state designs provide transparent amplification, and proper gain staging at -20 dBFS guarantees peak signal-to-noise ratios without distortion. Different microphone types demand specific preamp characteristics, making this pairing more critical than you’d expect for achieving professional results.
We are supported by our audience. When you purchase through links on our site, we may earn an affiliate commission, at no extra cost for you. Learn more.
Notable Insights
- Preamps boost weak microphone signals (0.005-0.05V) to line level (~1.2V), requiring 30-60 dB of clean gain amplification.
- Different preamp types create distinct sonic signatures: tube preamps add warmth while solid-state provides transparent, clean amplification.
- Proper gain staging targets -20 dBFS nominal levels to maintain healthy signal-to-noise ratios while preventing distortion and noise issues.
- Preamp quality directly impacts recording dynamics, capturing both quiet details and loud sounds while shaping overall tonal character.
- Microphone-preamp pairing matters: dynamic mics suit tube warmth, ribbons need low-noise high-headroom, condensers benefit from transparent preamps.
The Role of Gain in Microphone Signal Processing
When you’re dealing with microphone signals, you’ll quickly discover that the tiny electrical voltages produced by your mic are far too weak to work with directly, which is where gain becomes critically important in the signal processing chain.
Your preamp‘s gain control fundamentally transforms those whisper-quiet mic-level signals into robust line-level outputs that your recording equipment can actually process effectively.
The gain dynamics between your microphone and preamp determine whether you’ll capture clean, professional recordings or end up with noisy, distorted audio that’s frankly unusable. Proper gain balancing prevents distortion from occurring while ensuring you achieve optimal audio results throughout your recording process.
Through careful preamp interaction and proper gain staging, you’re converting those minuscule analog voltages into standardized signal levels while preserving the original sound’s integrity and minimizing unwanted noise introduction. The amplifier stage utilizes transistors as essential devices to boost these signals effectively before they reach your recording interface.
Understanding Signal Amplitude and Voltage Requirements
When you’re working with microphones, you’ll quickly discover that their output signals are surprisingly weak, typically ranging from just 0.005 to 0.05 volts. This means your preamp needs to perform some serious mathematical heavy lifting to boost these whisper-quiet signals up to the industry-standard line level of approximately 1.2 volts RMS.
This dramatic voltage increase requires substantial gain, usually between 30 to 50 dB depending on your microphone type. I’ve learned through countless recording sessions that understanding these numbers isn’t just academic—it’s the difference between capturing crisp, clean audio and ending up with a noisy, unusable mess. For professional results, most situations require preamps offering 25-75dB of clean gain to accommodate the full range of microphone types and recording scenarios.
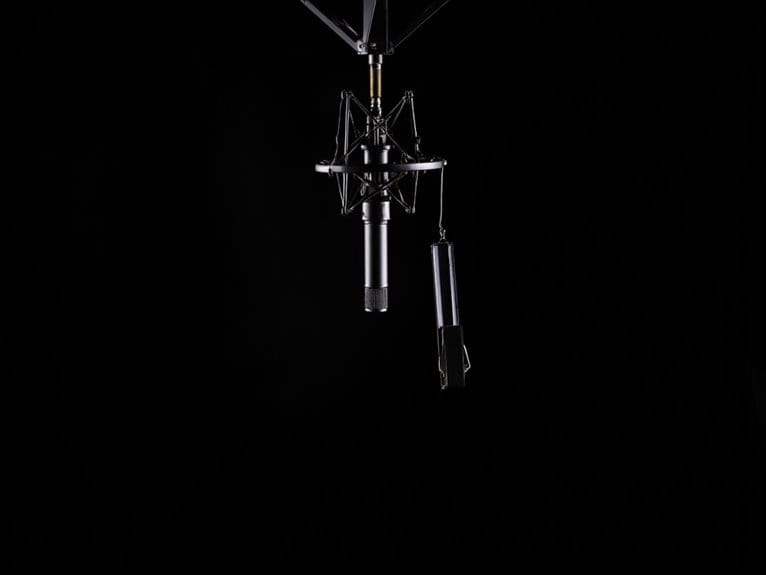
You can calculate the exact gain requirements using the formula 20 log(output voltage/input voltage), but more importantly, you need to recognize that different microphone types, from dynamic mics to ribbon microphones, will demand vastly different voltage amplification strategies to achieve ideal results. Ribbon mics often need even more gain than typical dynamic or condenser microphones due to their inherently low output characteristics. Additionally, condenser microphones require phantom power at 48 volts to operate properly, which your preamp must provide for optimal performance. The noise floor of your preamp becomes critically important when dealing with these low-level signals, as poor specifications can introduce unwanted hiss and interference into your recordings.
Microphone Output Voltage Levels
Since microphones capture acoustic energy and convert it into electrical signals, I need to explain why their output voltages are so remarkably weak compared to other audio equipment you’ll encounter.
These microphone level signals typically produce just a few millivolts to hundreds of millivolts at standard reference levels, making them the weakest link in your audio chain.
Your microphone sensitivity rating, often expressed as output voltage per Pascal or in dBV, directly determines how much electrical signal you’ll get from a given sound pressure level.
Different microphone types—dynamic, condenser, ribbon, and electret—each produce vastly different output levels, which affects signal integrity when matching to your preamp’s input requirements and maintaining peak gain structure. Most electret and MEMS microphones show sensitivity between 46 dBV and 35 dBV, representing the typical range you’ll encounter in modern microphone designs. Line-level signals are approximately 1,000 times stronger than these mic-level signals, highlighting the significant amplification needed to bring microphone outputs up to usable levels.
Required Gain Calculations
Understanding the mathematical relationship between your microphone’s output and line level requirements forms the foundation of proper gain staging, and I’ll walk you through the essential calculations that determine exactly how much amplification you need.
The formula is straightforward: Voltage Gain (dB) = 20 log(output voltage / input voltage).
When your dynamic mic outputs 0.01 volts and you need 1.2 volts at line level, you’ll require approximately 42 dB of gain.
Sensitivity differences between microphones dramatically affect your gain requirements – a condenser mic with 28 mV/Pa sensitivity needs roughly 10 dB less gain than a ribbon mic rated at 8 mV/Pa to achieve identical recording levels, which explains why I always check sensitivity specs before setting preamp levels. Using identical preamps when comparing microphones ensures that any differences in required gain are purely due to the microphones’ sensitivity characteristics rather than equipment variations. Recording at 24 bits provides substantially higher resolution than 16-bit recording, offering 256 times more detail for capturing the nuances of your properly amplified signal.
How Preamps Shape Audio Quality and Dynamic Range
Although preamps might seem like simple amplifiers, they’re actually the sonic architects that determine whether your recordings sound professional or amateurish, shaping both the tonal character and dynamic range in ways that’ll make or break your final mix.
Each preamp introduces unique audio coloration, from subtle harmonic warmth to dramatic tonal shifts, much like how different guitar amps affect your sound. This coloration becomes more pronounced at higher gain settings, where nonlinearities create the character that distinguishes one preamp from another.
Quality preamps also maintain exceptional dynamic responsiveness, preserving both whisper-quiet passages and explosive transients without compression or distortion. They capture the natural articulation of your performances while providing the wide dynamic range that gives you flexibility during mixing and post-processing. By acting as the first point of amplification in your audio chain, preamps establish the foundational sound quality that every subsequent processor will build upon.
Serious recording artists should invest in quality preamps to elevate their recordings, as better units can transform even low- to mid-priced mixers into more effective recording tools.
Noise Floor Management for Professional Recordings
When you’re managing noise floor in professional recordings, understanding your preamp’s ideal gain range becomes essential because operating within this sweet spot—typically between 30-60 dB of gain—maximizes your signal-to-noise ratio while preventing unnecessary amplification of background noise.
I’ve found that dynamic source signal management requires you to match your gain staging to the microphone’s output level and the performer’s dynamic range, ensuring quieter passages don’t disappear into the noise floor while preventing louder sections from overloading your preamp’s input stage.
You’ll need to take into account both the microphone’s inherent self-noise specifications, usually measured in dBA SPL, and your preamp’s equivalent input noise figure to calculate the total system noise floor that’ll define your recording’s usable dynamic range.
Optimal Gain Range Operation
Setting the ideal gain on your microphone preamp isn’t rocket science, but I’ve seen countless recording sessions derailed by engineers who either cranked the gain too high or left it frustratingly low. You’ll want to target around -20 dBFS for your nominal signal level, which gives you clean recordings without unnecessary noise.
| Gain Setting | Signal Level | Result |
|---|---|---|
| Too Low | Below -30 dBFS | Noise floor issues |
| Best | Around -20 dBFS | Clean, detailed sound |
| Acceptable Peak | Above -20 dBFS | Still usable |
| Too High | Near 0 dBFS | Clipping risk |
| Severely High | Above 0 dBFS | Distortion |
Proper gain structure in any recording environment guarantees your signal-to-noise ratio stays healthy, while peak excursions above -20 dBFS remain acceptable as long as your average levels stay near nominal.
Dynamic Source Signal Management
Once you’ve nailed down your gain structure, the next challenge becomes managing your recording’s noise floor, and I’ll admit this is where many home studio enthusiasts hit their first real technical wall.
Your preamp’s noise floor represents the inherent background noise present when no signal passes through, and this baseline directly impacts your recording’s dynamic range and overall audio fidelity.
Quality preamps use low-noise components like carefully biased JFETs and complementary feedback pairs to minimize unwanted noise amplification.
When impedance matching between your microphone and preamp isn’t ideal, you’ll often compensate by cranking the gain, which unfortunately amplifies that noise floor right along with your signal, ultimately degrading the subtle details that separate professional recordings from amateur attempts.
Sound Character: Tube vs. Solid-State Preamp Designs
Although I’ve spent countless hours in studios debating this topic with engineers who swear by one camp or the other, the fundamental difference between tube and solid-state preamp designs ultimately comes down to how each technology amplifies your signal and colors your sound.
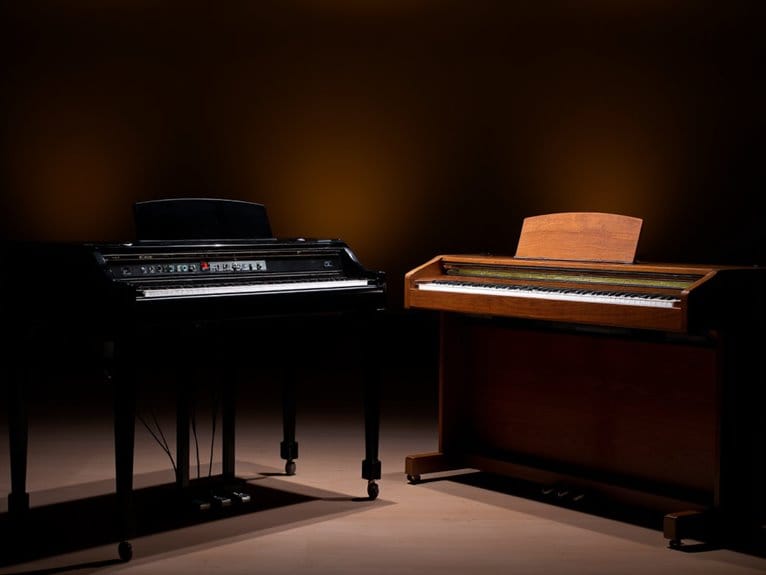
Tube preamps utilize vacuum tubes that naturally introduce harmonic distortion, creating that warm, musical character through tube coloration that enhances vocals and smooths harsh frequencies.
Vacuum tubes naturally add harmonic richness and musical warmth that smooths harsh frequencies and enhances vocal presence.
Solid-state preamps rely on transistors, delivering solid state transparency with cleaner amplification and better noise performance.
You’ll notice tubes compress dynamically while adding richness, whereas solid-state designs maintain signal integrity with punchy, detailed reproduction.
Choose tubes for warmth and character, solid-state for accuracy and low noise.
Matching Preamps to Different Microphone Types
When you’re pairing microphones with preamps, the relationship between these components determines far more than just signal amplification—it shapes the entire tonal character of your recording.
Understanding microphone characteristics helps you select appropriate preamp features that complement rather than compete with your mic’s natural sound. Dynamic microphones like the SM58 pair beautifully with tube preamps that add warmth without overwhelming their already robust character, while ribbon mics demand high-headroom, low-noise designs to preserve their delicate transient response.
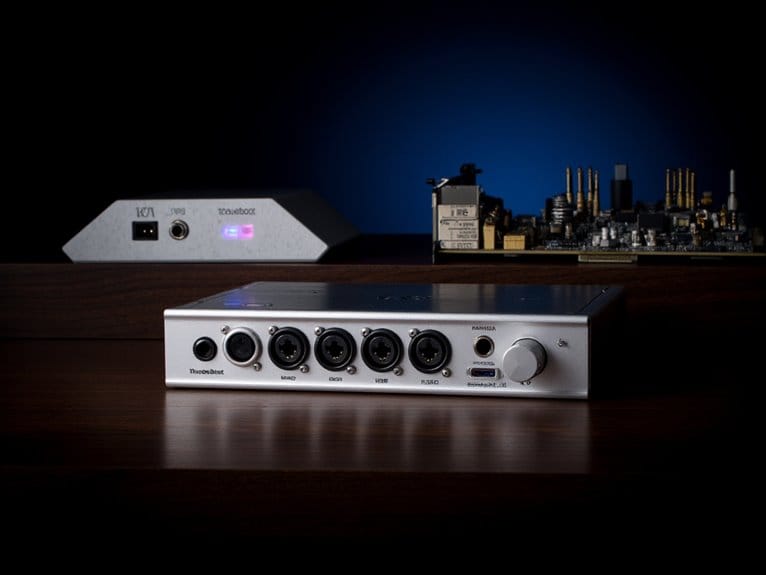
Condenser microphones often benefit from transparent solid-state preamps that won’t color their inherently detailed output, though transformer-based options can add pleasing harmonic content. Professional interfaces like the Scarlett 18i20 provide ultralow-noise preamps with up to 69 dB gain, ensuring clean amplification regardless of your microphone choice.
Impedance matching becomes essential here—adjustable impedance preamps let you fine-tune brightness and presence to match your specific recording context and artistic vision. The cardioid pattern design of professional microphones like the Shure SM58 also influences preamp selection, as this directional characteristic affects both gain staging requirements and noise floor considerations during recording.
Choosing the Right Preamp for Your Recording Goals
Understanding specifications provides the foundation, but selecting the right preamp requires matching sonic characteristics to your specific recording objectives and workflow demands.
Your preamps selection depends heavily on whether you’re capturing intimate vocals that need warmth, or precise acoustic instruments requiring transparency. I’ve found that tube preamps excel for adding character to vocals and electric guitars, while solid-state models deliver cleaner results for detailed acoustic work.
Tube preamps add vocal warmth and guitar character, while solid-state designs provide the transparency needed for detailed acoustic recording.
Your recording environment also influences these choices—home studios often benefit from versatile channel strips with built-in EQ and compression, while professional setups might justify investing in vintage-style preamps with distinctive sonic signatures. Dynamic microphones like the SM7B require preamps with exceptional gain capabilities to achieve optimal performance levels.
Consider your typical source count, budget constraints, and whether you prioritize flexibility or specialized character when making decisions. Many producers find that investing in quality audio interfaces with multiple high-grade preamps offers better long-term value than purchasing individual preamp units.
Frequently Asked Questions
Can I Use Multiple Preamps in Series to Achieve More Gain?
You can technically use gain stacking with multiple preamps in series, but I wouldn’t recommend it due to preamp compatibility issues and cumulative noise buildup.
Each preamp adds its own noise floor and potential distortion, which degrades your signal-to-noise ratio rather than improving it.
You’ll achieve better results using a single, high-quality preamp with sufficient gain range, proper mic placement, and correct gain staging techniques.
Do Expensive Preamps Really Sound Better Than Budget Audio Interface Preamps?
Yes, expensive vs budget preamps do offer measurably better preamp quality, but the difference isn’t always dramatic.
You’ll get lower noise floors, more gain headroom, and often warmer tonal character from pricier units, while budget interface preamps deliver clean, neutral amplification that’s honestly sufficient for most home recording.
I’d say the improvement follows diminishing returns—noticeable but not necessarily transformative unless you’re chasing specific sonic characteristics.
How Do I Know if My Preamp Is Causing Distortion Issues?
You’ll identify preamp-caused distortion by systematically adjusting your gain levels while monitoring different distortion types.
Start by lowering preamp gain considerably—if distortion disappears, your preamp’s overloading.
Try inserting a -20dB pad between your mic and preamp input.
If distortion persists even at minimal gain settings, your microphone’s likely exceeding its maximum SPL limits, indicating capsule distortion rather than preamp issues.
Should I Buy a Preamp if I Only Record at Home?
You don’t necessarily need an external preamp for home recording since most audio interfaces include built-in preamps that’ll handle your needs perfectly well.
I’ve found that entry-level interfaces like the Focusrite Scarlett series provide sufficient gain and quality for most home scenarios.
Consider different preamp types only when you’re seeking specific sonic coloration, enhanced warmth, or creative control beyond your interface’s capabilities.
Can Preamp Choice Affect How Well My Vocals Sit in a Mix?
Absolutely, your preamp choice dramatically impacts vocal clarity and how well vocals sit in the mix.
I’ve found that different preamps shape tonal characteristics, affecting warmth, airiness, and frequency emphasis, which determines how vocals blend with other instruments.
Quality preamps reduce noise while enhancing signal integrity, preventing vocals from getting masked.
The right preamp can make vocals sit prominently without fighting for sonic space in dense arrangements.
On a final note
You’ll discover that your preamp choice isn’t just about amplification—it’s about shaping your entire sonic signature, from the subtle warmth of tube saturation to the pristine clarity of solid-state designs. Whether you’re capturing delicate acoustic performances or driving dynamic vocals, understanding how gain staging, noise management, and component matching work together will elevate your recordings from amateur to professional quality, giving you the control you need.