How to Connect Multiple Devices to Your Mixer
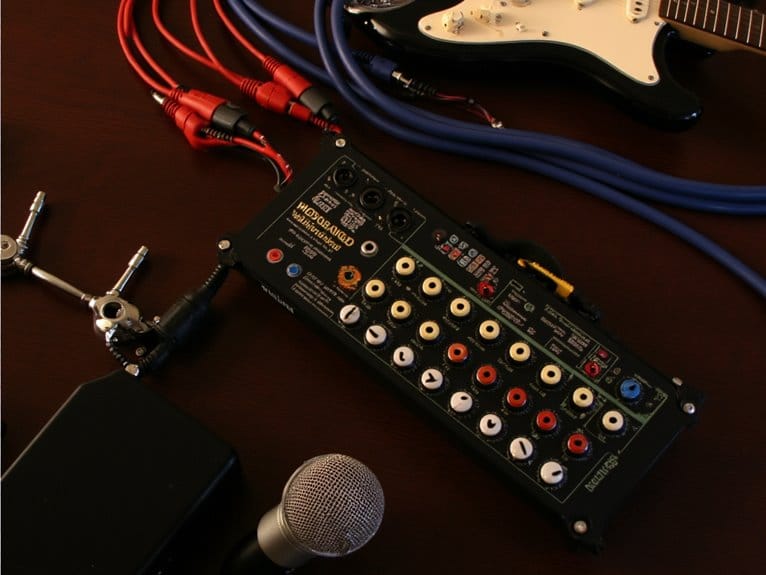
You’ll connect multiple devices to your mixer by using XLR cables for professional microphones, 1/4″ TRS cables for instruments, and 3.5mm adapters for phones and computers. Start with all gain controls at minimum, power down equipment first, then systematically connect each source to dedicated channels. Adjust individual gain levels carefully to prevent distortion, monitor input meters continuously, and make sure phantom power is enabled for condenser mics. Proper cable selection and gain staging will release your mixer’s full potential.
We are supported by our audience. When you purchase through links on our site, we may earn an affiliate commission, at no extra cost for you. Learn more.
Notable Insights
- Power down all equipment and set gain knobs to minimum before connecting any devices to prevent audio damage.
- Use XLR cables for professional microphones, TRS/TS cables for instruments, and 3.5mm cables for phones/computers.
- Connect each device to separate mixer channels and adjust individual gain levels to prevent distortion while maintaining signal strength.
- Enable phantom power (48V) on the mixer for condenser microphones that require it to function properly.
- Monitor input levels using mixer meters and keep faders at unity gain to maintain proper signal balance.
Preparing Your Mixer for Multi-Device Setup
Before you even think about plugging in your first device, I’ve learned through countless late-night studio sessions that proper preparation saves hours of frustrated troubleshooting later. Your mixer setup demands a methodical approach, starting with clearing your workspace and organizing cables, adapters, and documentation within arm’s reach.
I always power down everything first—trust me, those unexpected audio pops can damage sensitive equipment and your eardrums. Gather XLR, TRS, and RCA cables, plus any adapters your devices might need, because there’s nothing worse than discovering you’re missing a critical connection mid-session. Always keep all gain knobs and level controls completely down during this initial setup phase to prevent any accidental loud sounds when you begin making connections.
Smart audio organization means labeling everything beforehand and keeping spare cables handy, creating a foundation that’ll make the actual connection process feel almost effortless. Check your mixer’s power requirements including voltage and wattage specifications to ensure compatibility with your electrical setup.
Connecting Professional Microphones With XLR Cables
Now that you’ve got your workspace organized and cables sorted, XLR connections represent the gold standard for professional microphone setups, and I’ll walk you through exactly why these three-pin connectors have dominated studios and live venues for decades.
The three-pin design carries balanced audio signals through Pin 1 (ground), Pin 2 (hot), and Pin 3 (cold), which eliminates noise and interference that plague unbalanced connections.
When selecting XLR cable types, prioritize high-quality shielding and proper gauge wire, as these factors directly impact your signal integrity across longer runs. For maintaining microphone performance, it’s advised to use balanced audio connections like XLR to achieve optimum performance in your recording environment.
XLR connectors feature a locking mechanism that ensures secure connections and prevents accidental disconnections during critical recording sessions or live performances.
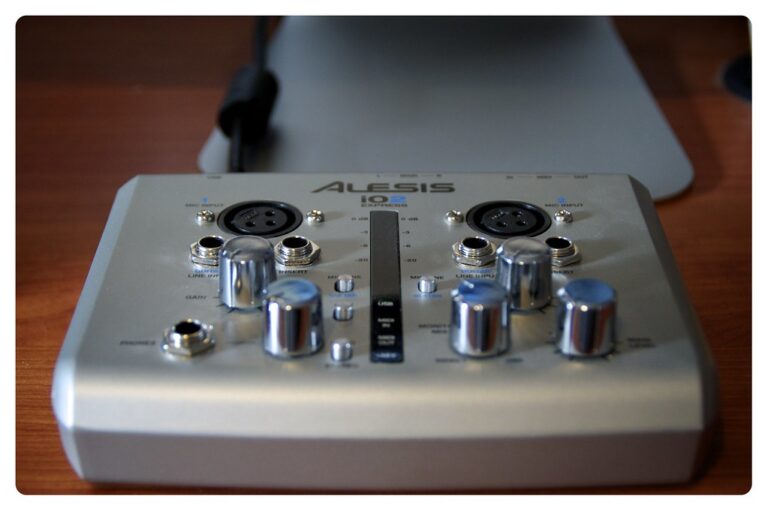
Your mixer should provide the necessary phantom power to operate condenser microphones that require 48V to function properly. Professional interfaces typically feature ultra-low-noise preamps that deliver clean amplification with gain ranges up to 69 dB for optimal signal quality.
Simply connect your microphone’s XLR output to your mixer’s corresponding input, enable phantom power for condenser mics, and adjust gain levels carefully to maintain ideal signal strength without introducing distortion.
Setting Up Musical Instruments Through Line Inputs
Most electronic musical instruments present a much different connection scenario than microphones, and I’ll show you how line inputs handle these higher-level signals with their own set of requirements and advantages.
Your keyboards, synthesizers, and drum machines output line-level signals that require 6.3mm TRS or TS cables, connecting directly to your mixer’s dedicated line input configuration without additional amplification.
I’ve found that proper gain level management becomes essential here, since these stronger signals can easily cause distortion if you’re not careful with your input levels.
You’ll typically use mono channels for single instruments like bass guitars, while stereo instruments need dual inputs or RCA connections. For computers without line inputs, a USB audio interface provides the necessary connection bridge to properly integrate your mixer’s output.
Remember to assign each instrument to separate channels, maintaining proper signal routing and avoiding the clipping that destroys your mix’s clarity. Use panning controls to separate your instruments spatially and create distinct positioning for each channel in your mix.
Integrating Phones and Computers for Audio Playback
When you’re connecting phones and computers to your mixer for audio playback, selecting the right input type becomes essential since these devices output line-level signals that require specific connections to maintain sound quality.
I’ve found that using your phone’s headphone jack with a 3.5mm stereo cable, split into left and right quarter-inch inputs, gives you the cleanest signal path to your mixer’s line inputs rather than mic inputs.
Setting proper playback levels means adjusting both your device’s output volume and the mixer’s channel gain controls to around 50%, which prevents distortion while maintaining enough signal strength for clear audio reproduction. Always ensure all volumes are turned down before powering on your devices to prevent feedback and protect your equipment. For computers with a single audio input, a USB sound card provides the necessary interface to connect your mixer’s outputs effectively.
Choosing Correct Input Connections
Understanding the correct input connections for integrating phones and computers into your mixer setup can make the difference between professional-sounding audio and a frustrating experience filled with unwanted noise, distortion, or complete signal failure.
Input compatibility depends on matching your device’s output to your mixer’s available connections, ensuring proper signal flow throughout your audio chain. Phones typically require 3.5mm-to-RCA or 3.5mm-to-6.5mm adapters, depending on your mixer’s input types, while computers benefit from USB audio interfaces or direct line connections using appropriate cables. Many mixers include RCA inputs specifically designed for consumer electronics, making these connections more straightforward.
I’ve learned that checking signal levels prevents the most common connection issues – phones and computers output line-level signals, so you’ll need line inputs or pad functions when using mic inputs to avoid overloading your mixer’s preamps. Keep cable runs under three meters when using unbalanced connections from mobile devices to maintain signal integrity and minimize interference.
Setting Optimal Playback Levels
Once you’ve established the right connections between your devices and mixer, achieving ideal playback levels becomes the foundation for professional-sounding audio that won’t assault your listeners’ ears or disappear into inaudible whispers.
Understanding proper gain structure guarantees audio clarity while maintaining signal integrity throughout your entire audio chain. I’ve learned that keeping your mixer’s faders at unity gain maximizes dynamic range, preventing unnecessary signal amplification that can introduce unwanted noise and distortion.
Here’s what you’ll need to focus on for peak playback:
- Monitor your input levels using the mixer’s built-in meters to prevent signal clipping
- Adjust device volumes to match your mixer’s input requirements before fine-tuning
- Use the solo function to isolate individual channels for precise level adjustment
- Implement continuous monitoring during performance to maintain consistent audio output
Managing Gain Levels Across Different Input Sources
Now that you’ve connected your devices, you’ll need to master gain structure basics to guarantee each input source delivers peak signal strength without overloading your mixer’s circuits.
I’ve learned through countless mixing sessions that balancing multiple input types—whether it’s a dynamic microphone, line-level smartphone, or hot instrument signal—requires individual attention to each channel’s gain setting, input sensitivity, and headroom requirements.
Your primary goal involves preventing signal distortion issues by monitoring input meters carefully, starting with conservative gain levels, and gradually increasing each source’s input gain until you achieve that sweet spot where signals remain clean, punchy, and free from the harsh clipping that’ll make your audience wince.
Professional audio interfaces typically support 24-bit/192kHz resolution to ensure superior audio fidelity and minimal noise during recordings, which becomes especially important when managing multiple simultaneous input sources.
Look for interfaces with low-noise preamps to eliminate background hiss that can become more pronounced when multiple input sources are active simultaneously.
Understanding Gain Structure Basics
The foundation of any successful multi-device mixer setup lies in mastering gain structure, which I’ve learned through years of watching musicians struggle with muddy mixes and feedback issues that could’ve been easily avoided. Proper gain staging guarantees each device in your signal chain operates at peak levels, maintaining signal integrity while preventing distortion and unwanted noise.
Your mixer’s gain structure affects everything from microphone clarity to instrument punch. Here’s what you’ll need to focus on:
- Set each input channel’s gain to achieve nominal levels without clipping
- Maintain consistent voltage interfaces between all connected devices
- Balance signal levels against your system’s noise floor for maximum dynamic range
- Avoid excessive gain that causes distortion or insufficient gain that introduces hiss
Understanding these fundamentals transforms chaotic connections into professional-sounding setups.
Balancing Multiple Input Types
Anyone who’s ever attempted to balance different input sources on a mixer knows that each type brings its own unique challenges, and frankly, I’ve made my share of mistakes trying to wrangle dynamic microphones, sensitive condensers, hot line signals, and temperamental instruments into a cohesive mix.
The key to managing gain levels across input types lies in understanding their fundamental differences, utilizing proper monitoring tools, and maintaining signal integrity throughout your signal chain.
| Input Type | Typical Gain Range | Primary Challenge |
|---|---|---|
| Dynamic Mics | +40 to +60 dB | Low output sensitivity |
| Condenser Mics | +20 to +40 dB | Feedback reduction needs |
| Line Inputs | -10 to +10 dB | Hot signal management |
| Instruments | +10 to +30 dB | Impedance matching |
Effective channel management requires continuous monitoring, adjusted mixing ratios for audio consistency, and strategic positioning to achieve ideal sound clarity.
Preventing Signal Distortion Issues
Managing those balanced input levels becomes meaningless if you’re pushing signals into distortion territory, and I’ve learned this lesson the hard way after countless sessions where perfectly matched gain stages still resulted in harsh, clipped audio that made everyone wince.
Preventing distortion requires constant vigilance through effective gain monitoring, which means watching your meters like a hawk and making adjustments before problems occur. Signal clarity depends on maintaining headroom across your entire signal chain, from input preamps to master outputs.
Here’s your distortion prevention checklist:
- Start with conservative gain settings and gradually increase until you achieve ideal levels
- Monitor each channel’s peak meters continuously during recording and mixing sessions
- Implement proper grounding techniques to eliminate noise interference and unwanted artifacts
- Use high-quality cables and interconnects rated for low distortion performance
Quality components make the difference between clean, professional audio and disappointing results.
Utilizing Phantom Power for Condenser Microphones
Condenser microphones represent some of the most sensitive and detailed recording tools in any audio setup, but they won’t produce a single sound without phantom power coursing through your mixer’s XLR connection.
I’ve found that understanding phantom power benefits transforms how you approach professional recording, as this 48-volt DC current travels invisibly alongside your audio signal through the same XLR cable. Most mixers feature a clearly labeled “+48V” switch with an LED indicator, making condenser mic compatibility straightforward once you know what you’re looking for.
Unlike dynamic microphones that generate their own signal, condensers rely entirely on this external power source to operate their sensitive internal electronics, which explains why they capture such detailed, high-quality audio when properly powered.
When connecting condenser mics through your mixer to an audio interface, the Class A preamps ensure that phantom-powered signals maintain their clarity and professional sound quality throughout the entire recording chain.
Balancing Audio Signals in Your Main Mix
Once you’ve connected your devices and powered your condenser mics, creating a cohesive main mix becomes the critical bridge between individual components and professional-sounding audio, though I’ll admit this step intimidated me more than any cable management ever could.
Start by establishing your lead element at -6 dB, then build other levels around it to maintain proper dynamic range and audio clarity. Your mixer’s pan controls become essential for frequency separation, preventing signal interference by positioning each source strategically across the stereo field.
- Route similar instruments to bus channels for collective processing and improved mix cohesion
- Apply subtractive EQ to carve out overlapping frequencies rather than boosting competing elements
- Keep low frequencies centered below 100 Hz to maintain phase alignment and tighten your mix
- Reference professional tracks regularly to benchmark your balance decisions against industry standards
Connecting Your Mixer to Audio Interfaces
How do you bridge the gap between your mixer’s analog outputs and your computer’s digital recording capabilities without losing signal quality or creating a tangled mess of cables?
The solution lies in proper cable selection and strategic input routing between your mixer and audio interface.
I’ve found that connecting these devices efficiently depends on your recording goals and available connections:
- Use XLR or ¼” TRS cables for balanced, noise-free transmission over longer runs
- Connect main outputs to interface inputs 1-2 for stereo mix recording
- Utilize insert points or multi-outputs for individual channel tracking
- Route interface outputs back to mixer for monitoring and hybrid workflows
Your cable selection directly impacts signal integrity, while thoughtful input routing determines recording flexibility.
Smart cable choices preserve your audio’s clarity while strategic routing unlocks creative recording possibilities.
Master faders control levels sent to your interface, so maintain unity gain to prevent clipping while preserving dynamic range. Most budget-friendly interfaces deliver 24-bit resolution and 96 kHz sampling rates, ensuring professional recording quality without breaking the bank. Quality ultralow-noise preamps in your interface minimize interference and enhance overall recording clarity when connecting from your mixer.
Testing and Optimizing Your Multi-Device Configuration
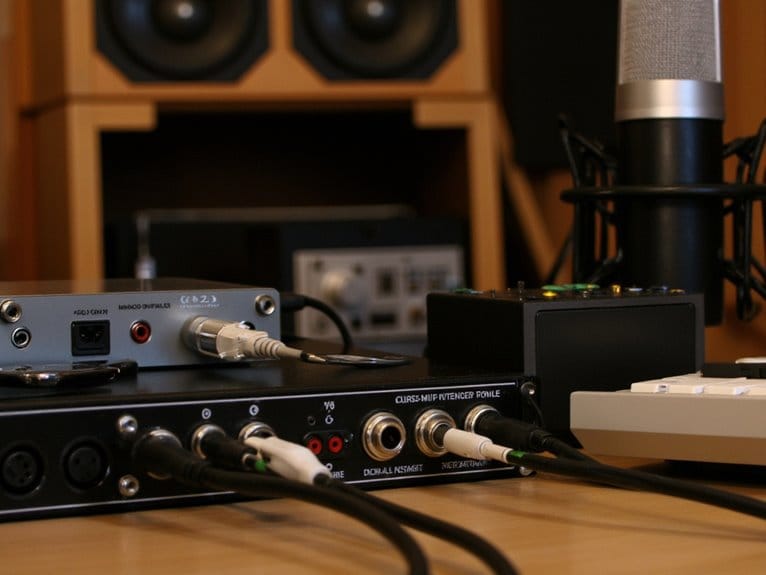
After establishing your connections between mixers and audio interfaces, I’ve learned that proper testing becomes the foundation for reliable performance, whether you’re recording in a home studio or managing live sound at a venue. Multi device testing requires systematic verification of each channel, using signal generators to confirm proper flow while checking gain staging to prevent distortion.
| Testing Phase | Optimization Method |
|---|---|
| Signal Flow | Use spectrum analyzer for noise detection |
| Level Management | Apply compression and limiters strategically |
| Performance Setup | Conduct thorough sound checks with backups |
Signal optimization involves adjusting gain settings on each channel, monitoring levels continuously, and testing with various sources like microphones and instruments. I’ve found that labeling channels clearly and implementing noise gates greatly improves live performance reliability. Dynamic microphones with cardioid patterns excel in live configurations due to their superior feedback rejection and handling noise reduction. When using condenser microphones in your setup, ensure your mixer provides 48V phantom power to guarantee proper operation and professional recording quality.
Frequently Asked Questions
What’s the Maximum Cable Length Before Audio Signal Quality Degrades?
Different cable types handle signal propagation at varying maximum distances before you’ll notice quality degradation.
Standard unbalanced cables like 1/4″ and RCA typically maintain clean signal up to 150 feet, while XLR balanced cables can reliably extend to 1000 feet with proper equipment.
I’ve found that cable thickness, shielding quality, and environmental interference considerably impact these limits, so investing in lower AWG, well-shielded cables dramatically improves your signal integrity over longer runs.
How Do I Prevent Ground Loops When Connecting Multiple Devices?
To prevent ground loops when connecting multiple devices, I recommend using ground lift switches on your mixer’s channels first, which disconnect the shield connection while maintaining signal integrity.
If that doesn’t solve the humming, invest in signal isolators between problematic devices—these transformer-based units break ground paths effectively.
Connect everything to the same power strip, and use balanced cables whenever possible for ideal results.
Can I Use Wireless Adapters for Instruments Instead of Cables?
You can use wireless instrument adapters, but I’d recommend understanding their limitations first.
Bluetooth audio technology works well for basic setups, offering approximately 30-foot range and plug-and-play connectivity through your mixer’s auxiliary inputs.
However, latency issues can disrupt real-time monitoring during performances, and signal dropouts may occur at range limits, making wireless adapters better suited for podcasting, solo acts, or portable recording rather than critical live sound applications.
What Happens if I Accidentally Connect Line Level to Mic Inputs?
When you accidentally connect line level signals to mic inputs, you’ll likely experience immediate line level damage through severe distortion and clipping, since mic preamps aren’t designed to handle those higher voltages.
This mic input confusion creates an overloaded signal that sounds harsh and distorted.
You can’t fix clipped audio later, so you’ll need to reduce gain or use a pad attenuator to prevent permanent equipment damage.
On a final note
You’ve now mastered the essential techniques for connecting multiple devices to your mixer, from XLR microphones to digital interfaces. While I’ll admit the cable management can get messy, you’ll find that proper gain staging and systematic routing make all the difference in achieving professional results. Remember to test each connection individually before combining sources, and don’t hesitate to reference your mixer’s manual when you’re troubleshooting those inevitable signal issues.

