Recording in Challenging Spaces: Overcoming Acoustic Limitations
Recording in challenging spaces can often feel like trying to capture sound in the middle of a hurricane – chaotic and unpredictable. However, with the right techniques and tools, it’s possible to transform even the most acoustically challenging environments into spaces where pristine recordings can be achieved. From strategic mic placements that defy conventional wisdom to innovative acoustic treatments that work wonders, the journey of overcoming acoustic limitations in recording is a fascinating exploration of creativity and problem-solving.
We are supported by our audience. When you purchase through links on our site, we may earn an affiliate commission, at no extra cost for you. Learn more.
Creative Microphone Placement Techniques
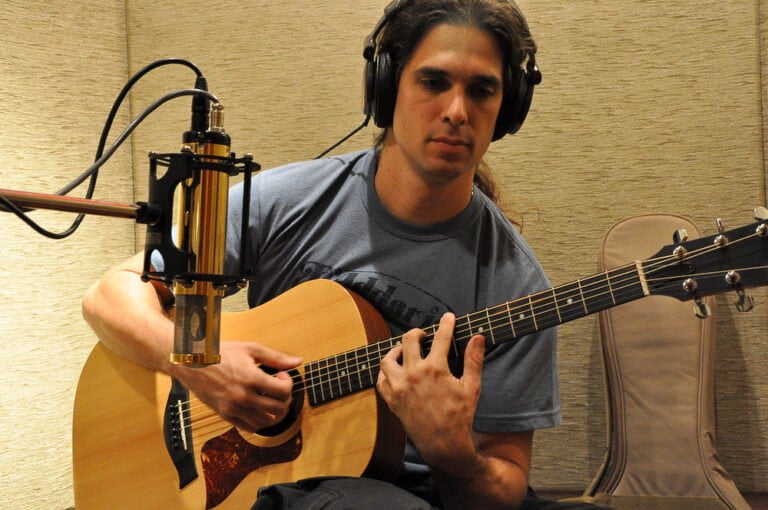
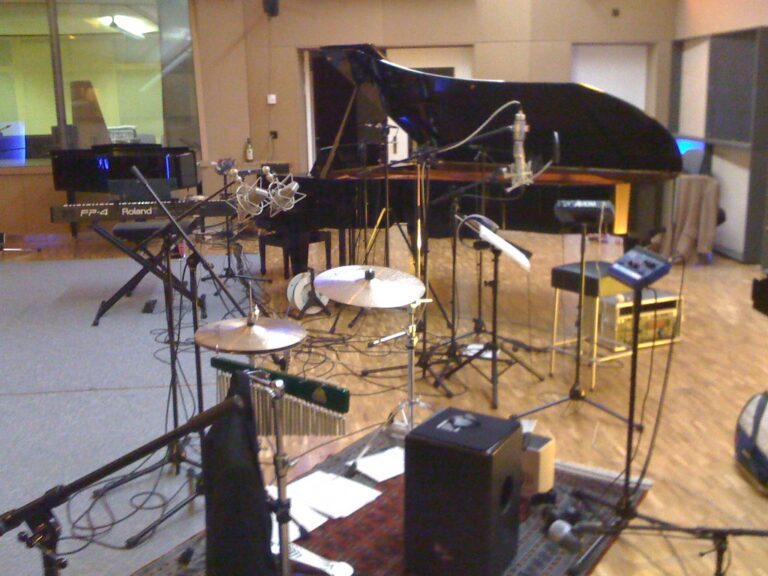
When exploring creative microphone placement techniques, unconventional positions can be strategically utilized to capture distinct and desired sound characteristics. In understanding room acoustics, it is vital to ponder how sound interacts with different surfaces within the space. By experimenting with microphone angles and heights, one can manipulate the pickup pattern and directivity to tailor the recording to specific needs. The boundary effect, where microphones are placed near surfaces, can be harnessed to enhance low-frequency response and create a sense of proximity in the audio. This effect is particularly useful when looking to accentuate the richness and warmth of instruments or vocals.
Furthermore, engaging in stereo techniques such as X-Y, ORTF, or Blumlein configurations can significantly impact the spatial quality of recordings, especially in challenging acoustic environments. These techniques enable the capture of a more expansive and immersive soundstage, adding depth and realism to the audio. By positioning microphones in unconventional locations and exploring the boundaries of traditional placement norms, one can open up a world of sonic possibilities that may not be achievable through standard methods. Through creative microphone placement, we can push the boundaries of conventional recording practices and pave the way for innovative and enchanting soundscapes.
Utilizing Acoustic Treatment Solutions
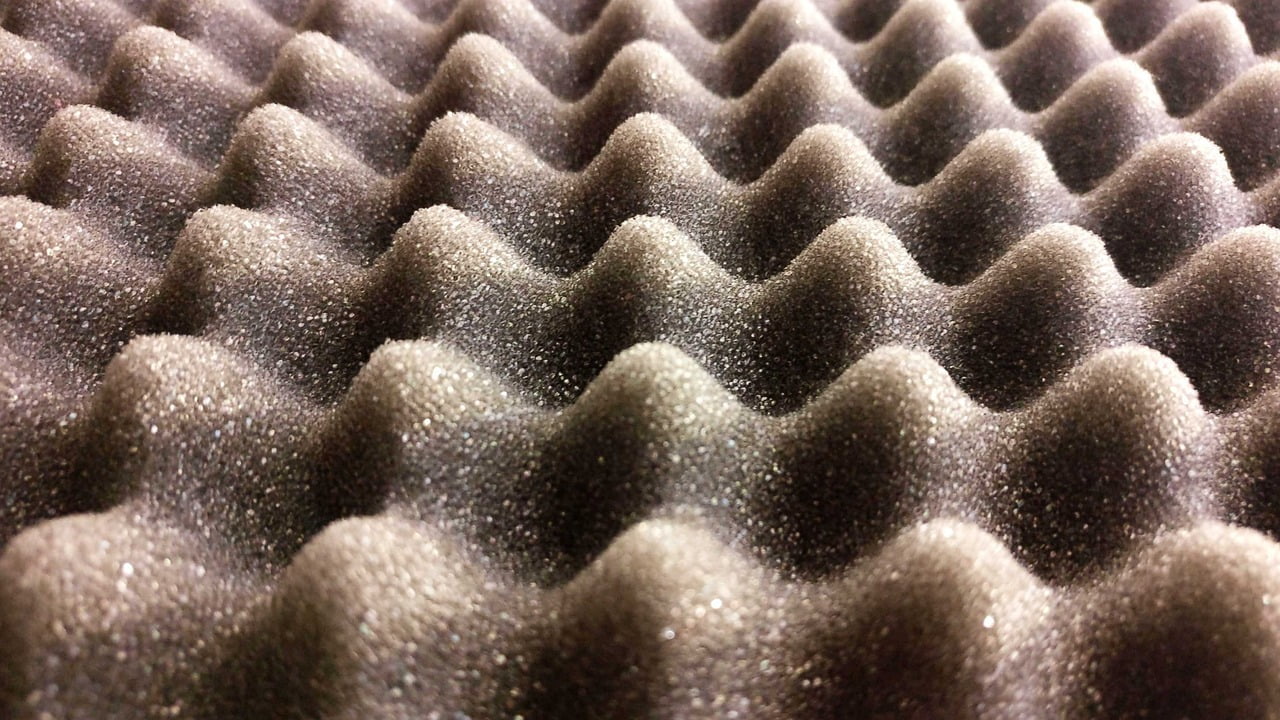
Utilizing acoustic treatment solutions optimizes sound quality in recording environments by strategically deploying bass traps, diffusers, and absorption panels to control reflections and enhance clarity. When addressing challenging spaces, the placement of these acoustic elements is critical to effectively manage room acoustics and guarantee ideal recording conditions. Here are four key points to take into account when utilizing acoustic treatment solutions:
- Bass traps: Placing bass traps in corners helps reduce low-frequency buildup, preventing muddiness in recordings caused by standing waves. By absorbing excess bass energy, these traps contribute to a more balanced and accurate sound reproduction.
- Absorption panels: Installing absorption panels on reflective surfaces minimizes reflections, controlling reverberation and echo effects. This strategic placement enhances recording clarity by reducing unwanted noise coloration and improving the overall tonal balance of the audio.
- Diffusion techniques: Utilizing diffusion techniques scatters sound waves, breaking up direct reflections and creating a more diffused sound field. This process helps in achieving a balanced acoustic environment by reducing the prominence of reflections without overly deadening the space.
- Strategic placement: Careful consideration of the placement of acoustic treatment solutions is essential in challenging spaces. By strategically positioning bass traps, diffusers, and absorption panels, recording environments can be optimized to mitigate acoustic limitations effectively and ensure high-quality audio capture.
Overcoming Noise Pollution Challenges
To effectively address noise pollution challenges in recordings, the implementation of high-quality cables and power sources is essential for minimizing unwanted noise interference. When setting up a home studio, it is important to take into account the room’s acoustic properties. Sound waves interact with the surfaces in a room, leading to reflections that can cause unwanted noise. Proper acoustic treatment solutions, such as bass traps and diffusers, can help manage these reflections and improve the overall sound quality of recordings.
In recording and mixing, understanding frequency response is key to overcoming noise pollution challenges. Unwanted noise often falls within specific frequency ranges, and by utilizing equalization techniques, these frequencies can be attenuated or removed, enhancing the clarity of the recording. Additionally, standing waves, caused by sound waves reflecting back and forth between parallel surfaces in a room, can create peaks and nulls in the frequency response. Addressing standing waves through strategic room setup and acoustic treatment can help mitigate these issues.
When dealing with noise pollution challenges, it is also important to take into account tools such as noise gate or reduction plugins. These plugins analyze the audio signal and can automatically reduce the volume of background noise during silent passages, improving the overall signal-to-noise ratio. By implementing a combination of high-quality equipment, proper room setup, and effective noise management techniques, clean and professional recordings can be achieved even in challenging acoustic environments.
Maximizing Sound Isolation Strategies
In maximizing sound isolation strategies, incorporating gobos, absorbers, and diffusers is essential for achieving the best acoustic control in challenging recording environments. These tools help manage sound energy effectively, reducing reflections and minimizing unwanted noise bleed into microphones. To optimize sound isolation further, consider the following key points:
- Acoustic Panels: Install acoustic panels strategically to absorb excess sound energy and reduce reverberations, enhancing sound isolation within the recording space.
- High-Pass Filtering: Implement high-pass filtering techniques during post-production to attenuate low-frequency room noises that can compromise the clarity of recordings.
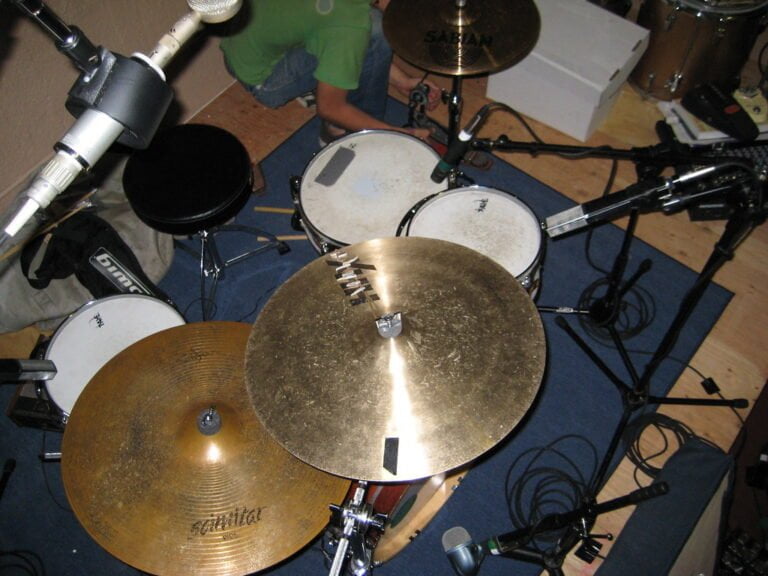
- Microphone Positioning: Carefully select and position microphones to minimize room influence on recordings, especially when capturing instruments like drums where room reflections can be more pronounced.
- Phase Cancellation: Be mindful of phase cancellation issues that may arise due to reflections in the room. Adjust microphone placements and consider using directional mics to combat phase cancellation and achieve the best sound quality.
Innovative Recording Space Adaptations
Considering the challenges of sound isolation in recording environments, exploring innovative adaptations for recording space becomes imperative. In small studios where traditional soundproofing methods may not be feasible, thinking outside the box is essential. Utilizing unconventional spaces like stairwells or closets can provide unique acoustics that add character to recordings. Portable isolation booths or vocal shields offer a practical solution to create controlled environments even in acoustically challenging spaces. These tools enable recording professionals to overcome these challenges effectively.
Custom acoustic panels and DIY soundproofing solutions play a pivotal role in tailoring acoustic design to fit specific space constraints. By implementing these solutions, recording spaces can be optimized for improved sound quality. Additionally, virtual acoustic environments generated through software plugins present a cutting-edge approach to simulating ideal recording spaces anywhere. This innovation allows for flexibility in recording locations and eliminates the need for physical modifications to achieve desired acoustics.