Mastering the Art of Home Studio Recording
The ability to craft professional-grade recordings from the comfort of your own space has revolutionized the industry. But what truly sets successful home studio recordings apart from the rest? Let’s explore some key insights and strategies that can elevate your music production game to the next level.
We are supported by our audience. When you purchase through links on our site, we may earn an affiliate commission, at no extra cost for you. Learn more.
Essential Equipment for Home Studios
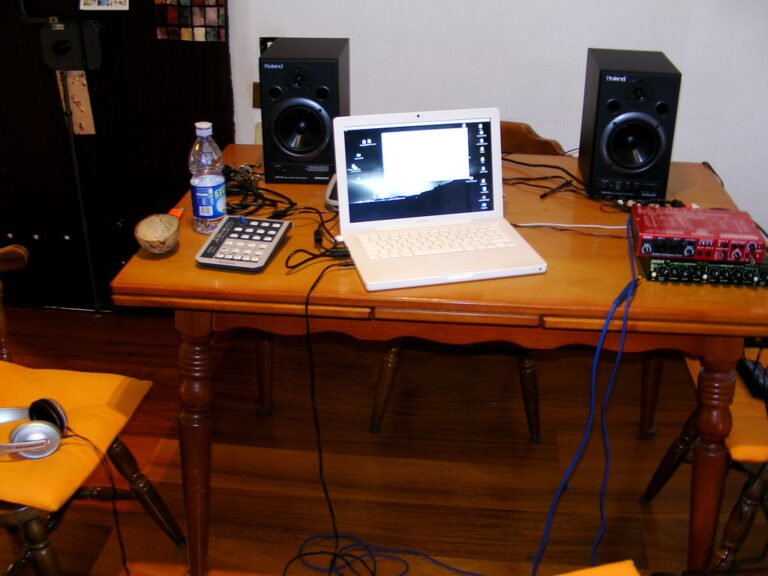
When setting up a home studio, essential equipment includes microphones, an audio interface, studio monitors, quality headphones, and a reliable computer. Microphones play a vital role in capturing sound in a home recording studio. They are necessary for recording vocals and instruments with clarity and precision. A good selection of microphones ensures versatility in capturing different types of sounds accurately.
An audio interface is a vital component in a home studio setup. It acts as the connection hub between your microphones, instruments, and computer. The audio interface converts analog signals from microphones and instruments into digital data that your computer can process. It also provides preamps for amplifying microphone signals, ensuring high-quality recordings without noise or distortion.
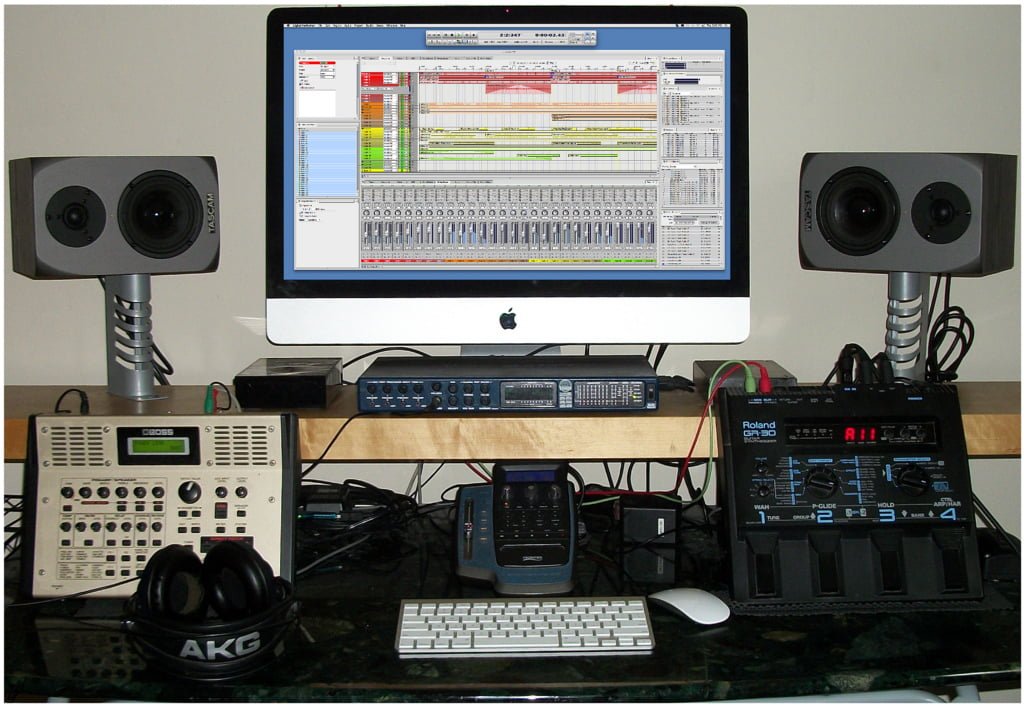
Studio monitors are essential for accurate sound reproduction in a home studio environment. They allow you to hear the details and nuances in your recordings, making it easier to make critical mixing decisions. Quality headphones are also necessary for monitoring during recording, mixing, and mastering sessions. They provide a more isolated listening experience, allowing you to focus on specific elements in your music.
Recording Techniques for Quality Results
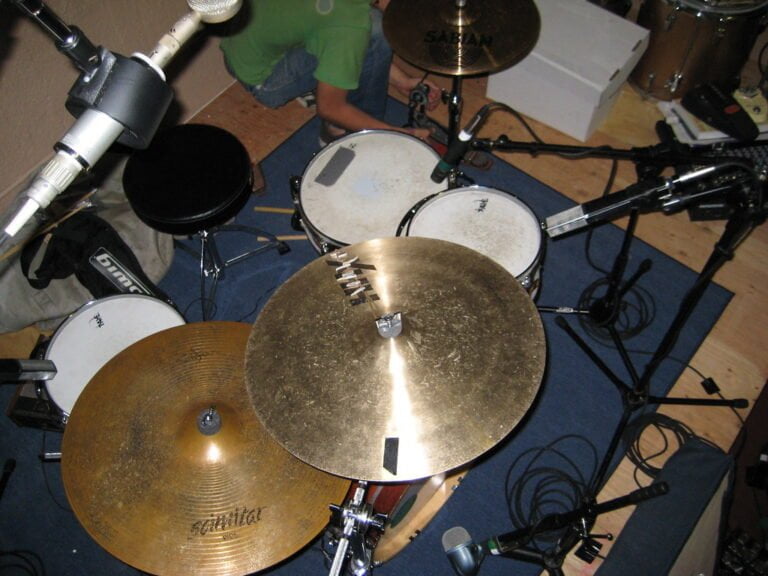
To achieve high-quality recordings in a home studio setup, mastering proper microphone placement techniques is fundamental for capturing clear and balanced sound. When recording vocals, it is essential to choose the right microphone based on the desired sound quality. Working with renowned producers like Warren Huart can provide valuable insights into selecting the most suitable microphone for your voice and recording environment. Understanding the characteristics of different microphones, such as condenser or dynamic types, can greatly impact the overall sound quality of your recordings.
Implementing recording techniques like acoustic treatment and room optimization can further enhance the professional-quality of your tracks. By creating a controlled acoustic environment and minimizing unwanted reflections, you can achieve cleaner recordings with improved clarity and depth. Additionally, utilizing tools like pop filters can help eliminate plosive sounds and make sure that vocal tracks are captured with precision and detail.
Experimenting with various microphone placements, polar patterns, and noise reduction plugins can fine-tune your recording techniques to achieve the best results. Taking a thorough approach to vocal recording, considering factors like microphone positioning, room acoustics, and equipment selection, is key to producing high-quality tracks in a home studio setting.
Tips for Optimizing Home Studio Setup
Implementing proper acoustic treatment techniques in a home studio setup is essential for optimizing sound quality and minimizing unwanted reflections and echoes. By strategically placing acoustic panels, bass traps, and diffusers in your studio, you can create a more controlled environment for recording music. This treatment helps in achieving a balanced frequency response and improves the accuracy of your monitoring setup.
When setting up your studio monitors, make sure they are positioned at ear level in an equilateral triangle with your listening position. This arrangement enhances stereo imaging and provides a more accurate representation of your music. Additionally, investing in quality headphones for monitoring can offer a different perspective on your mixes and assist in fine-tuning details that may not be as noticeable through speakers alone.
Maintaining a clutter-free workspace by organizing cables and keeping equipment tidy can improve workflow efficiency and minimize distractions during recording sessions. Adequate lighting is also critical in a home studio, not only for creating a comfortable working environment but also for preventing eye strain during long hours of recording or mixing.
Achieving Professional Sound at Home
Achieving a professional sound at home requires meticulous attention to room acoustics, microphone selection, and vocal recording techniques. To achieve professional-quality sound, consider the following aspects of recording:
- Choosing the Right Microphone: Selecting the appropriate microphone is important for capturing the best sound. Different microphones have unique characteristics that can enhance specific instruments or vocals.
- Mastering and Releasing: Once the recording is complete, mastering the tracks is essential for ensuring a polished final product. This process involves fine-tuning the audio to achieve a balanced and cohesive sound.
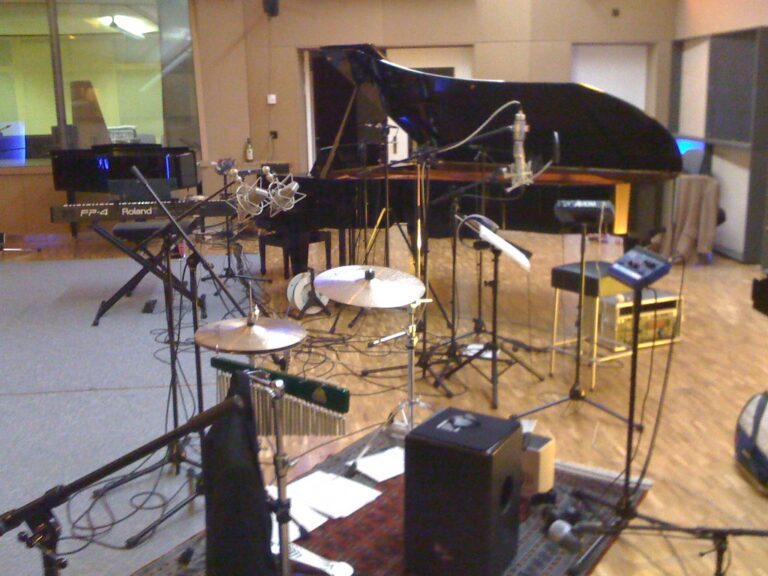
- Full Bands: Recording full bands at home can be challenging due to the mix of instruments and vocals. Proper microphone placement and isolation techniques are crucial to capture each element clearly.
- Best Sound: Experimenting with microphone types and placements is key to finding the best sound for your recordings. Don’t hesitate to seek recommendations from experienced engineers or producers.
Common Mistakes to Avoid in Home Recording
When recording at home, it’s important to be mindful of common mistakes that can hinder the quality of your recordings. Proper gain levels are essential to avoid clipping and distortion in your recordings. Choosing the right cables and connectors is vital as low-quality ones can introduce noise and degrade the audio signal. Room acoustics play a major role in the quality of your recordings; investing in acoustic treatment helps minimize unwanted reflections and improves sound quality.
It’s critical to avoid placing studio monitors too close to walls or corners as this can lead to unwanted reflections and bass buildup. Taking breaks during long recording sessions is necessary to prevent ear fatigue, which can affect your judgment and lead to poor mixing decisions.
In the detailed book on home recording, these common mistakes are highlighted as they can significantly impact the overall quality of your recordings. By paying attention to proper gain levels, choosing high-quality cables, addressing room acoustics with acoustic treatment, and taking care of ear fatigue, you can elevate the quality of your home studio recordings and achieve professional sound.