Expanding Your Home Studio With Multi-Channel Interfaces
Hey there! Looking to take your home studio to the next level? Well, buckle up because we're about to dive into the world of multi-channel interfaces. These bad boys are like the superheroes of your studio setup, allowing you to record and mix multiple audio sources all at once. It's like having your own personal orchestra at your fingertips!
We are supported by our audience. When you purchase through links on our site, we may earn an affiliate commission, at no extra cost for you. Learn more.
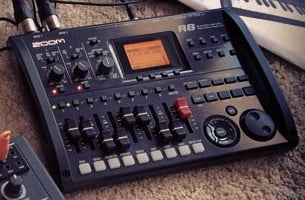
So, what's the deal with multi-channel interfaces? Well, they offer a seamless and professional recording experience. Instead of juggling one instrument or vocal at a time, you can capture the magic of multiple sound sources simultaneously. Talk about efficiency!
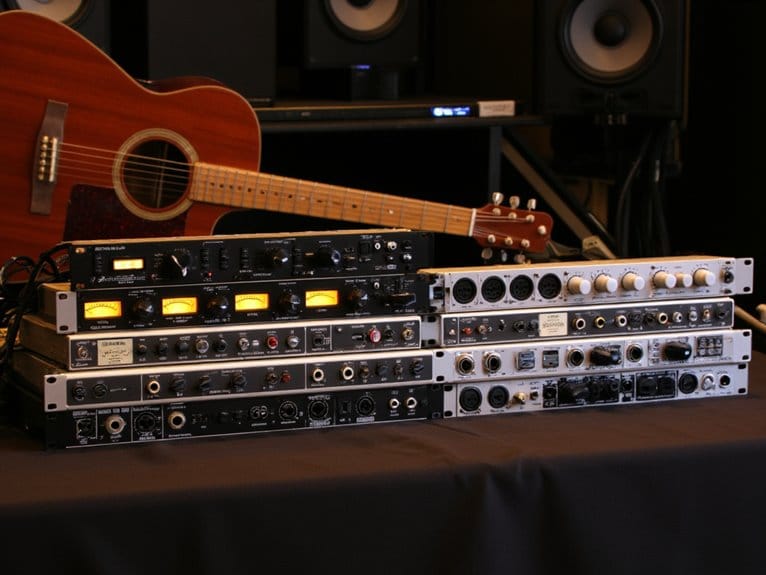
Now, when it comes to choosing the right multi-channel interface, there are a few key features to consider. Think about the number of inputs and outputs you need, the quality of the preamps, and the connectivity options. You want a device that can handle all your recording needs without breaking a sweat.
But wait, there's more! Let's not forget about some valuable tips for maximizing your recording sessions. With a multi-channel interface, you can experiment with different microphone placements, capture the energy of a live band, or even record multiple vocal harmonies in one go. The possibilities are endless!
So, are you ready to revolutionize your home studio? Say goodbye to the limitations of recording one track at a time. With a multi-channel interface, you'll be able to unleash your creativity and take your music production game to new heights. Let's get started on this exciting journey together!
Benefits of Multi-Channel Interfaces
When using multi-channel interfaces, you can greatly enhance your home studio setup by seamlessly integrating multiple audio sources into your recordings. This is especially beneficial for musicians, producers, and sound engineers who want to achieve a professional and innovative sound. Multi-channel interfaces allow you to connect various instruments, microphones, and other audio devices simultaneously, giving you the freedom to record different elements of your music or sound design separately. With the ability to capture each source individually, you have more control over the mixing and editing process, resulting in cleaner and more precise recordings. Additionally, multi-channel interfaces often offer high-quality preamps and converters, ensuring that the audio signals are accurately captured and reproduced. By incorporating multi-channel interfaces into your home studio, you can elevate your creativity and produce professional-grade recordings with ease.
Key Features to Consider
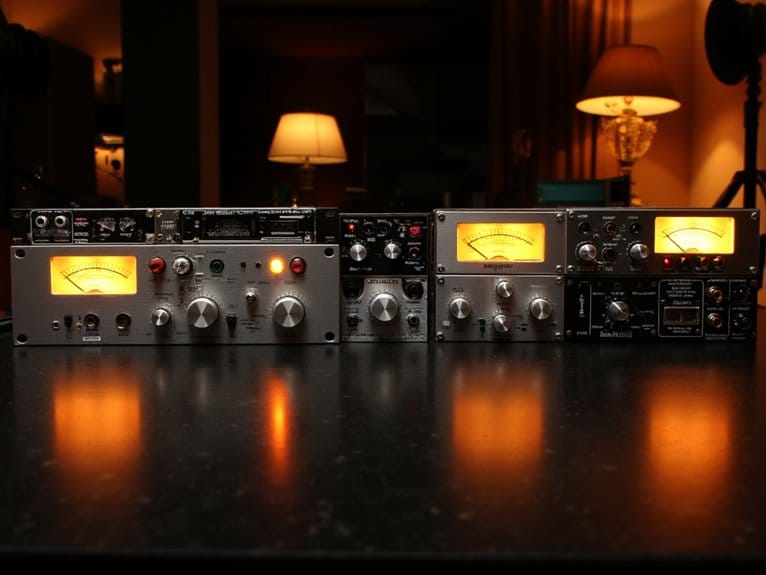
To make informed decisions when selecting a multi-channel interface for your home studio, consider the key features that align with your recording needs and preferences. One important feature to consider is the number of input and output channels. Determine how many simultaneous inputs and outputs you require for your projects. Another crucial feature is the quality of the preamps. Look for interfaces with high-quality preamps that provide clean and transparent sound reproduction. Low latency is another important consideration. This refers to the delay between the input signal and its playback, and a low latency interface ensures real-time monitoring without any noticeable delay. Additionally, consider the connectivity options such as USB, Thunderbolt, or Ethernet, depending on your computer and workflow requirements. Lastly, pay attention to the software integration and compatibility with your digital audio workstation (DAW) of choice. By carefully considering these key features, you can choose a multi-channel interface that meets your specific recording needs and enhances your home studio setup.
How to Choose the Right Interface
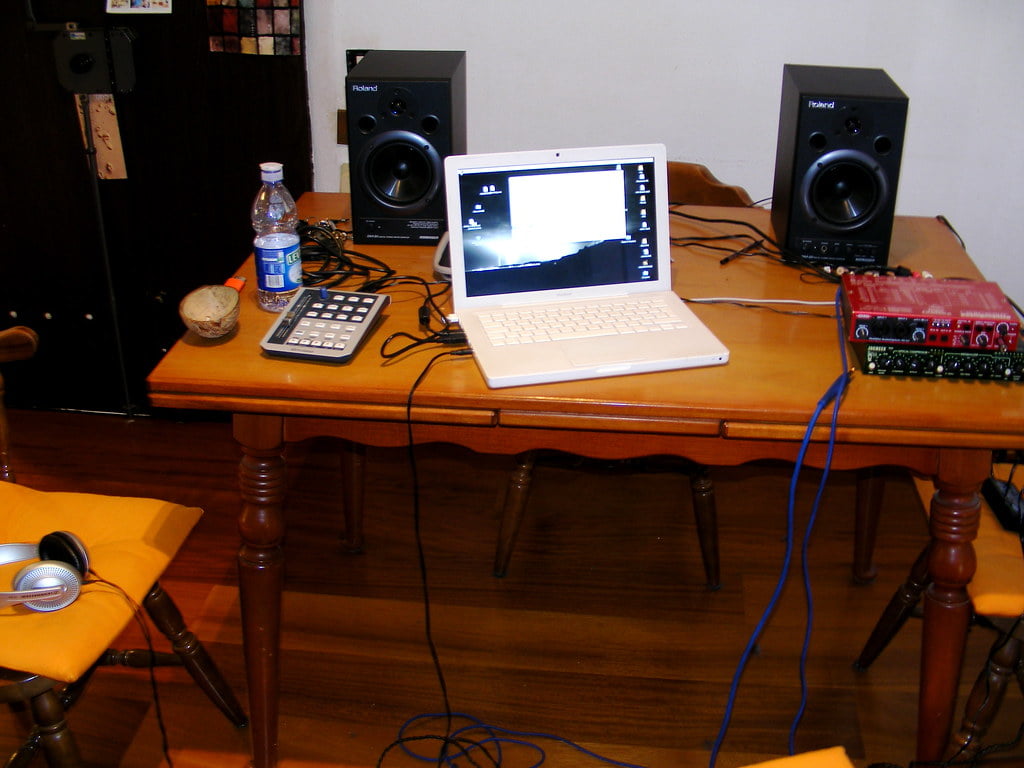
Now that you have considered the key features to look for in a multi-channel interface, it's time to delve into how to choose the right interface for your home studio. When selecting an interface, it is essential to consider your specific requirements and goals. First, determine the number of inputs and outputs you need to accommodate your recording setup. Consider the types of connections you require, such as XLR, TRS, or MIDI, to ensure compatibility with your existing equipment. Additionally, evaluate the audio quality of the interface, including its bit depth and sample rate capabilities. Look for interfaces that offer low-latency performance to minimize delays during recording and monitoring. Finally, consider the software compatibility and support provided by the interface, as this can greatly impact your workflow and integration with other studio tools. By carefully considering these factors, you can choose the right multi-channel interface to enhance your home studio capabilities. Additionally, think about how the interface interacts with your studio monitor setup, as this will affect your overall listening experience. Make sure that the interface provides the necessary outputs for connecting to your studio monitors, allowing for accurate sound reproduction. Ultimately, a well-chosen multi-channel interface will not only support your recording needs but also enhance your mixing and monitoring processes.
Setting Up Your Multi-Channel Interface
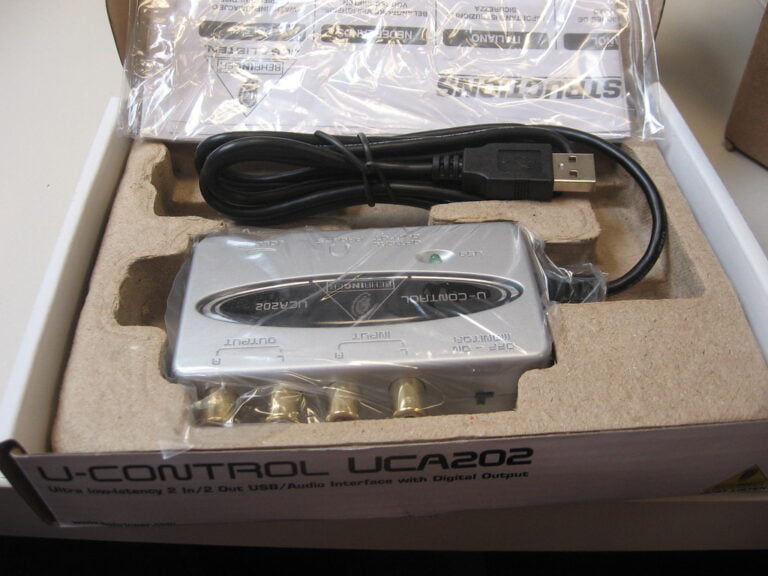
To set up your multi-channel interface, begin by connecting it to your computer using the provided USB cable. Ensure that both the interface and your computer are powered off before making the connection. Locate the USB port on the back of the interface and insert one end of the cable into it. Then, connect the other end of the cable to an available USB port on your computer. Once the connection is made, power on both the interface and your computer. Next, install any necessary drivers or software that may be required for your specific interface. Follow the manufacturer's instructions for this step. Once the installation is complete, your multi-channel interface should be recognized by your computer and ready for use in your home studio setup.
Tips for Maximizing Your Recording Experience
Maximize your recording experience by implementing these helpful tips into your home studio setup. First and foremost, invest in high-quality microphones that capture the true essence of your sound. Consider using a condenser microphone for vocals and acoustic instruments, and a dynamic microphone for drums and electric guitars. Next, optimize your room acoustics by treating the walls and ceiling with sound-absorbing panels and diffusers. This will minimize unwanted reflections and create a more balanced sound. Additionally, experiment with microphone placement to find the sweet spot for each instrument or vocalist. Finally, stay organized by labeling and color-coding your cables and equipment. This will save you time and frustration during the recording process. By following these tips, you'll be well on your way to achieving professional-quality recordings in your home studio.
Conclusion
In conclusion, incorporating multi-channel interfaces into your home studio can greatly enhance your recording experience. By considering key features and selecting the right interface, you can maximize the quality and flexibility of your recordings. Setting up the interface properly and following some tips can further optimize your recording process. With the benefits of multi-channel interfaces, you can take your home studio to the next level and produce professional-quality audio.

