Using Samples to Enhance Acoustic Drums
You’ll enhance your acoustic drums by layering complementary samples that fill frequency gaps, with careful attention to transient alignment preventing phase cancellation that kills punch. I’ve found recording custom samples with multiple velocity layers captures your kit’s authentic character, while close and room mics provide mixing flexibility. Dynamic mics handle high SPLs effectively, preserving transients during powerful hits. Strategic EQ, parallel compression, and transient shaping balance acoustic elements with samples, maintaining natural feel while adding modern impact that transforms your recordings into professional-grade productions.
We are supported by our audience. When you purchase through links on our site, we may earn an affiliate commission, at no extra cost for you. Learn more.
Notable Insights
- Layer samples in different frequency ranges with proper transient alignment to add punch without phase cancellation.
- Record custom samples with multiple velocity layers using close and room mics for authentic dynamics.
- Use cardioid dynamic microphones to capture powerful transients while minimizing bleed from other drum elements.
- Apply parallel compression and duplicate tracks for targeted EQ to maintain dynamics while increasing presence.
- Balance samples to enhance rather than replace acoustic sounds, preserving the natural feel of drums.
Layering Samples With Original Drum Tracks
When you’re looking to enhance your acoustic drums with samples, the art of layering becomes a delicate balance between preserving the natural character of your original recordings and adding the punch, clarity, or depth that samples can provide.
Your layer selection process requires choosing complementary samples that cover different frequency ranges, typically pairing a low-end thump with mid-range snap for kicks, or adding crisp attack to snare hits.
Transient alignment becomes critical here, as even millisecond timing differences can destroy the punch you’re trying to create through phase cancellation.
Precise timing alignment prevents phase issues that can obliterate the impact you’re working to achieve through sample layering.
I’ve learned that triggering layered samples via the same MIDI cues maintains rhythmic coherence, while careful level adjustments guarantee samples complement rather than overpower your acoustic tracks, preserving that natural feel.
Recording and Processing Custom Drum Samples
While layering commercial samples with your acoustic drums certainly gets results, there’s something uniquely satisfying about crafting your own custom drum samples that perfectly match your kit’s character and your room’s acoustics.
Recording multiple velocity layers becomes essential for capturing dynamics authentically, requiring at least three intensity levels per drum to maintain natural tonal variations.
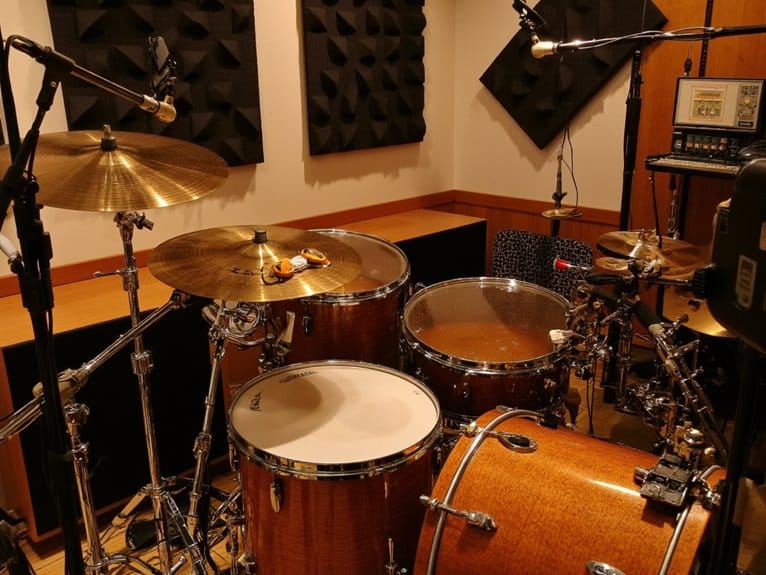
I’ve found that positioning close mics alongside room mics provides the flexibility you’ll need during mixing, while careful gain staging prevents the clipping that destroys those vital transients.
Your editing techniques should focus on precise trimming and systematic organization, creating crossfades between velocity layers to eliminate jarring shifts.
The investment in proper microphone placement and acoustically treated recording spaces pays dividends when you’re triggering samples that seamlessly complement your original drum tracks.
For snare drums specifically, selecting microphones with a cardioid pattern helps isolate the drum sound while rejecting cymbal bleed, ensuring your samples capture the snare’s character without unwanted interference.
Dynamic mics excel at handling high SPL situations, making them particularly effective for capturing the powerful transients of kick drums and snare hits during your sample recording sessions.
Advanced Mixing Techniques for Sample-Enhanced Drums
Once you’ve captured those perfectly tailored custom samples, the real artistry begins in the mixing phase, where strategic layering and processing techniques transform your raw recordings into polished, professional-sounding drums that punch through any mix.
Dynamic mixing becomes essential when blending acoustic hits with samples, requiring careful phase alignment and frequency management to avoid cancellation issues. I’ll duplicate key tracks like snare drums, applying targeted EQ boosts to add weight without compromising the original’s high-end clarity.
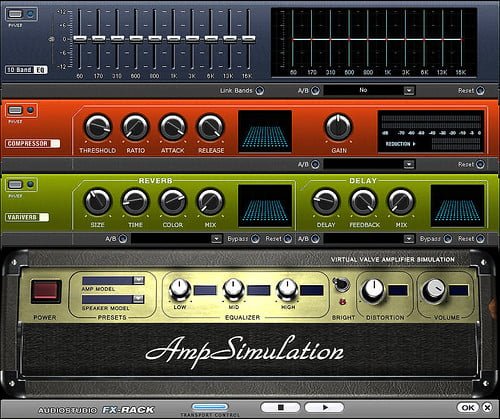
Compression techniques play a significant role here-I use parallel compression to maintain natural dynamics while increasing presence, and employ transient shapers to fine-tune attack characteristics.
Strategic saturation via tape emulation plugins adds warmth and harmonic richness, helping samples integrate seamlessly with acoustic elements for professional results.
On a final note
You’ve now got the tools to transform your acoustic drums from basic recordings into polished, powerful tracks that’ll cut through any mix. I’ve found that the key isn’t replacing your original drums entirely, but rather enhancing their natural character with carefully selected samples. Don’t overthink it-start with simple layering techniques, experiment with your own custom samples, and remember that subtle processing often yields the most professional results you’re after.

