Reference Mixing: Using Commercial Tracks Effectively
You’ll need to set up dedicated reference and mix buses in your DAW, bypassing master processing on commercial tracks while using gain plugins for level matching. Choose familiar songs in your genre with similar instrumentation, preferably in WAV or FLAC format, then analyze frequency distribution, vocal placement, and dynamic relationships using spectrum analyzers and LUFS meters. Focus on A/B comparisons through crossfader plugins to identify subtle differences in balance and spatial positioning, and there’s much more to uncover about professional techniques.
We are supported by our audience. When you purchase through links on our site, we may earn an affiliate commission, at no extra cost for you. Learn more.
Notable Insights
- Set up dedicated reference and mix buses with independent level controls and direct routing to bypass master processing.
- Choose genre-appropriate commercial tracks in high-quality formats that match your project’s instrumentation and sonic characteristics.
- Use spectrum analyzers and metering tools to analyze frequency distribution, dynamics, and stereo imaging of reference tracks.
- Implement crossfader plugins and accessible solo buttons for rapid A/B comparisons while level-matching to avoid loudness bias.
- Document observations about vocal integration, panning decisions, and compression techniques to establish consistent mixing reference points.
Setting Up Your DAW for Effective Reference Mixing
While reference mixing might seem like a simple drag-and-drop process, I’ve learned through countless sessions that proper DAW setup makes the difference between productive comparisons and frustrating guesswork.
Your Template Organization should include a dedicated stereo reference track that bypasses master bus processing, keeping commercial tracks uncolored by your mix chain.
I always create separate buses labeled “MIX” and “REFERENCE” for independent control, which streamlines the comparison workflow considerably.
Effective Track Routing means routing your reference directly to the main output while sending mix elements through your processing bus.
Install a gain plugin on the reference track for level matching, and keep solo buttons accessible for quick A/B switching without excessive clicking around your session.
Choosing the Right Commercial Tracks for Your Project
When I first started mixing professionally, I’d grab whatever hit songs I liked and expect them to guide my mixes effectively.
But I quickly discovered that choosing the wrong references can lead you down sonic rabbit holes that waste hours of valuable studio time. Smart genre selection becomes your foundation, ensuring you’re comparing apples to apples rather than forcing your rock track to sound like a hip-hop banger.
The familiarity factor matters tremendously because you’ll instinctively know when something sounds off compared to a track you’ve heard countless times.
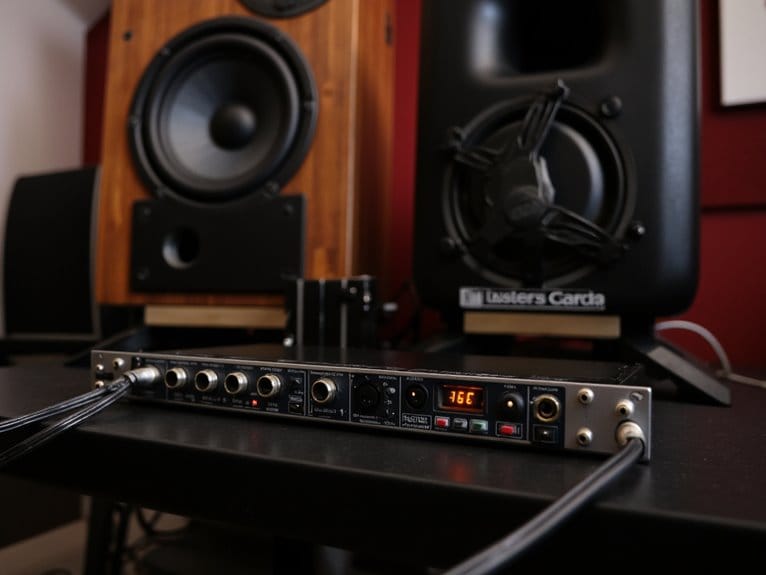
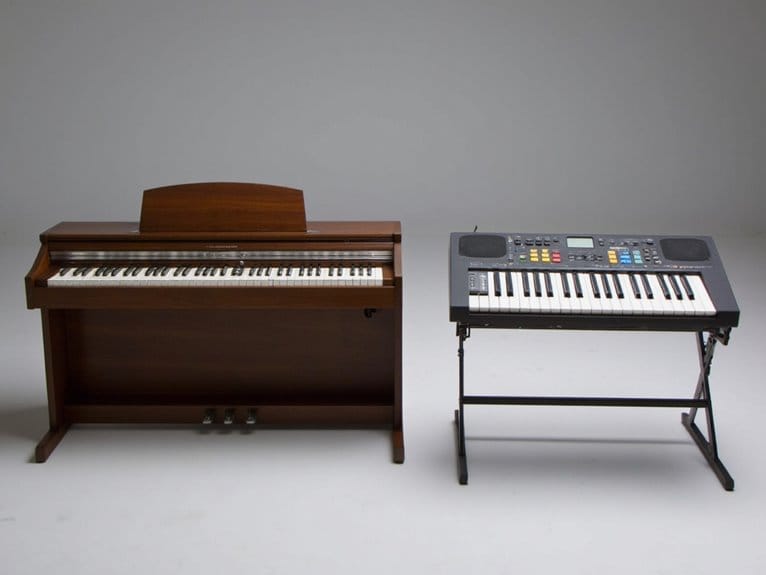
Instrumentation similarity keeps you focused on relevant sonic elements, while quality formats like WAV or FLAC preserve the nuanced details that compressed files destroy, giving you accurate benchmarks for professional-grade mixing decisions. Professional studios often rely on interfaces with 24-bit/192 kHz recording capabilities to maintain this level of audio fidelity throughout the entire production chain. Just as digital piano buyers prioritize high polyphony and quality sampling for realistic sound reproduction, choosing reference tracks with superior audio fidelity ensures you’re making mix decisions based on the most accurate sonic information available.
Analyzing Key Mix Elements Against Your Reference
Once you’ve locked in your reference tracks, the real detective work begins as you systematically dissect each sonic layer to understand what makes these commercial mixes sound so polished and professional.
Start with frequency analysis using spectrum analyzers to identify where energy sits across the frequency spectrum, noting how bass elements occupy the low-end without muddying each other.
Pay attention to how vocals cut through dense arrangements while maintaining warmth, and observe panning decisions that create width without sacrificing center focus.
Study the dynamic relationships between instruments during different song sections, noting how compression shapes transients and sustain.
This analytical approach guarantees mixing consistency by giving you concrete reference points for EQ decisions, level balancing, and spatial positioning throughout your own mix development process.
Advanced Tools and Techniques for Professional Results
As your mixing skills develop beyond basic level balancing and EQ adjustments, you’ll discover that professional-grade reference mixing demands a sophisticated arsenal of analytical tools that transform guesswork into precision engineering.
Professional reference mixing transforms intuitive guesswork into precision engineering through sophisticated analytical tools and methodical comparison techniques.
Spectral analysis becomes your visual compass, with spectrograms revealing frequency imbalances that your ears might miss during extended sessions.
I’ve found that combining these visual insights with thorough metering tools-LUFS meters for loudness matching, phase correlation displays for stereo imaging, and RMS meters for dynamic range monitoring-creates an objective framework for mix decisions.
You’ll set up dedicated reference buses in your DAW, level-match your commercial tracks to avoid loudness bias, then use crossfader plugins for rapid A/B comparisons that expose subtle differences in instrument balance, spatial positioning, and tonal character.
On a final note
You’ve now got the essential framework for reference mixing that’ll transform your productions from amateur to professional-sounding tracks. I’ve walked you through DAW setup, track selection, analytical techniques, and advanced tools because, frankly, these fundamentals separate bedroom producers from industry professionals. Don’t overthink it-start with one reference track you know intimately, match its frequency balance and dynamics, then gradually expand your reference library as your ears develop.


