Building Your First Home Studio: Essential vs. Nice-to-Have
You’ll need a computer with adequate RAM, an audio interface like the Focusrite Scarlett Solo for under $200, and closed-back headphones for tracking in untreated spaces. Skip expensive studio monitors initially-focus on proper buffer sizes (64-256 samples) and ASIO drivers for low latency instead. Nice-to-haves include acoustic treatment, cable management solutions, and power conditioners, while professional upgrades like high-end interfaces and monitors can wait until your skills justify the investment.
We are supported by our audience. When you purchase through links on our site, we may earn an affiliate commission, at no extra cost for you. Learn more.
Notable Insights
- Computer with sufficient RAM, audio interface, and microphone are essential core equipment for any functional home studio setup.
- Audio interfaces supporting 64-256 sample buffer sizes with ASIO drivers are essential for minimizing recording delays and latency issues.
- Closed-back headphones are essential for tracking and mixing, especially in untreated rooms without professional studio monitors.
- Basic acoustic treatment with foam panels is nice-to-have for improved mixing accuracy in home recording environments.
- High-end studio monitors, professional acoustic treatment, and premium interfaces are nice-to-have upgrades for enhanced audio fidelity.
Core Equipment You Can’t Record Without
Five essential pieces of equipment form the foundation of any functional home studio, and I’ve learned through years of recording that skipping even one of these core components will greatly limit your ability to capture professional-quality audio.
Skipping any of these five core studio components will severely compromise your ability to achieve professional-grade recordings at home.
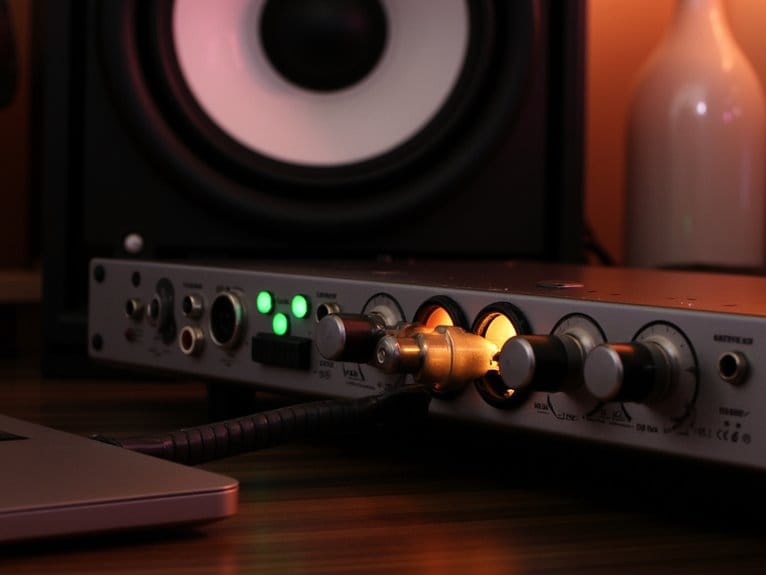
You’ll need a computer with sufficient RAM and processing power to run demanding DAW software like Pro Tools or Logic Pro, which serves as your digital recording hub. An audio interface converts analog signals to digital, providing vital phantom power and gain control for your setup. The Audient iD14 delivers high sound quality with its premium mic preamps and converters while maintaining affordability for budget-conscious producers. Budget options like the Focusrite Scarlett Solo 3rd Gen prove that 24-bit/192kHz recording quality can be achieved under $200.
Your microphone selection determines recording quality, with large-diaphragm condensers excelling for vocals while dynamic mics handle instruments effectively. For optimal performance, ensure your interface supports buffer sizes between 64 to 256 samples paired with ASIO drivers to minimize recording delays.
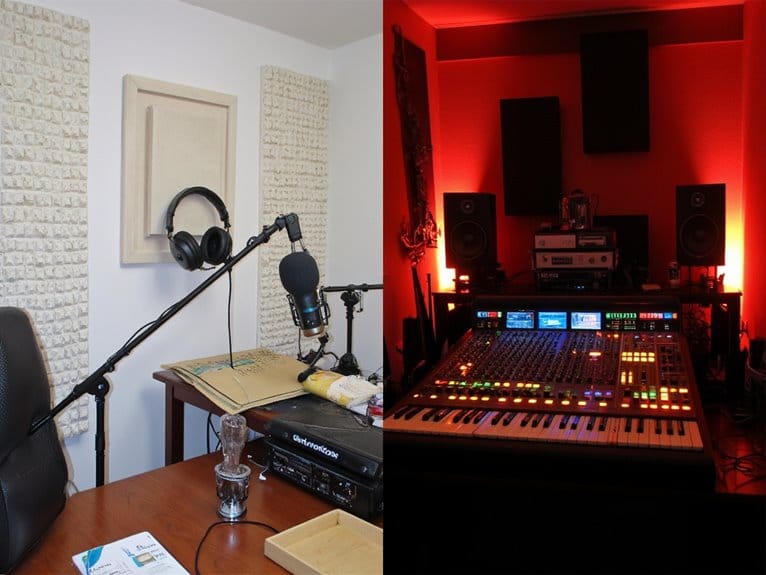
Finally, closed-back headphones enable proper tracking and mixing when studio monitors aren’t practical.
Budget-Friendly Upgrades That Make a Real Difference
After establishing your core recording setup, I’ve discovered that strategic budget upgrades often deliver more noticeable improvements than expensive gear purchases. You don’t need to spend hundreds of dollars to transform your home studio‘s functionality and sound quality.
Three high-impact upgrades under $100:
- Workspace organization improvements – 3D-printed audio interface mounts ($15-$20) and under-desk cable nets ($18) eliminate clutter while preventing accidental disconnections that can damage your gear over time.
- Power management solutions – A quality power conditioner with surge protection ($70) reduces electrical interference like hiss and crackling, delivering cleaner recordings by filtering out noise from household devices.
- Basic acoustic treatment – Strategic placement of foam panels ($100-$250) controls reflections and flutter echoes, dramatically improving your mixing accuracy even when using headphones in untreated rooms.
Professional Enhancements Worth Saving For
While budget upgrades can transform your studio’s functionality, there’s a distinct difference between serviceable home recording gear and the professional-grade equipment that consistently delivers broadcast-quality results, and I’ve learned that certain high-end investments genuinely justify their price tags through measurable improvements in audio fidelity, workflow efficiency, and long-term reliability.
| Equipment Category | Professional Option | Expected Investment |
|---|---|---|
| Advanced Preamps | High-end audio interface with pristine gain staging | $800-2000 |
| Studio Monitors | Yamaha HS8 with subwoofer for accurate mixing | $600-1200 |
| Acoustic Equipment | Professional panel sets plus diffusers (12+ pieces) | $400-800 |
| Connectivity | CalDigit TS3 Plus docking station for workflow | $200-300 |
These upgrades represent the leap from hobbyist to professional-grade recording capabilities, where you’ll notice dramatically improved headroom, minimal noise floors, and consistent results that translate well across different playback systems.
On a final note
You don’t need to break the bank building your first studio, but you’ll want to prioritize smart investments that’ll grow with your skills. Start with essentials like a decent interface and monitors, then upgrade your microphones and acoustic treatment as your ear develops. I’ve seen too many beginners blow their budget on flashy gear they can’t properly use yet-patience pays off when building a setup that’ll serve you for years. Consider investing in an audio interface for Mac that offers great compatibility and features without overspending. As you gain experience, you can gradually enhance your equipment, ensuring everything works harmoniously together. Remember, a solid foundation will enable you to craft higher-quality recordings as your skills progress.