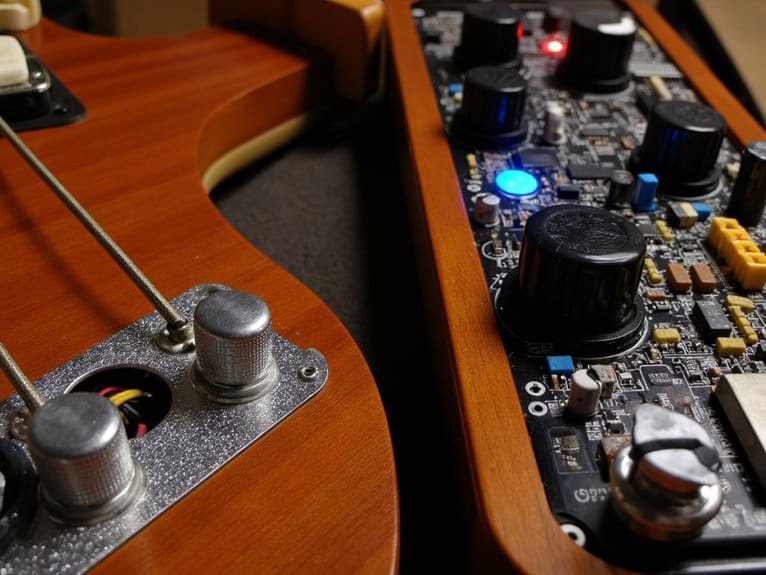
Guitar Setup: Achieving Optimal Playability
Proper guitar setup transforms your instrument’s playability by optimizing neck relief, action height, nut clearance, and intonation, which can improve your accuracy by 15% while reducing finger fatigue. You’ll need to adjust truss rod tension to achieve 0.006″ neck relief at the 8th fret, set saddle heights to 3/64″-5/64″ at the 17th fret, and guarantee precise nut slot clearance of 0.030″ above the first fret. Master these fundamentals and you’ll reveal techniques that reveal your guitar’s hidden potential.
We are supported by our audience. When you purchase through links on our site, we may earn an affiliate commission, at no extra cost for you. Learn more.
Notable Insights
- Proper guitar setup improves playing accuracy by up to 15% and significantly reduces player fatigue during extended sessions.
- Adjust neck relief to 0.006″ for electric guitars using quarter-turn truss rod increments and measure at the 8th fret.
- Set action height to 3/64″-4/64″ treble and 4/64″-5/64″ bass at the 17th fret for optimal technical precision.
- Maintain nut clearance at approximately 0.030″ above the first fret to prevent open string buzz and ensure smooth bending.
- Check intonation at the 12th fret with a chromatic tuner and adjust bridge saddles incrementally for accurate pitch.
Understanding the Impact of Proper Guitar Setup
When I first started playing guitar seriously, I’ll admit I thought a proper setup was just fancy talk for “make it not buzz.”
But after years of working with instruments ranging from budget acoustics to high-end electrics, I’ve learned that setup fundamentally transforms how an instrument responds to your touch.
You’ll discover that proper adjustments can improve your playing accuracy by up to 15%, reduce fatigue greatly, and open up tonal potential that even premium tonewood selection can’t achieve alone.
Whether you’re adjusting string gauge for different scale lengths or fine-tuning pickup height for balanced output, each element works together to create an instrument that feels like an extension of yourself rather than something you’re fighting against.
The choice between lighter gauges like 10-47 for beginner-friendly playability versus heavier gauges that increase volume and sustain becomes a crucial part of this setup equation.
Many budget instruments require minor adjustments for optimal comfort and playability, which can significantly enhance their performance potential.
Mastering Neck Relief and Truss Rod Adjustments
Among all the adjustments I’ve made over the years, truss rod work remains the one that separates confident players from those who’ll forever depend on repair shops.
Honestly, I used to be intimidated by that mysterious rod hidden inside the neck until I realized it’s simply a sophisticated lever system designed to counteract string tension.
The truss rod isn’t mysterious anymore-it’s just an elegant lever fighting against your strings’ relentless pull.
You’ll need proper adjustment tools like feeler gauges to measure that sweet spot around 0.006″ for electrics, though your playing style might demand different neck curvature preferences.
I’ve learned that quarter-turn increments prevent expensive mistakes, and measuring at the 8th fret while fretting first and last positions gives you accurate readings for determining whether clockwise tightening or counter-clockwise loosening achieves ideal relief.
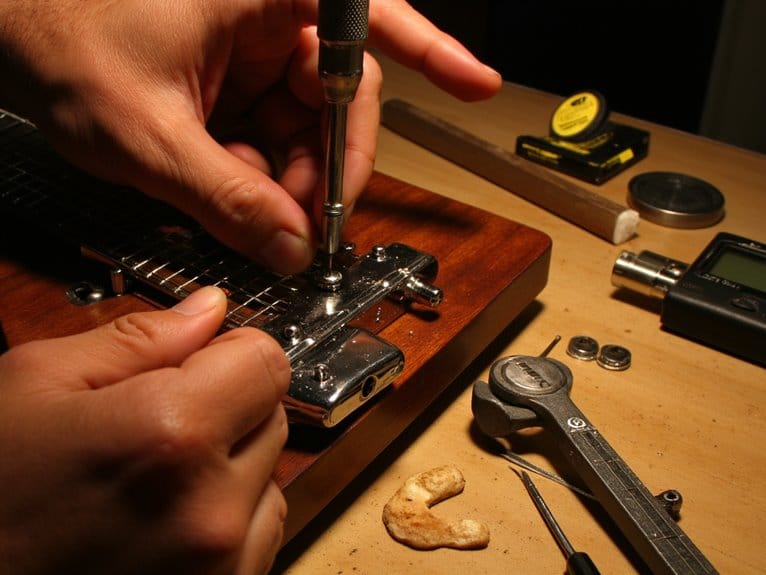
Optimizing Action Height Through Saddle Configuration
After you’ve dialed in your neck relief, saddle height becomes the critical bridge between technical precision and actual playability, though I’ll admit I spent years making this adjustment far more complicated than it needed to be.
Electric guitars offer individual saddle adjustments via Allen wrenches, while acoustics require physical sanding-there’s no saddle locking mechanism to worry about here.
Your action assessment should target 3/64″ to 4/64″ for treble strings and 4/64″ to 5/64″ for bass strings at the 17th fret, though I’ve found these measurements work better as starting points than gospel. Plan to check your setup every few months as environmental factors and regular playing will gradually affect your carefully dialed-in measurements.
Remember that saddle height changes require double the adjustment compared to your desired 12th fret action measurement due to basic geometry, and always loosen strings before making adjustments to prevent damage.
Perfecting Nut Setup for Enhanced String Performance
The nut represents your guitar’s most underappreciated component, silently dictating everything from open string buzz to bending smoothness, though most players don’t realize its impact until something goes wrong. Proper nut height requires maintaining approximately 0.030″ clearance above the first fret, while slot shaping must follow your fingerboard’s radius for consistent string height across all strings.
| Material Type | Key Benefits |
|---|---|
| Bone | Traditional tone, excellent sustain |
| Graphite | Self-lubricating, stable tuning |
| Synthetic | Consistent performance, affordable |
| Brass | Bright tone, exceptional durability |
I’ve learned that precision tools like nut slot gauges and specialized files make incremental adjustments manageable, preventing the frustration of overly deep cuts that require shimming or complete replacement.
Achieving Precise Intonation and Tuning Stability
While most guitarists can tune their open strings perfectly, I’ve discovered that achieving proper intonation-where every fretted note rings true across the entire neck-requires a methodical approach that separates casual players from those who demand professional-level performance.
Your intonation troubleshooting should begin at the 12th fret, comparing the fretted note against its harmonic using a chromatic tuner.
Proper intonation diagnosis starts at the 12th fret-compare your fretted note directly against its natural harmonic using a quality chromatic tuner.
I’ll adjust bridge saddles incrementally, moving them forward if the fretted note sounds sharp, backward if flat. These tuning techniques demand patience, as you’ll retune after each saddle adjustment to maintain accuracy.
Different bridge types require specific tools-Allen wrenches for Floyd Rose systems, flathead screwdrivers for fixed bridges-but the principle remains constant across all designs.
On a final note
You’ve now got the essential knowledge to transform your guitar’s performance, though I’ll admit mastering these adjustments takes patience and practice. Start with small, incremental changes to neck relief and action height, since aggressive modifications can damage your instrument. Remember that proper setup isn’t just about technical precision-it’s about creating a guitar that responds to your playing style, inspires creativity, and eliminates the frustrating barriers between your musical ideas and execution.