Secrets for Recording Electric Guitar
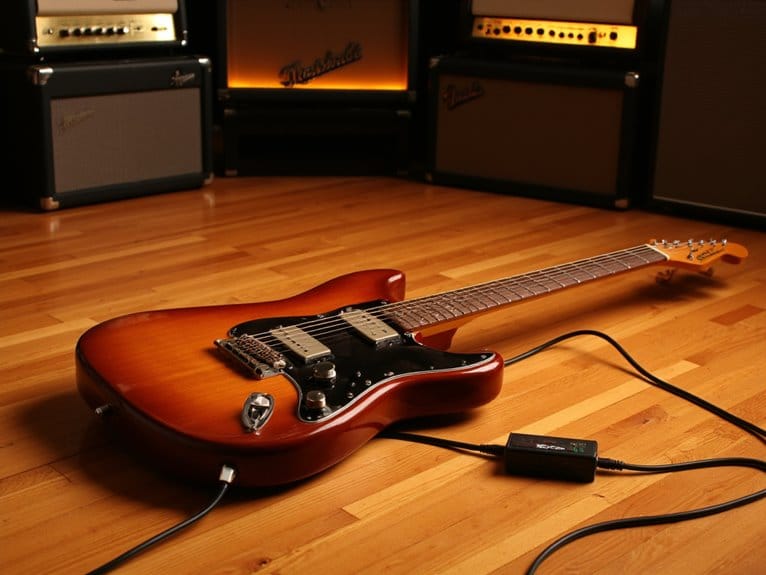
You’ll achieve professional electric guitar recordings by maintaining input levels between -18 and -12 dBFS while choosing bridge pickups for aggressive rhythm parts and neck pickups for warmer leads. Position your microphone on-axis for bright tones or off-axis for warmth, keeping dynamic mics closer to high-volume amps. Recording direct input alongside amp signals gives you re-amping flexibility later, and hard-panning double-tracked guitars creates impressive stereo width that transforms your mix completely.
We are supported by our audience. When you purchase through links on our site, we may earn an affiliate commission, at no extra cost for you. Learn more.
Notable Insights
- Maintain input levels between -18 and -12 dBFS using proper impedance matching to capture clean, detailed audio without distortion.
- Choose bridge pickups for aggressive rhythm tones and neck pickups for warmer lead sounds based on your musical context.
- Experiment with microphone placement angles and distances, combining close mics with room mics for enhanced tonal depth and character.
- Record direct input signals alongside amplified tracks to enable re-amping and flexible tone shaping during mixing stages.
- Hard-pan double-tracked guitar recordings in opposite channels while avoiding exact duplications to prevent phase cancellation and create width.
Optimizing Input Levels and Signal Chain Setup
One fundamental mistake I’ve watched countless guitarists make over the years is rushing straight into recording without properly setting their input levels, which inevitably leads to either thin, noisy recordings or harsh digital clipping that destroys their tone.
Your signal flow begins with proper impedance matching, which means using your interface’s instrument input or an external DI box to capture that pure guitar signal without degradation.
I always aim for input levels between -18 and -12 dBFS, watching those LED indicators stay green while maximizing signal strength. The internal dynamic range of modern audio equipment aids in maintaining noise levels, so that old-school mentality of hitting inputs extremely hard may not actually apply.
Level calibration throughout your entire chain prevents cumulative gain issues, so you’ll want to adjust output controls on each plugin to maintain consistent levels and preserve that dynamic range you worked so hard to capture. Using a buffer pedal in your signal chain can significantly enhance your DI signal quality and provide better overall signal management. For professional results, consider interfaces that capture audio at 24-bit/192kHz resolution to ensure maximum detail in your guitar recordings. Just like professional microphones require a signal-to-noise ratio above 80dB to minimize background interference, your guitar recording setup benefits from maintaining optimal signal quality throughout the entire chain.
Strategic Pickup Selection for Different Guitar Parts
With your input levels dialed in perfectly, your next recording decisions revolve around which pickup you’ll select for each specific guitar part, because I’ve learned that pickup choice can make or break a recording faster than any amount of post-processing magic.
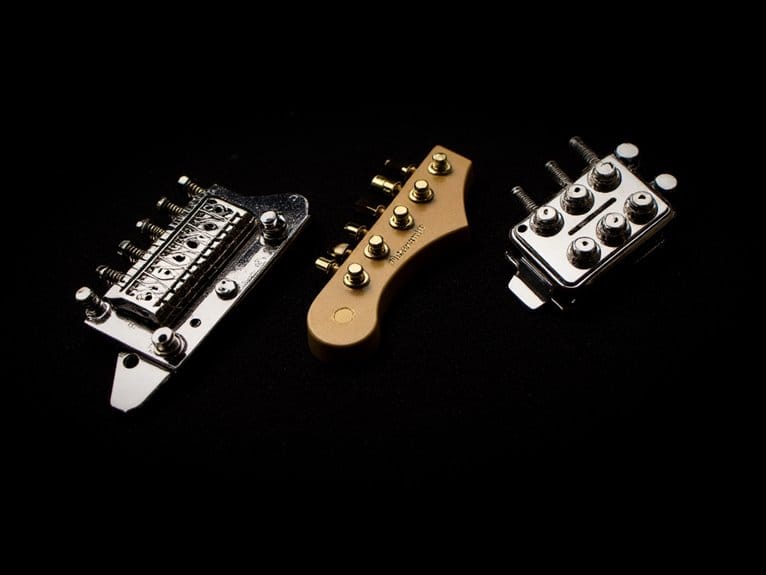
Different pickup types offer distinct tonal characteristics that’ll dramatically shape your recorded sound. The bridge position delivers aggressive attack and treble emphasis that cuts through dense mixes, while neck tone provides warmer, bassier sustain perfect for smooth leads. Your middle pickup blends both worlds, offering balanced versatility with excellent recording nuances.
Single-coil pickups deliver characteristically bright tones with exceptional high-frequency reproduction, but their sensitivity to electrical hum requires careful studio positioning away from interference sources. Humbuckers eliminate this interference while providing thick, warm tones that work exceptionally well for heavier music styles in recording sessions.
- Bridge pickups excel for rhythm parts – their punchy clarity helps guitars maintain definition in complex arrangements
- Neck pickups shine for melodic work – their rounded warmth suits clean passages and bluesy solos beautifully
- Active pickups provide ultra-clean signals – their noise cancellation and high output eliminate recording complications
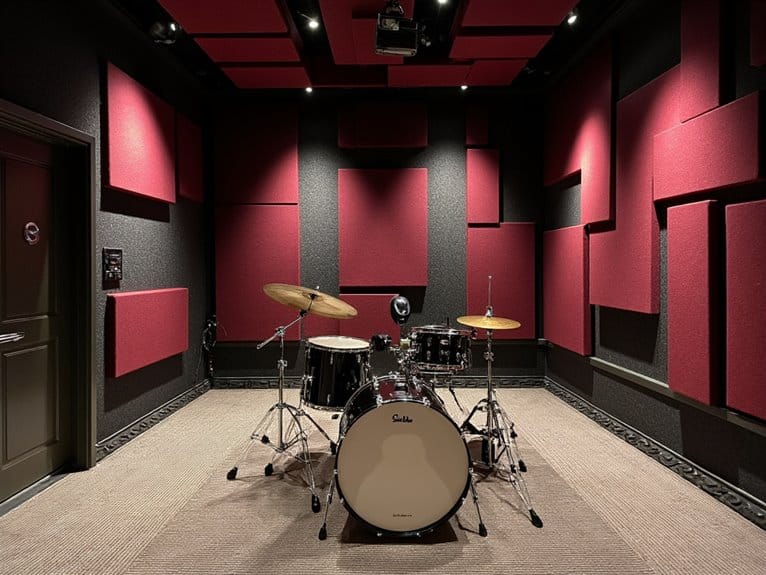
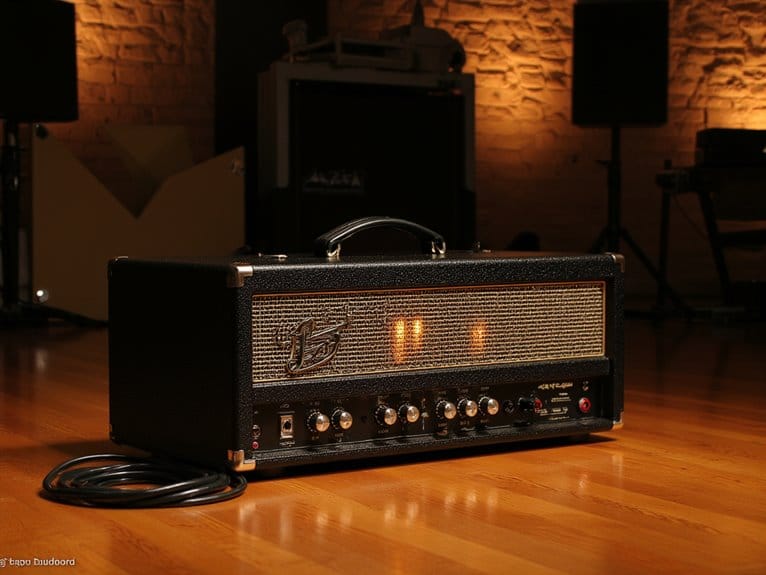
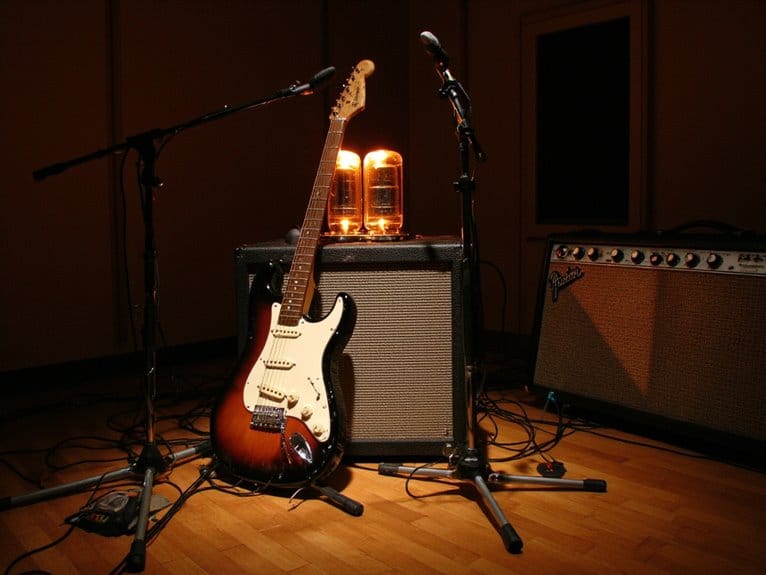
Microphone Placement Techniques for Amplifier Recording
Once you’ve selected the perfect pickup for your guitar part, microphone placement becomes the critical bridge between your amplifier’s sound and what actually gets captured in your recording, because even the most expensive gear won’t save you from poor mic positioning.
Your first decision involves choosing between on-axis placement for bright, balanced tones or off-axis positioning for warmer, smoother characteristics. Different mic types handle these placements uniquely-dynamic mics like the SM57 excel at close placement, while ribbon mics add warmth when positioned off-center.
Distance matters too, with closer placement capturing more low-end and farther positioning blending room acoustics naturally. Elevating amplifiers on chairs or other objects helps control the bottom end response and reduces problematic floor reflections that can muddy your recordings. I’ve found that small angle adjustments make surprising differences in your final tone. Experimenting with different speaker cone positions within your guitar cabinet can dramatically alter the warmth and character of your recorded sound.
Direct Input Recording and Amp Simulation Methods
Two fundamental approaches dominate modern electric guitar recording: direct input (DI) methods that capture your guitar’s raw signal for later processing, and amp simulation techniques that recreate amplifier characteristics digitally within your DAW.
DI box advantages include noise-free signal capture, impedance matching for ideal signal transfer, and the ability to record clean signals alongside amplified ones simultaneously.
When you’re routing through a high-Z input or dedicated DI box, you’ll maintain signal integrity while minimizing latency issues that plague some recording setups. Active DI boxes work particularly well with passive pickups to ensure optimal signal strength and clarity.
Amp sim flexibility shines during mixing phases, allowing you to experiment with different amplifier models, cabinet responses, and effect chains without committing to specific tones during tracking sessions. The distorted amp sounds can complicate rhythmic clarity during performance, making precise timing adjustments more challenging in post-production.
- Record DI signals completely dry to preserve maximum processing flexibility later
- Apply proper gain staging and noise gating before feeding signals into amp simulators
- Consider re-amping DI tracks through physical amplifiers for hybrid tonal approaches
Professional Monitoring and Mix Integration Strategies
Recording clean DI signals opens up tremendous possibilities, but the real magic happens when you master professional monitoring techniques that let you hear what you’re actually capturing while maintaining the flexibility to shape your guitar’s place in the final mix.
I’ve found that splitting your guitar signal provides the best of both worlds-you’ll monitor through your actual amp while recording the direct input simultaneously. This real time monitoring approach eliminates the frustrating latency that plagues in-the-box amp simulations, giving you that essential immediate response every guitarist craves.
Disable your DAW’s guitar monitoring and rely on hardware direct monitoring instead for true zero-latency performance.
Hardware direct monitoring eliminates the latency issues that plague software-based guitar monitoring, delivering the immediate response guitarists need for optimal performance.
When mixing, hard-pan double-tracked guitars to create width, but avoid exact duplications that cause phase cancellation. Before hitting record, dial in similar effects on your outboard gear to match what you envision for the final sound.
Combine close mics with room mics for depth, and consider re-amping your DI signals later for ultimate tonal flexibility and perfect mix integration. Maintain proper signal levels throughout the entire recording chain to prevent unwanted distortion that can compromise your clean DI captures.
On a final note
You’ve got the foundation now-proper gain staging, smart pickup choices, precise mic placement, and clean DI techniques. I’ve learned that great guitar recordings aren’t about expensive gear, they’re about understanding these fundamentals and applying them consistently. Your monitoring setup and mix integration skills will improve with practice, but don’t overthink it. Trust your ears, experiment with different approaches, and you’ll develop your own signature sound over time.