Equalization (EQ) & Recording Techniques
You’ll achieve professional-quality recordings by mastering EQ fundamentals alongside proper recording techniques, starting with strategic microphone placement to capture natural frequency response while minimizing room resonances between 300-800 Hz. Apply gentle high-pass filtering around 75-100 Hz during tracking to eliminate low-frequency rumble, then use parametric EQs for precise frequency control, targeting the 250-500 Hz muddy zone with subtractive cuts and enhancing vocal presence in the 2-4 kHz range. These foundational approaches reveal advanced mixing strategies that transform ordinary tracks into polished productions.
We are supported by our audience. When you purchase through links on our site, we may earn an affiliate commission, at no extra cost for you. Learn more.
Notable Insights
- Proper microphone placement and room treatment minimize frequency problems before recording, reducing the need for corrective EQ later.
- Apply gentle high-pass filters around 75-100 Hz during tracking to eliminate low-frequency rumble and background noise.
- Use parametric EQs for precise frequency control and graphic EQs for quick visual adjustments during live performances.
- Address the 250-500 Hz muddy buildup zone with subtractive cuts to improve overall mix clarity and separation.
- Employ dynamic EQs to automatically reduce competing frequencies between instruments while preserving natural tonality when elements aren’t present.
Understanding EQ Types and Their Applications in Audio Production
Equalization stands as one of the most fundamental yet nuanced tools in audio production, and I’ve found that understanding the different types of EQs available can dramatically transform how you approach mixing and sound design.
When you’re starting with EQ fundamentals, parametric EQs offer the most precise control, allowing you to adjust frequency, gain, and bandwidth with surgical accuracy across the 20 Hz to 20 kHz spectrum.
Graphic EQs, while less precise, provide intuitive visual feedback through fixed frequency bands that make quick adjustments effortless during live performances.
For practical applications, dynamic EQs combine traditional equalization with compressor-like processing, reacting intelligently to signal levels-something I’ve found invaluable for controlling problematic resonances that appear inconsistently throughout a performance. Beyond their technical capabilities, equalizers can enhance vocals or instruments by altering the audio signal color of your recordings. Shelving EQs provide an excellent solution for making broad tonal changes to your mix without the complexity of multiple band adjustments.
Strategic Frequency Management for Clear and Balanced Mixes
While mastering the different EQ types provides you with the right tools for the job, the real artistry emerges when you understand how to strategically manage frequencies across your entire mix to create space, clarity, and balance.
| Frequency Range | Primary Elements | Management Strategy |
|---|---|---|
| 20-60 Hz | Sub-bass, kick fundamentals | High-pass non-bass elements |
| 250-500 Hz | Muddy buildup zone | Subtractive cuts for clarity |
| 2-4 kHz | Vocal presence, snare attack | Frequency ownership allocation |
| 8-16 kHz | Air, brightness | Careful taming to avoid harshness |
| Overlapping bands | Competing instruments | Dynamic cuts when needed |
Frequency clarity depends on strategic dovetailing, where you’ll carve complementary spaces rather than letting instruments compete. I’ve found that dynamic cuts work brilliantly when problematic frequencies only emerge occasionally, engaging selective reduction when thresholds are exceeded while preserving natural tonality during quieter passages.
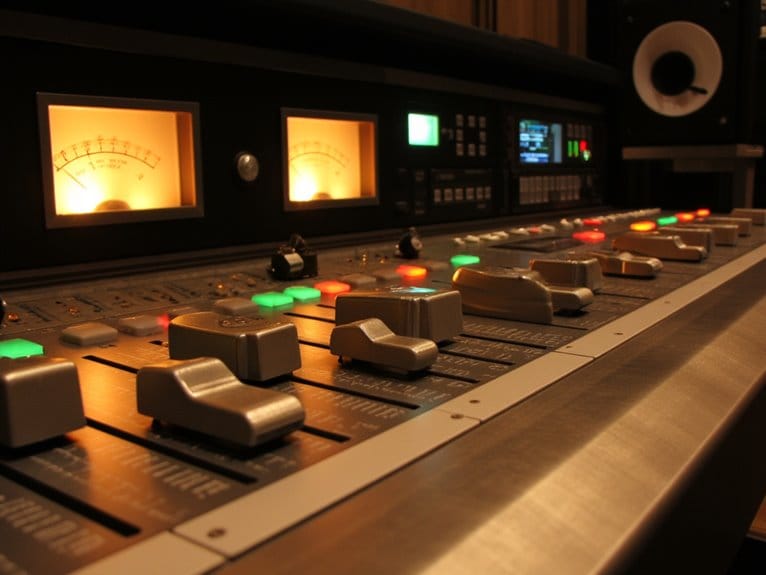
Checking your mix in mono reveals how much your perceived clarity relies on stereo separation rather than true frequency balance, often exposing masking issues that weren’t apparent in stereo playback. When recording, maintaining proper buffer sizes between 64 to 256 samples helps minimize latency-related timing issues that can affect your EQ decisions during the mixing process. Professional mixing boards that maintain a signal-to-noise ratio exceeding +90 dB ensure your EQ adjustments retain their precision without introducing unwanted noise artifacts into your frequency management decisions. Effective EQ work requires balancing technical precision with artistic judgment, ensuring that each frequency adjustment serves both the clarity of individual elements and the emotional expression of the overall musical performance.
Recording Methods That Maximize EQ Effectiveness
Before you even touch an EQ knob, the recording decisions you make will either set you up for mixing success or create problems that’ll haunt you through every stage of production.
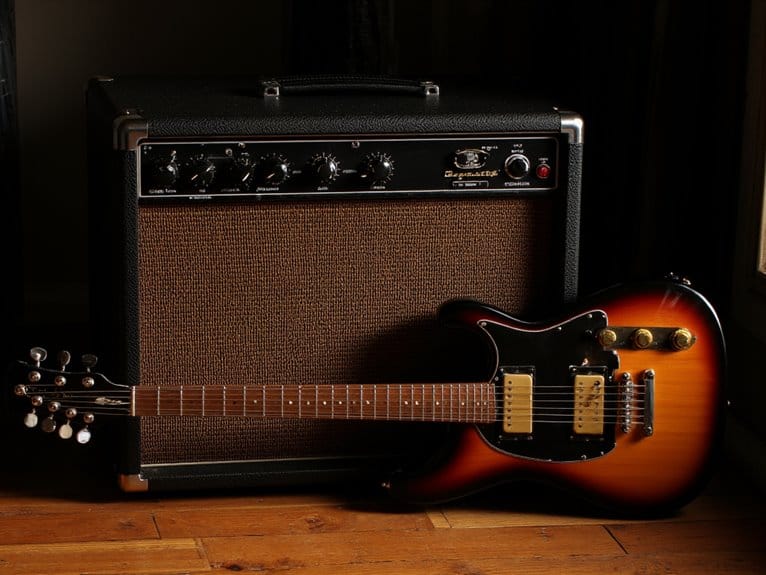
Strategic microphone placement forms the foundation of efficient EQ work, positioning your mics to capture natural frequency response while minimizing problematic resonances that require corrective processing later.
Room treatment plays an equally essential role in maximizing EQ effectiveness by controlling acoustic variables before they reach your microphones. Recording environments with poor acoustics often create resonant frequencies between 300 Hz to 800 Hz that will require significant subtractive EQ correction during mixing.
I’ve learned that three key recording strategies dramatically reduce your EQ workload:
- Close-mic instruments to isolate sources and enable precise frequency control
- Use directional microphones to minimize room reflections requiring correction
- Apply gentle high-pass filtering during tracking to eliminate low-frequency rumble
These foundational techniques create cleaner recordings that respond beautifully to subtle EQ adjustments. Setting your HPF around 75-100 Hz during recording removes common rumble from AC units and background noise while preserving the essential frequency content of your dialogue.
On a final note
You’ve now got the foundation to tackle EQ and recording with confidence, though I’ll admit mastering these skills takes years of practice and plenty of mistakes along the way. Remember that your ears are your best tool, and while technical knowledge matters, trusting what sounds right in your mix will always trump following strict rules or formulas blindly.