Buying Used Studio Monitors: A Step-by-Step Inspection Guide
When buying used studio monitors, you’ll want to inspect the physical condition for scratches, dents, or finish damage that indicates rough handling, then test driver performance through frequency sweeps to detect worn components and measure distortion levels, which should stay near 0.001% THD for quality monitors. Check that screws remain secure, bass ports aren’t damaged, and research established brands like Focal or Genelec for reliability. The following thorough inspection process will guarantee you make a smart purchase decision.
We are supported by our audience. When you purchase through links on our site, we may earn an affiliate commission, at no extra cost for you. Learn more.
Notable Insights
- Check for physical damage including scratches, dents, cracks, and examine finish for bubbling or peeling from moisture exposure.
- Test driver performance with frequency sweeps and measure distortion levels, ensuring THD values are near 0.001% for quality monitors.
- Verify all screws and fasteners are secure and rust-free, paying special attention to bass-reflex ports for sound quality damage.
- Research brand reputation and user reviews, focusing on established names like Focal, Adam Audio, and Genelec for reliability.
- Assess room compatibility requirements including proper positioning, wall distances, and monitor size for optimal acoustic performance in your space.
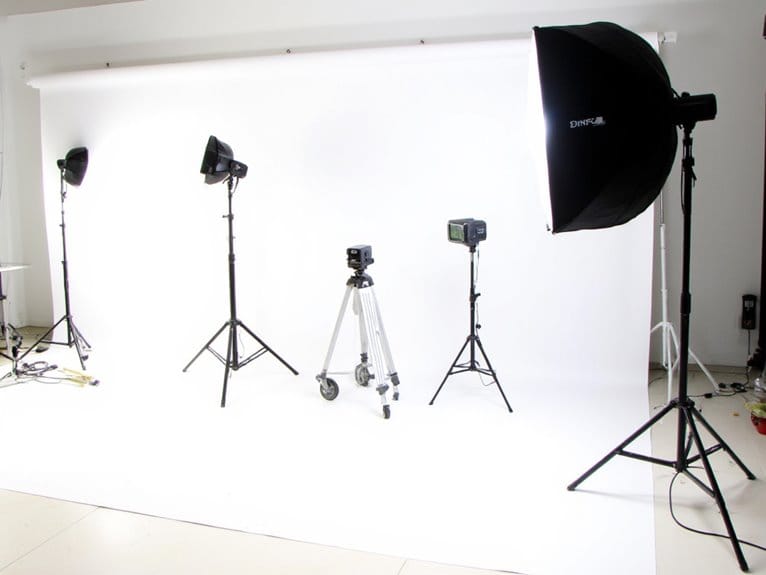
Physical Condition Assessment and Visual Inspection
Experience has taught me that the most expensive studio monitor mistake isn’t buying the wrong model-it’s buying one that looks pristine but harbors hidden damage that’ll cost you hundreds in repairs or, worse yet, compromise your mixes for months before you realize something’s off.
Your surface evaluation should begin with scanning for scratches, dents, or cracks that indicate rough handling, while checking corners and edges for structural damage.
I always examine the finish for bubbling or peeling, which reveals moisture exposure, then verify all screws and fasteners remain secure without rust.
Dust accumulation patterns tell stories about storage conditions, and your exterior integrity assessment should include testing mounting points for stability before any serious consideration. Professional audio production workflow demands monitors that can integrate seamlessly into your existing setup without introducing variables that could affect your monitoring accuracy.
Pay special attention to the rear panel area where bass-reflex ports are located, as damage here can significantly affect low-frequency response and overall sound quality.
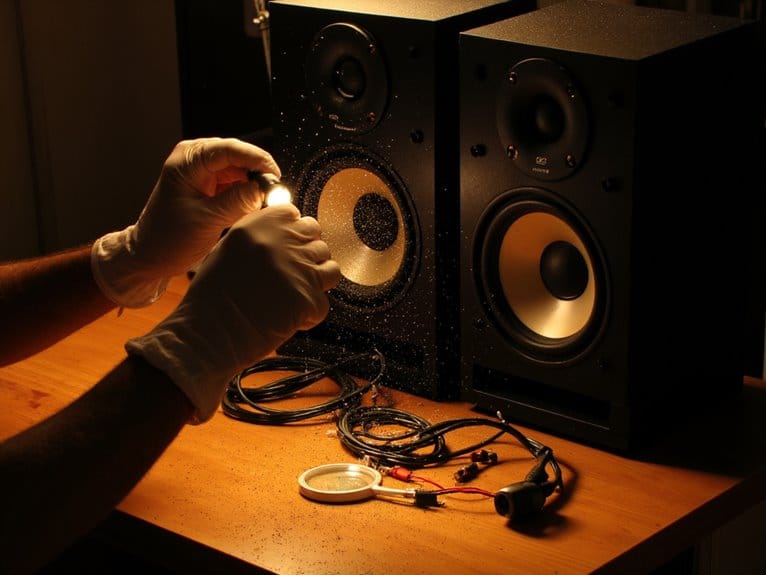
Driver Performance and Electronic Component Testing
While external inspection reveals obvious problems, the real truth about a used monitor’s value lies hidden within its drivers and electronic circuits, where degraded performance can silently sabotage your mixes without obvious warning signs.
I’ve learned that proper driver evaluation requires systematic testing, starting with frequency sweeps across the audible range to detect anomalies that indicate worn components or damaged voice coils. You’ll want to measure off-axis response, which reveals how well drivers maintain tonal balance outside direct listening paths, essential for accurate room reflections.
Distortion measurement becomes critical here, as good monitors should exhibit THD values near 0.001%. Don’t skip testing electronic components either-measure THD+N levels, verify amplifier power ratings match driver specifications, and assess channel balance to confirm stereo imaging quality remains intact. Pay particular attention to thermal effects, as voice-coil heating can cause significant compression that reduces output by 2-3 dB under high drive levels. The frequency response curve will reveal how the monitor truly performs and whether it maintains accuracy across all frequencies, helping you understand if the speaker will deliver reliable sound reproduction in your studio environment.
Acoustic Setup and Room Compatibility Evaluation
After confirming your monitors perform within specifications, you’ll discover that even the finest drivers and electronics can’t overcome poor room placement, which explains why I’ve heard $10,000 monitors sound worse than $500 ones simply because of positioning mistakes. Your room dimensions determine whether those used monitors will reveal their true character or sound muddy and unbalanced.
| Distance from Wall | Bass Response | Recommended Action |
|---|---|---|
| 10-38 cm | Neutral to +2 dB | Acceptable placement |
| 38-110 cm | +3 to +6 dB boost | Avoid this zone |
| 110+ cm | Balanced response | ideal positioning |
Before purchasing, measure your available space and consider acoustic treatment requirements. Position monitors either very close to walls or well beyond 110 cm away, ensuring you’ll have proper placement options once you bring them home. When setting up in rectangular rooms, orient monitors to face the short wall to minimize problematic back wall reflections that can muddy your sound. The monitors should be positioned at ear height to ensure the tweeters align with your listening position for optimal frequency response and imaging accuracy. Monitors with 5-inch woofers provide superior bass response compared to smaller drivers, making proper room positioning even more critical for achieving accurate low-end reproduction. Professional monitors require flat frequency response to deliver the accurate sound reproduction essential for critical listening and mixing decisions.
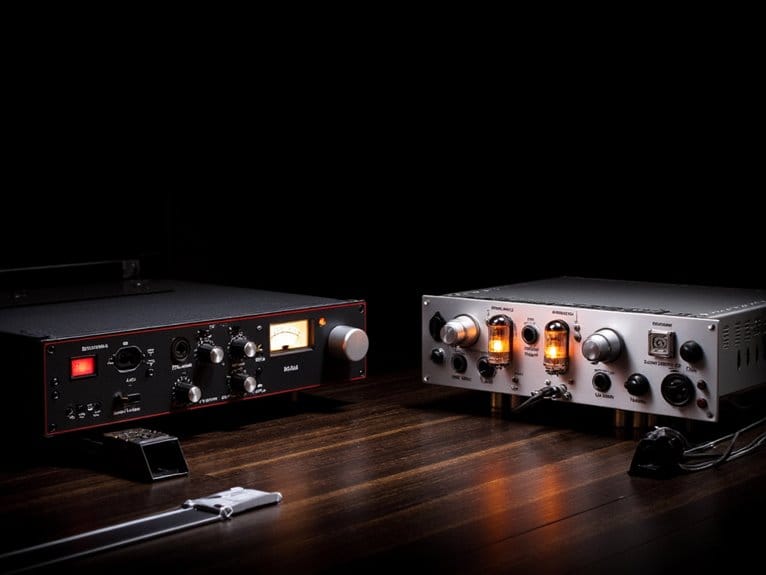
Brand Research and Value Analysis for Smart Purchasing
Three decades of studio monitor purchases have taught me that brand reputation isn’t just marketing fluff-it’s your insurance policy against buying expensive paperweights that’ll lose half their value the moment you plug them in.
Established names like Focal, Adam Audio, and Genelec consistently deliver superior resale value because they’ve earned trust through decades of professional studio use, reliable driver performance, and consistent firmware support.
Brand reputation in studio monitors translates directly to resale value-decades of professional trust don’t disappear overnight.
I’ve watched countless buyers chase flashy specs from unknown manufacturers, only to discover their “bargain” monitors depreciate faster than my first car. Many budget monitors are designed to sound impressive in store environments, which can mislead buyers about their actual mixing capabilities.
Smart purchasing means researching user reviews, checking professional endorsements, and understanding that popular models like the Adam T5V or Focal Shape 65 maintain their worth because mixing engineers actually want them. Remember that even premium monitors like the Focal ST6 Twin6 aren’t suitable for small or untreated spaces, making room compatibility just as crucial as brand prestige.
On a final note
You’ve now got the essential knowledge to confidently evaluate used studio monitors, from checking physical wear patterns and driver responsiveness to testing electronic components and appraising room compatibility. I’ve learned that thorough inspection saves money and prevents disappointment down the road. Don’t rush the process-take your time with each step, trust your ears during acoustic testing, and remember that a good deal isn’t worth compromising your studio’s sound quality.