Mixing Drums: EQ, Compression, and Effects Basics
You’ll achieve professional drum sounds by targeting specific frequency ranges: boost kick drums at 60-145 Hz for punch while cutting muddy 300-400 Hz frequencies, enhance snare clarity around 2-3.5 kHz, and control tom ring between 400-900 Hz. Apply moderate 4:1 compression ratios with slow 10-30ms attacks to preserve transients, then arrange your signal chain with gating first, EQ second, and compression third for prime control. Master these fundamentals and discover advanced techniques that’ll elevate your rhythmic foundation.
We are supported by our audience. When you purchase through links on our site, we may earn an affiliate commission, at no extra cost for you. Learn more.
Notable Insights
- Focus kick drum EQ on 60-145 Hz for punch and 1-5 kHz for attack clarity while cutting muddy 300-400 Hz frequencies.
- Apply moderate 4:1 compression ratios with slow attack (10-30 ms) to preserve drum transients and fast release for energy recovery.
- Order your signal chain as gain staging, EQ, compression, dynamics processors, then time-based effects like reverb for optimal results.
- Use drum bus compression (2:1 to 4:1 ratios) with subtle saturation to create cohesion and enhance the kit’s overall presence.
- High-pass filter cymbals above 2 kHz and boost snare attack frequencies (2-5 kHz) while controlling tom ring around 400-900 Hz.
Essential Frequency Ranges for Each Drum Element
When I first started mixing drums, I quickly discovered that understanding the five fundamental frequency ranges for each drum element becomes the foundation for creating professional-sounding mixes that cut through dense arrangements.
Your kick drum relies on 60-145 Hz for its fundamental punch, while 1-5 kHz provides essential attack definition that separates amateur from professional mixes.
The snare drum demands careful attention to 150-250 Hz for body, with 2-3.5 kHz delivering that vital snap for sound clarity. Addressing midrange ringing in snares through strategic frequency cuts ensures your drums maintain their clarity in the mix.
Tom drums occupy 60-120 Hz for low-end thump, requiring dynamic control around 400-900 Hz to eliminate unwanted ring. Reducing frequencies around 400Hz prevents the cardboard sound that plagues many drum recordings at lower volume levels.
Your hi hat and cymbals shine between 5-12 kHz, where proper tonal balance creates mix transparency without harshness, though I’ve learned that excessive boosting above 8 kHz quickly causes listener fatigue.
Compression Settings and Techniques for Dynamic Control
After you’ve dialed in your frequency ranges, compression becomes the secret weapon that transforms your drum tracks from amateur recordings into professional-sounding performances that command attention in any mix. By carefully applying compression to specific frequency bands, you can control elements like punchiness and sustain, allowing each drum hit to cut through the mix without overwhelming other instruments. This technique, known as enhancing sound with multiband compression, provides a polished finish that elevates the overall quality of your track. As a result, your drums will not only stand out but also blend seamlessly with the other components, creating an engaging listening experience.
Start with moderate 4:1 ratios, slow attack times around 10-30ms to preserve transient punch, and fast release settings that bring energy back quickly.
Different compression types serve specific purposes—parallel compression blends heavily compressed duplicates with originals to maintain natural dynamic range while adding presence, while serial compression chains multiple gentle stages for transparent control.
Parallel compression maintains dynamics while adding punch—serial compression delivers transparent control through multiple gentle stages.
I’ve found that setting your threshold low enough to catch each transient consistently, without over-squashing the sustain, creates that professional glue that unifies your entire drum kit into a cohesive, punchy foundation. Remember that compression isn’t always necessary for every drum track, especially when dealing with recordings that already have heavy compression applied during tracking, which could lead to unwanted over-compression artifacts.
Signal Chain Order and Effect Placement Strategies
While compression shapes your drums’ dynamics, the order you place effects in your signal chain determines whether those dynamics enhance or fight against your tonal goals, making effect placement one of the most essential decisions that separates polished mixes from muddy disasters.
Your signal chain fundamentally differs from signal routing—it’s the specific processing order within your channel strip, not how audio travels between tracks.
I’ve found the traditional approach works best: gain staging first, then EQ to sculpt tone before your compressor reacts, followed by dynamics processors, and finally time-based effects like reverb through sends.
However, creative effect placement can yield surprising results.
Placing compression before EQ smooths harsh frequencies differently than the reverse, while early gating isolates drum hits by controlling bleed before other processing muddies your carefully crafted transients.
Group Processing and Drum Bus Applications
The leap from processing individual drum tracks to shaping your entire kit through group processing fundamentally changes how your drums interact with each other and sit within your mix, transforming scattered elements into a cohesive rhythmic foundation that commands attention.
I’ve found that effective drum bus techniques start with moderate compression ratios between 2:1 and 4:1, using slow to medium attack settings that preserve transient snap while controlling the kit’s overall dynamics.
Adding subtle saturation through analog-modeled plugins or tape emulations enhances harmonic content, helping your drums cut through dense arrangements without becoming harsh.
Parallel compression remains my go-to method for achieving that cohesive sound, blending heavily compressed signals with dry drums to maintain natural dynamics while boosting perceived loudness and punch.
Similar to how frequency response determines the character of saxophone microphones, proper frequency shaping across your drum bus ensures each element occupies its ideal sonic space while maintaining the kit’s natural tonal balance.
Targeted EQ Adjustments by Drum Type
Once you’ve established that cohesive drum bus foundation, individual EQ adjustments become your precision tools for carving each drum’s unique sonic space within the kit. This ensures every element contributes its distinct character without stepping on neighboring frequencies.
Individual EQ adjustments serve as precision tools for carving each drum’s unique sonic space within the kit.
Your kick adjustments should focus on fundamental punch around 50-80 Hz while cutting muddy frequencies near 300-400 Hz. Snare tweaks typically emphasize attack in the 2-5 kHz range for crispness. Tom tuning involves boosting fundamental frequencies based on drum size, while cymbal clarity benefits from high-pass filtering above 2 kHz and strategic presence boosts.
- Dynamic sculpting: Use dynamic EQ bands to transparently address problematic frequencies only when they become prominent
- Strategic frequency carving: Apply broad boosts and surgical cuts rather than extreme moves for natural sound shaping
- EQ strategies: Reference each drum’s key frequencies to prevent masking and maintain clear separation
Creative Effects and Processing Applications
How can you transform those precisely EQ’d drums from technically proficient to genuinely alluring? Creative processing breathes life into sterile digital samples, and I’ve found that saturation techniques work wonders when applied at 30-50% on drum buses, adding warmth and cohesive glue.
Distortion settings around 20-30% on snares create grit without harshness, while soft clipping gently controls dynamics and enhances punch—particularly effective on kicks where you need transient control without sacrificing natural feel.
Auto panning effects introduce spatial movement to hi-hats and percussion, compensating for static sampled elements with rhythmic stereo shifts.
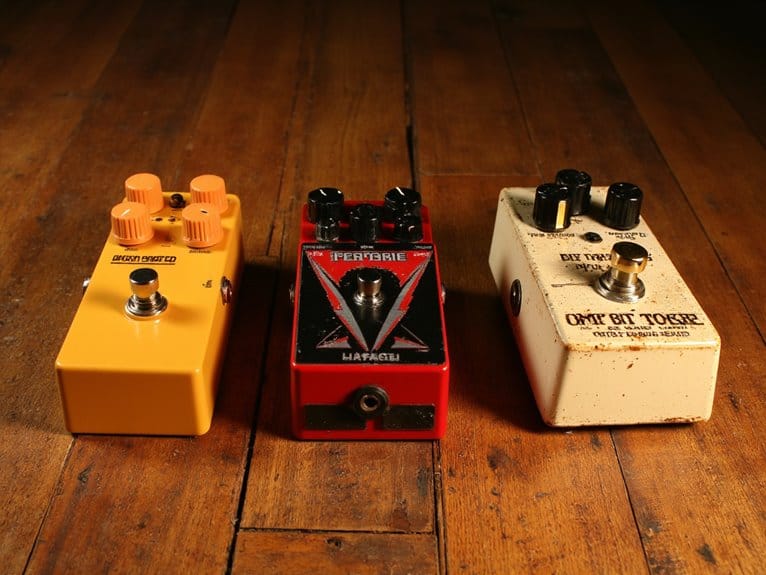
Analog processing through tape emulations and imperfect compressors adds unpredictable character, transforming digital precision into human texture that captivates listeners. When using external effect pedals in your drum processing chain, ensure proper voltage compatibility to avoid ground loop hum and maintain clean signal flow throughout your setup.
Frequently Asked Questions
How Do I Fix Timing Issues Between Multiple Drum Mics?
You’ll need drum quantization corrections and mic alignment techniques. Start by aligning your top snare mic as reference, then adjust overhead and room mics. Check polarity, manually align transients, and use correlation-based plugins for precision.
What’s the Best Way to Handle Phase Cancellation in Multi-Miked Drums?
Check phase alignment between your overhead mics first, then compare individual drums to overheads. Fix mic placement using the 3-to-1 rule and polarity switches when needed.
Should I Use Samples to Replace or Blend With Recorded Drums?
You should blend samples with recorded drums rather than full replacement. Start with sample selection that matches your kit’s character, then use blending techniques like layering at low levels to enhance transients while preserving natural dynamics.
What Microphone Techniques Work Best for Small Recording Spaces?
You’ll want to prioritize close-miking with cardioid patterns to minimize room acoustics issues. Strategic mic placement like floor positioning or Mid/Side techniques helps control reflections and comb filtering in tight spaces.
On a final note
You’ve now got the essential tools to transform your drum mixes from amateur to professional. Remember, EQ cuts matter more than boosts, compression ratios around 3:1 work for most situations, and your effects chain order determines your final sound character. I’ve found that subtle group processing on the drum bus ties everything together beautifully. Trust your ears, reference commercial tracks frequently, and don’t overthink the technical aspects—good drums speak for themselves.

