Building Your First Home Studio Drum Setup on a Budget
You’ll need $500-$900 for a functional home drum studio, starting with a quality beginner kit featuring maple or birch shells, double-braced stands, and essential hardware like an adjustable throne and responsive bass pedal. Position your kit away from corners, use dynamic mics like the Shure SM57 for snare recording, and invest in an audio interface supporting phantom power for condenser overheads. Smart equipment choices, proper room acoustics with heavy rugs, and strategic microphone placement will maximize your recording quality while keeping costs manageable, and there’s much more to optimize your setup.
We are supported by our audience. When you purchase through links on our site, we may earn an affiliate commission, at no extra cost for you. Learn more.
Notable Insights
- Choose quality wood shell drums (maple, birch, or poplar) with complete starter packages costing $300-$700 including cymbals and hardware.
- Invest in essential hardware like adjustable padded throne, double-braced stands, and responsive bass drum pedal for stability and comfort.
- Position drum kit away from corners and use heavy rugs to control vibrations and minimize bass build-up.
- Use budget-friendly microphones around $100 with proper placement: dynamic mics for snare, specialized mics for kick drum.
- Consider second-hand options and multipurpose audio interfaces to maximize quality while staying within budget constraints.
Selecting the Right Beginner Drum Kit and Essential Hardware
When I first started building home studios, I quickly learned that selecting the right beginner drum kit requires balancing sound quality, budget constraints, and space limitations in ways that can make or break your recording experience.
You’ll want to focus on drum kit features like quality wood shells-maple or birch provide superior tone, though poplar works fine for starters-and consider shell sizes based on your space, since smaller shells offer tighter sounds perfect for home recording. Double-braced stands are crucial for stability and preventing unwanted movement that can affect your recording quality during sessions.
Essential hardware essentials include an adjustable throne with proper padding, sturdy cymbal stands, and a responsive bass drum pedal, because wobbly hardware creates unwanted noise that’ll haunt your recordings. Your throne should feature memory foam padding to reduce pressure points during extended recording sessions, with adjustable height ranges typically from 18 to 24 inches for optimal playing position. Adding a vibrating metronome device to your setup will significantly improve your timing and rhythm development during practice sessions.
Complete starter packages typically cost $300-$700, bundling drums with basic cymbals and hardware to simplify your purchase. For recording purposes, budget-friendly microphones around $100 range can provide excellent quality-to-price ratios when capturing your drum sounds. Consider exploring used drum sets as they often provide excellent value and can be found at significantly lower prices than new equipment.
Assembly Tips and Room Positioning for Optimal Sound
Although choosing the right drum kit sets your foundation, I’ve discovered that proper assembly and strategic room positioning can transform even budget drums into surprisingly professional-sounding instruments.
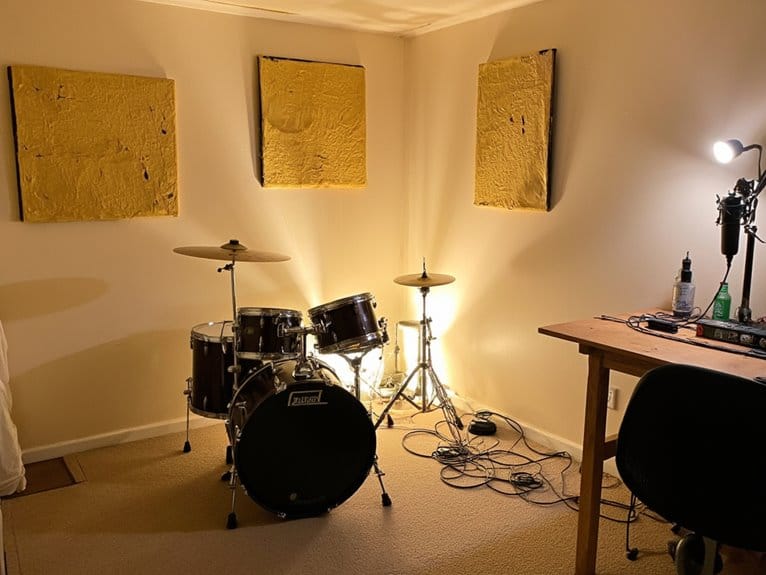
Position your kit away from corners to prevent bass build-up, while placing it near the room’s center minimizes problematic early reflections that muddy your sound.
Strategic room positioning prevents unwanted bass accumulation in corners while centering your kit reduces muddy reflections for cleaner drum tones.
Orient cymbals toward less reflective surfaces, and elevate everything on heavy rugs to control floor vibrations. When setting up your kick drum, ensure your double bass pedal maintains proper weight distribution for stability during intense playing sessions. Experiment with your drum kit’s orientation to discover the positioning that delivers the clearest, most balanced sound in your specific room.
For room layout strategies, I recommend placing basic acoustic paneling techniques at first reflection points on side walls, using affordable foam panels with air gaps behind them for enhanced absorption.
Combine porous materials for mid-range frequencies with corner bass traps, testing your drum sound from various positions to fine-tune placement dynamically. Consider using dynamic microphones for recording your drums, as they excel at handling the extreme sound pressure levels that drum kits produce while providing excellent durability for your home studio setup. Select microphones with cardioid patterns to reduce bleed between drums and maintain clarity in your recordings.
Basic Tuning Techniques and Equipment Maintenance
Mastering drum tuning transforms your budget kit from a collection of noisemakers into a cohesive, musical instrument that’ll surprise you with its professional potential.
Start with the resonant head, using your drum key in a diagonal star pattern, making half-turn increments until wrinkles disappear and tension feels even across all rods.
Then tune your batter head to match or harmonize with the bottom, striking the center to hear the fundamental tone while muting the opposite head.
I’ve learned that proper equipment care makes all the difference-regularly inspect tension rods for rust, clean and lightly lubricate them for smooth operation, and replace worn heads promptly to maintain that sweet spot you’ve worked so hard to achieve.
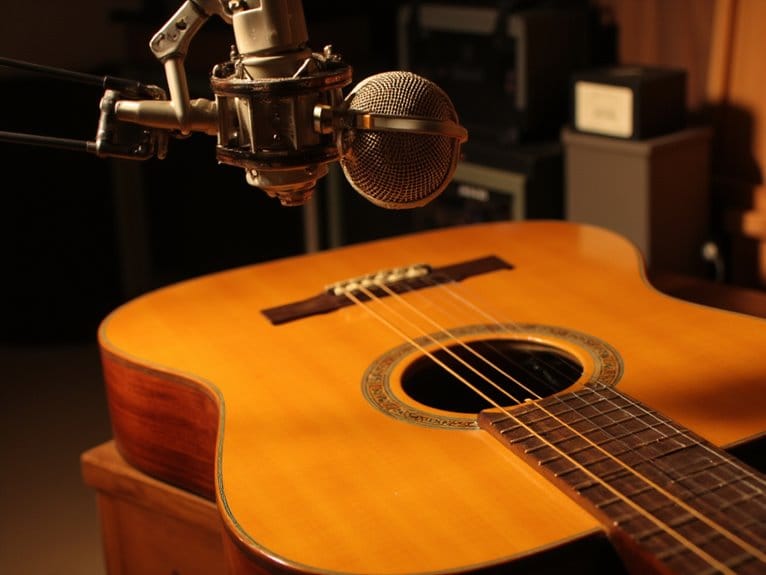
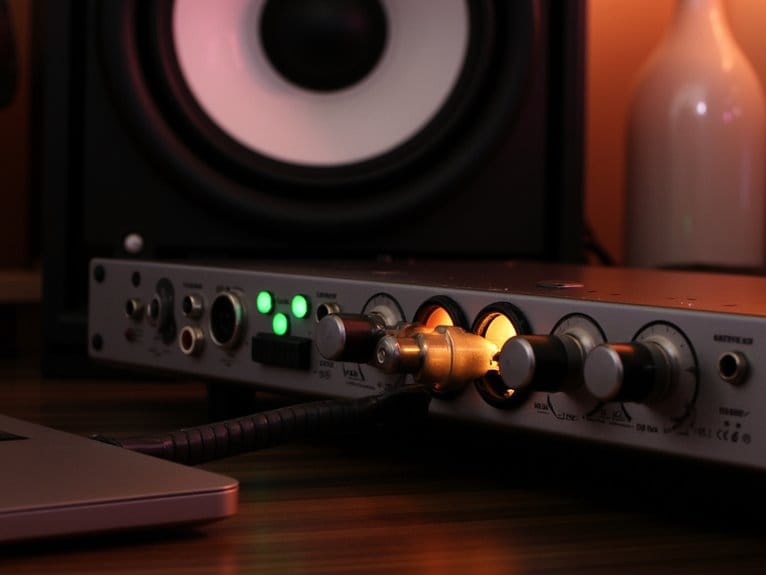
Microphone Setup and Recording Equipment Essentials
Five essential microphones can transform your budget drum kit into a professional-sounding recording powerhouse, though I’ve learned the hard way that choosing the right mics for each drum voice makes all the difference between muddy garage demos and polished tracks.
Understanding microphone types helps you allocate your budget wisely-dynamic mics like the Shure SM57 excel on snare drums, while the AKG D112 delivers punchy kick drum sounds without breaking the bank.
Smart mic selection means pairing dynamic mics with snare drums and specialized kick mics for maximum impact on minimal budget.
Condenser microphones work best as overheads, capturing cymbals and overall kit ambiance. Most condenser microphones require 48V phantom power to operate, so ensure your audio interface can provide this essential power supply.
Proper mic placement proves vital: position your kick mic inside the drum hole, place snare mics 1-3 inches above the head, and set overheads several feet above using XY configuration for balanced stereo imaging. For tom recording, look for microphones with cardioid patterns that effectively capture the front sound while minimizing bleed from other drum components.
For home studio setups where cable management becomes challenging, wireless microphones can provide excellent mobility and eliminate trip hazards during recording sessions, especially when using overhead mics positioned far from your audio interface.
Cost-Effective Acoustic Treatment and Money-Saving Strategies
Having the right microphones won’t matter much if you’re recording in a room that sounds like an echo chamber, and I’ve made this mistake enough times to know that acoustic treatment often delivers more remarkable improvements than upgrading your gear.
Your best bet is creating DIY absorption panels using rockwool or Owens Corning 703 wrapped in breathable fabric, which costs considerably less than commercial acoustic panels while providing comparable performance. Focus on treating your reflection-free zone first, then add bass traps in corners to control low-frequency buildup that muddies drum recordings.
Thick rugs from Ikea or vintage stores work as excellent soundproofing alternatives for floor reflections, and hanging acoustic clouds from your ceiling helps balance the entire acoustic environment without breaking your budget. When recording, remember that true bypass functionality in your effects pedals will help maintain signal integrity and prevent unwanted tone coloring during your drum production process.
Frequently Asked Questions
What Legal Considerations Exist for Playing Drums in Apartments or Rental Properties?
You’ll need to check your lease agreements for instrument restrictions and comply with local noise regulations. Many leases prohibit drums due to vibration concerns, and you must practice within acceptable hours to avoid violations.
Can I Use Electronic Drum Pads to Supplement My Acoustic Kit Affordably?
You’ll discover electronic drum benefits include quieter practice and hybrid setups. Your pad purchasing guide should prioritize sound quality within budget, starting with individual pads rather than full kits for affordable acoustic kit supplementation.
On a final note
You’ve now got the roadmap to build a professional-sounding home studio drum setup without breaking the bank. From selecting your first kit and positioning it properly, to basic tuning, microphone placement, and acoustic treatment, these fundamentals will serve you well. Don’t rush the process-take time to experiment with mic positions, room treatments, and recording levels. Your budget-friendly setup can produce surprisingly professional results with patience and practice.